
Sometimes, the best kitchen moments sneak up unexpectedly—like when you’re halfway through a lazy afternoon and suddenly feel a craving for something comforting but not too heavy. That’s exactly how these sandwich bread triangles found their way into my routine. There’s something oddly satisfying about shaping dough into triangles instead of the usual loaf or rounds, and it makes snack time feel a little more special.
I remember the first batch I made; the dough was a bit sticky and I wasn’t sure if I’d rolled it out evenly enough. The kitchen timer was ticking, and I was distracted by a text, so the rise time felt longer than it should. But when those golden triangles came out of the oven, soft and inviting, the little imperfections didn’t matter. The texture was pillowy, with just the right hint of chew, and the crust had a delicate, light crispness. It’s not fancy—just a humble sandwich bread triangle that invites creativity and easy snacking.
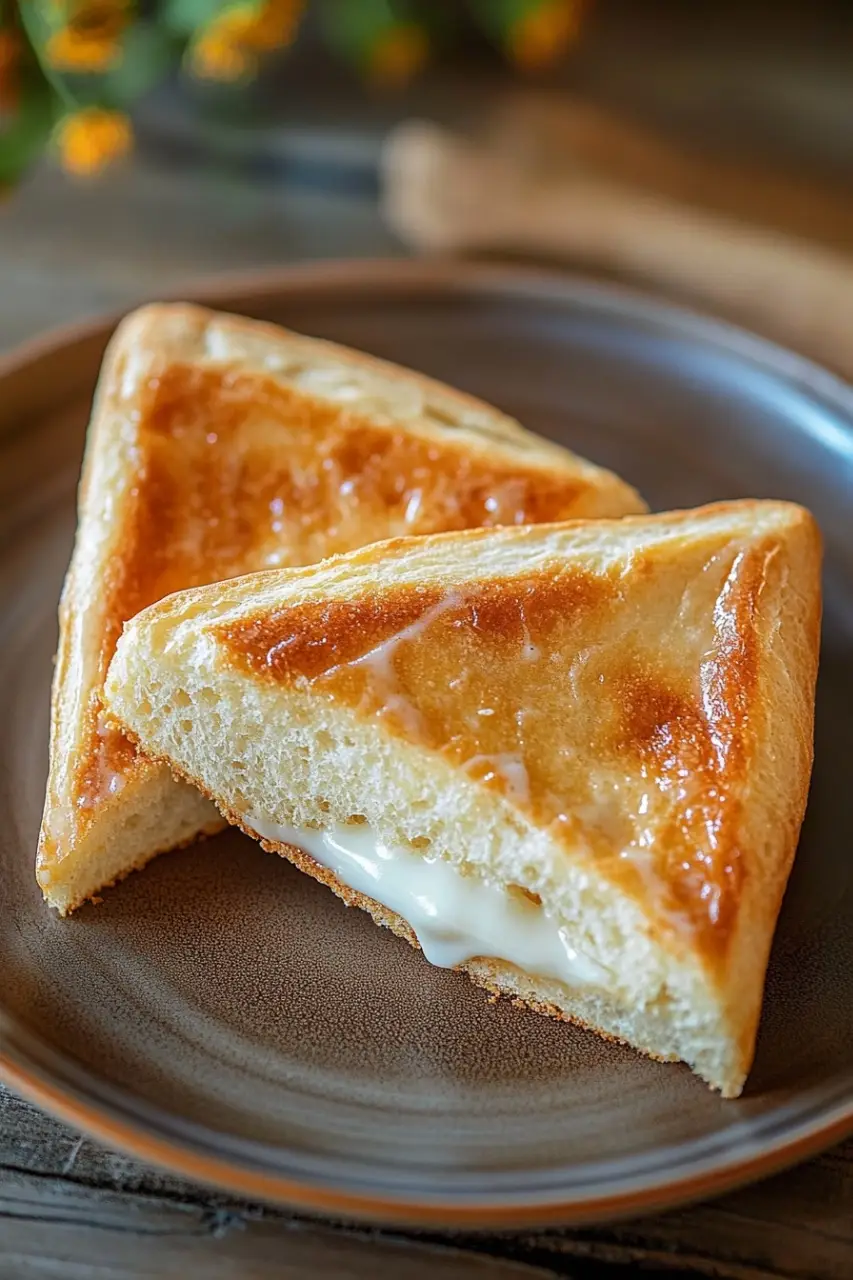
It’s the kind of bread that doesn’t demand complicated fillings; a smear of butter or a slice of cheese turns it into a quick delight. And because they’re triangles, they fit nicely in your hand, making them perfect for picnics or a casual lunch break. I usually slice them fresh, but they hold up surprisingly well for a day or two, which means there’s a little less pressure to eat everything at once.
- Soft, fluffy texture that’s surprisingly easy to achieve even if you’re not a seasoned baker.
- Unique triangular shape adds a playful twist to your usual sandwich routine.
- Versatile enough to pair with sweet or savory toppings—though I tend to stick to simple for the best comfort effect.
- It’s simple — and that’s kind of the point. No overcomplicated steps or last-minute ingredients needed.
If you’re new to bread-making, this one feels pretty accessible. The dough is forgiving, and the process is straightforward enough that you can chat or scroll your phone while waiting. Just make sure not to forget the second rise; I did once, and the triangles came out a little denser than I hoped, though still tasty.
PrintSandwich Bread Triangles

Soft and fluffy sandwich bread triangles perfect for creative sandwiches and snacks. This homemade bread is easy to make and ideal for shaping into fun triangular slices.
- Prep Time: 2 hours 30 minutes
- Cook Time: 25 minutes
- Total Time: 2 hours 55 minutes
- Yield: 12 triangles
Ingredients
3 1/2 cups (420 grams) all-purpose flour, plus extra for dusting
2 1/4 teaspoons (7 grams) active dry yeast (1 packet)
1 cup (240 milliliters) warm water (about 110°F/43°C)
2 tablespoons (25 grams) granulated sugar
1 teaspoon (6 grams) salt
2 tablespoons (30 milliliters) vegetable oil
1 tablespoon (15 milliliters) milk, for brushing
Instructions
In a small bowl, dissolve the active dry yeast and sugar in warm water. Let it sit for 5 to 10 minutes until foamy.
In a large mixing bowl, combine the flour and salt.
Make a well in the center of the flour mixture and pour in the yeast mixture and vegetable oil.
Stir with a wooden spoon until a rough dough forms.
Turn the dough out onto a lightly floured surface and knead for about 8 to 10 minutes until smooth and elastic. Add flour as needed to prevent sticking but keep the dough slightly tacky.
Place the dough in a lightly oiled bowl, cover with a clean kitchen towel or plastic wrap, and let it rise in a warm place for about 1 hour or until doubled in size.
Punch down the dough to release air and turn it out onto a floured surface.
Roll the dough into a rectangle approximately 12 inches by 9 inches (30 cm by 23 cm) and about 1/2 inch thick.
Using a sharp knife or pizza cutter, cut the dough into triangles by first cutting lengthwise into 3 equal strips, then cutting diagonally across to form triangles.
Place the triangles on a parchment-lined baking sheet, leaving space between each piece.
Cover loosely with a kitchen towel and let them rise for another 30 minutes until slightly puffy.
Preheat the oven to 375°F (190°C).
Brush the tops of the triangles lightly with milk to promote browning.
Bake for 20 to 25 minutes or until the bread triangles are golden brown and sound hollow when tapped.
Remove from the oven and transfer to a wire rack to cool completely before slicing or serving.
When it comes to tools, you really just need a rolling surface and a good knife or pizza cutter—that part is refreshingly low-tech. I like to serve these triangles with a side of fresh fruit or a sharp cheese to balance the softness. Sometimes I’ve tried adding herbs to the dough, but I’m not convinced it always adds much—maybe it’s just me. You could try sprinkling seeds on top before baking if you want a bit of crunch, although I haven’t perfected that yet.
Feel free to experiment by swapping out vegetable oil for butter for a richer flavor, or even a touch of honey for sweetness. I haven’t tested all these variations extensively, but they’re fun starting points if you want to make the recipe your own.
FAQ
Can I make this bread ahead of time? Yes, you can bake and store the triangles in an airtight container for a few days, or freeze them for longer storage. Just thaw before serving.
Is it necessary to brush with milk before baking? It helps with browning and adds a slight sheen, but you can skip it if you prefer a matte finish.
Can I use whole wheat flour? The bread might be denser, but it’s worth a try if you want a healthier twist.
How do I know when the bread is done? The triangles should be golden brown and sound hollow when tapped on the bottom.
So next time you want a cozy snack that feels a little different, give these sandwich bread triangles a try. They’re straightforward, comforting, and just the right size to satisfy a quiet craving. Happy baking!