
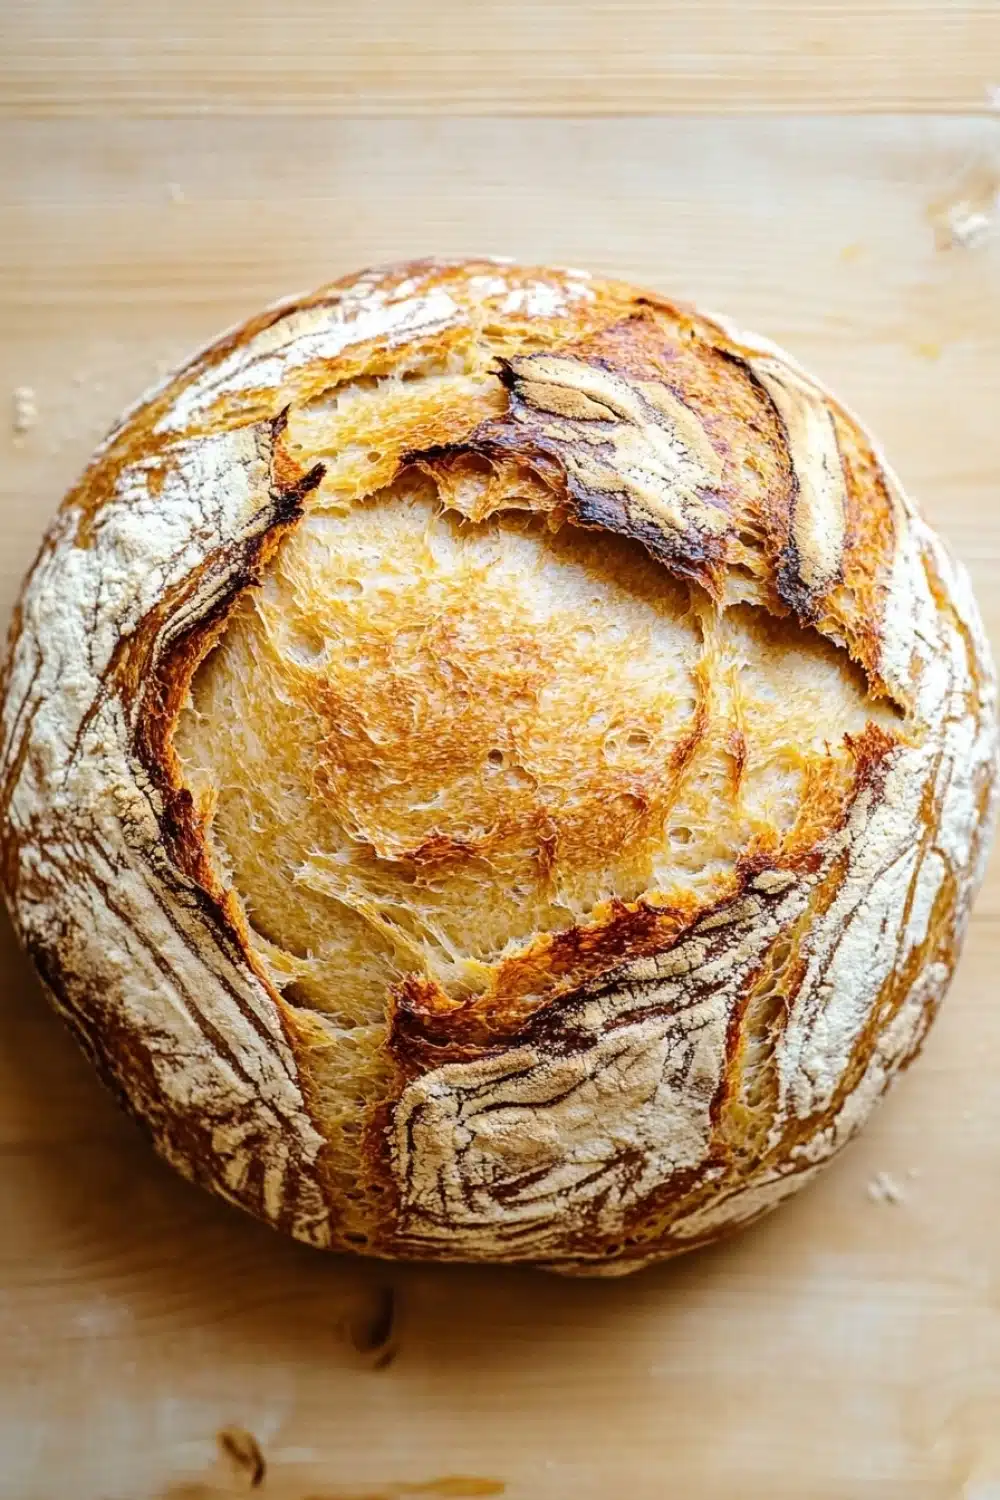
Sometimes, the best moments in the kitchen come from a recipe that doesn’t demand your constant attention. This no knead bread with yeast is one of those gems. You mix it up, let it rest, and then wait—sometimes that’s the hardest part. But the payoff? A loaf with a golden crust and soft crumb that feels like a small victory.
I remember the first time I tried this recipe. I wasn’t sure if it would actually rise enough with so little yeast, and I kept checking the bowl like a nervous parent. Somewhere between the 12 and 16 hours, bubbles began to appear, and the dough almost looked alive. It was sticky and shaggy, not neat or perfect, but that’s exactly what makes it special. I folded it gently, not wanting to mess up the work that yeast was doing, and slid it into the oven with a mix of hope and doubt. When I finally pulled the loaf out, the crust crackled as it cooled, and the smell filled the whole house. It wasn’t fancy, but it was ours.
- Minimal hands-on time means you can prep it before bed and wake up to dough ready to bake.
- The yeast works slowly, creating a depth of flavor that fast bread can’t match.
- It’s simple — and that’s kind of the point. No kneading means anyone can do it, even if you’re not a bread pro.
- The long rise means you need some patience, but the reward is a crusty loaf that feels worth the wait.
If you’re worried about the dough sticking or the timing, don’t be. This bread is forgiving — it’s more about the process than perfection. You can’t really mess it up.
PrintNo Knead Bread with Yeast

A simple and easy no knead bread recipe that uses yeast for a perfect rise and a crusty, flavorful loaf without the effort of kneading.
- Prep Time: 15 minutes
- Cook Time: 45 minutes
- Total Time: 16 hours
- Yield: 8 slices
Ingredients
3 cups all-purpose flour
1/4 teaspoon instant yeast
1 1/4 teaspoons salt
1 1/2 cups warm water (about 110°F)
Instructions
In a large mixing bowl, combine 3 cups of all-purpose flour, 1/4 teaspoon of instant yeast, and 1 1/4 teaspoons of salt. Stir until well mixed.
Pour 1 1/2 cups of warm water (about 110°F) into the dry ingredients and stir with a wooden spoon or spatula until a shaggy, sticky dough forms.
Cover the bowl tightly with plastic wrap or a clean kitchen towel and let the dough rise at room temperature for 12 to 18 hours, until the surface is dotted with bubbles and the dough has doubled in size.
After the first rise, lightly flour a work surface and turn the dough out onto it. Fold the dough over on itself once or twice to shape it into a rough ball. Do not knead.
Place the dough seam side down on a large piece of parchment paper. Cover with a clean kitchen towel and let it rise for 1 to 2 hours, until it has nearly doubled in size again.
About 30 minutes before the end of the second rise, preheat your oven to 450°F. Place a heavy covered pot (such as a Dutch oven) with its lid inside the oven to heat.
Carefully remove the hot pot from the oven. Lift the dough using the parchment paper and place both into the pot. Cover with the lid and bake for 30 minutes.
Remove the lid and bake for an additional 15 minutes, until the bread is deep golden brown and crusty.
Remove the bread from the pot and let it cool completely on a wire rack before slicing.
For this recipe, you really don’t need any fancy equipment. A heavy pot with a lid works perfectly for baking, and most kitchens have something suitable. I like to serve this bread warm, maybe with a smear of butter or alongside soup for a cozy meal. Sometimes, I’ve tried folding in a handful of herbs during the second rise, but honestly, the classic version feels just right to me. Other times, I’ve swapped out some of the flour for whole wheat — it changes the flavor, but the dough behaves a bit differently, so I keep the timing flexible. If you’re feeling adventurous, a sprinkle of seeds on top before baking adds a nice crunch, though I haven’t tested all these tweaks extensively.
FAQ
Can I speed up the rise? You could try warmer water or a warmer spot, but the slow rise is what develops flavor, so rushing it changes the bread’s character.
What if my dough looks too sticky? That’s normal for this recipe. Resist the urge to add more flour; it will come together during baking.
How long does the bread keep? It’s best enjoyed within a few days. You can freeze slices to keep it longer, just thaw at room temperature before eating.
Give this no knead bread a try when you want to experience bread baking without the fuss. It’s approachable, rewarding, and somehow feels like a quiet ritual, even on busy days.