
There’s something almost meditative about watching dough bubble up in a bowl, especially when you haven’t lifted a finger to knead it. I remember the first time I tried the New York Times no-knead bread recipe—it was like stumbling on a cheat code for perfect crusty bread with barely any elbow grease. The kitchen fills with this warm yeasty aroma as the dough rests, and you can practically feel the tension melt away. This recipe is the ultimate proof that patience beats hustle in baking. You mix a few simple ingredients, leave it alone (yes, really), and then come back to a dough that’s alive and eager to be transformed. The slow fermentation creates a loaf with that signature chewy crumb and crackly crust that makes you want to tear in right away. Plus, no fancy gadgets or mixer—just a heavy pot, some parchment, and time. It’s a game changer for those of us who want homemade bread without the circus of kneading and shaping. Trust me, once you get this under your belt, your kitchen toolkit will feel all kinds of complete. Let’s dive in and get that dough doing its magic—because good bread waits for no one, but it sure rewards those who wait for it.
If you’re looking to round out your meal with something comforting and delicious, you might want to check out this Hearty Chicken and Broccoli Casserole with Cheesy Crust for Dinner. It’s the perfect cozy dish to pair with your no knead bread!
Real Life Wins from Mastering No-Knead Bread
- Wake up to the smell of freshly baked bread without breaking a sweat—this recipe’s hands-off approach means you can set it and forget it overnight.
- Impress guests with a crusty, bakery-worthy loaf that costs pennies compared to store-bought artisan bread.
- Perfect for busy bees: minimal active prep time lets you multitask while the dough does its magic.
- Saves you from the dreaded dough-slap fatigue—no elbow grease required, just a wooden spoon and a bit of patience.
- Turns your kitchen into a cozy nook with that toasty, warm aroma that screams home—bread baking therapy at its best.
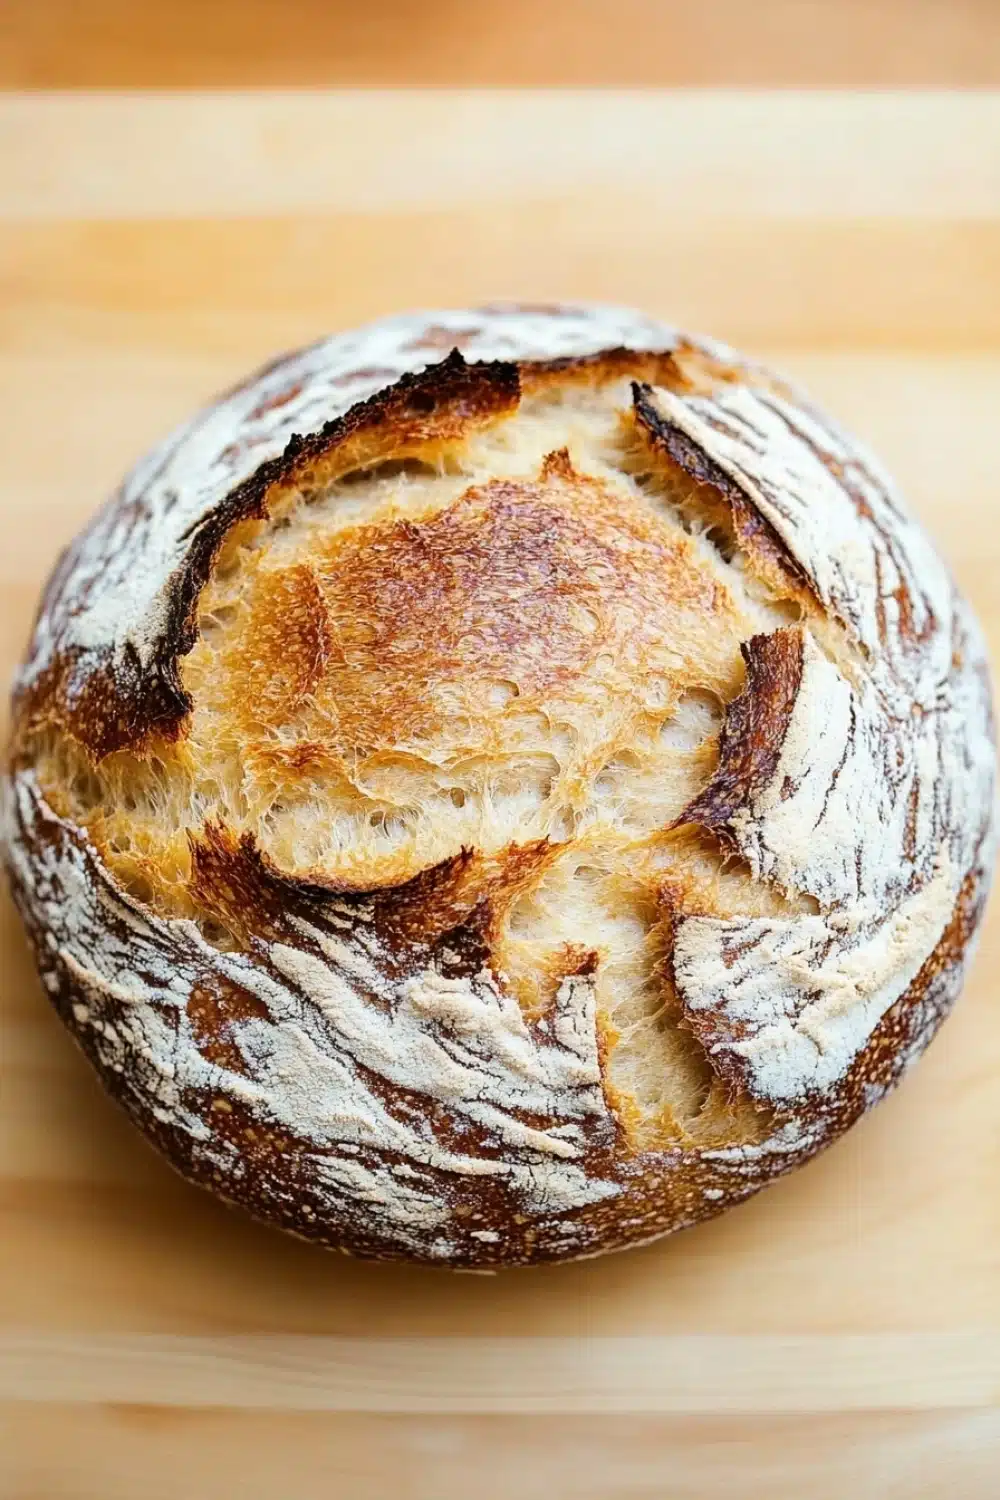
No-Knead Bread (New York Times)
A simple and rustic no-knead bread recipe from The New York Times that yields a crusty, chewy loaf with minimal effort.
- Prep Time: 15 minutes
- Cook Time: 45 minutes
- Total Time: 12 hours 0 minutes
- Yield: 1 loaf
Ingredients
Scale
3 cups (375 grams) all-purpose flour
1/4 teaspoon instant yeast
1 1/4 teaspoons salt
1 5/8 cups (380 milliliters) water, at room temperature
Cornmeal or flour, for dusting
Instructions
In a large mixing bowl, combine the flour, instant yeast, and salt.
Add the water and stir with a wooden spoon or spatula until a shaggy, sticky dough forms.
Cover the bowl with plastic wrap or a clean kitchen towel and let it rest at room temperature for 12 to 18 hours, until the surface is dotted with bubbles and the dough has doubled in size.
Lightly flour a work surface and place the dough on it. Sprinkle the dough with a little flour and fold it over on itself once or twice. Shape it into a ball.
Place a large piece of parchment paper on a kitchen towel and dust it generously with cornmeal or flour. Place the dough seam side down on the parchment paper. Cover it with another kitchen towel and let it rise for about 2 hours, until it has doubled in size.
About 30 minutes before the dough is ready, place a 5- to 6-quart heavy covered pot (such as a Dutch oven) in the oven and preheat to 450°F (230°C).
Carefully remove the hot pot from the oven. Lift the dough with the parchment paper and place both into the pot. Cover with the lid and bake for 30 minutes.
Remove the lid and bake for an additional 15 to 20 minutes, until the loaf is deep golden brown and crusty.
Remove the bread from the pot and let it cool completely on a wire rack before slicing.
Explore more:
Breakfast Recipes
Mastering the New York Times No-Knead Bread: Substitutions, Science, and Fixes
Substitution Secrets
Working with the New York Times no-knead bread recipe, I’ve learned the hard way that substitutions can make or break your loaf. For instance, using bread flour instead of all-purpose? It’s a game changer. Bread flour has a higher protein content, which means more gluten, leading to a chewier, more structured crumb. Feel free to swap it in if you want a bit more bite. But don’t overdo it—too much protein turns your bread into a brick faster than you can say “shaggy dough.”
Salt’s pretty pivotal here. Skimping on it will leave your bread bland, but too much? It’ll slap the yeast down like a bouncer at a shady club. I stick to 1 1/4 teaspoons as the recipe suggests. Another sneaky swap is water temperature. The recipe calls for room temperature water, but if you’re in a cold kitchen, slightly warmer water (think a comfy 75°F/24°C) keeps the yeast happy and kicking without rushing fermentation.
Oh, and if you’re short on instant yeast, active dry yeast works too—just proof it in warm water first. These little tweaks can save your loaf from ending up a sad, dense lump.
The Science
This no-knead bread hinges on a long fermentation period—12 to 18 hours. That slow rise lets the yeast do its thing without a rush, breaking down starches into sugars and giving you that subtle tang and deep flavor. It’s like letting your dough marinate in time itself.
That shaggy, sticky texture at the start? It’s all about hydration—75% water to flour ratio. This high hydration is what produces a moist crumb and an open, holey texture. But it also means the dough is too loose to knead, hence the “no-knead.” Instead, the long rest allows gluten networks to form naturally.
Then there’s the magic of baking in a preheated covered pot. Enclosing the dough traps steam, which is essential to form the crust. Steam keeps the surface pliable so the bread can expand fully before the crust sets, resulting in a crackly exterior. Once the lid comes off, the crust crisps up to that golden-brown finish that everyone’s after.
Real-world Fix
Let me tell you about the time I overlooked the dough’s rise time. I got impatient, baked the loaf too early, and ended up with something closer to a dense rock than the airy bread I was craving. The fix? Patience—resist the urge to rush your dough. If after the initial 12 hours your dough hasn’t doubled and isn’t bubbly, give it a few more hours. Yeast isn’t on anyone’s schedule but its own.
If your dough is so sticky it’s impossible to handle, don’t panic. Dust your hands and workspace liberally with flour or cornmeal. And remember, folding it gently once or twice is enough; this isn’t a kneading session. Overworking the dough will deflate all those precious gas bubbles you’ve spent hours nurturing.
Lastly, if your crust isn’t getting crispy, try baking a few minutes longer uncovered or ensure your oven is fully preheated before the dough goes in. These tweaks can make the difference between “meh” and “heck yeah” bread.
FAQs About No-Knead Bread
Why does this bread need to rest for so long?
The long rest lets the yeast do its thing slowly, developing flavor and bubbles without any elbow grease. It’s the secret sauce that makes the crumb chewy and the crust crisp.
Can I use bread flour instead of all-purpose?
Absolutely! Bread flour has more protein, which can give you a bit more chew. The dough might feel a bit stiffer, but the end result is still spot on.
What’s the deal with the Dutch oven?
That heavy pot traps steam, making the crust crackle and turn golden. No fancy gadget? Try a cast-iron skillet with a metal bowl on top—steam’s the name of the game.
My dough didn’t double after 18 hours. What went wrong?
Could be the yeast was a bit sleepy or your kitchen was chilly. Next time, try a slightly warmer spot or check your yeast’s expiration date.
How do I store the bread so it stays fresh?
Wrap it in a clean kitchen towel or paper bag at room temp for a day or two. For the long haul, slice and freeze it—toast straight from frozen for best results.