
Let’s get straight to it.
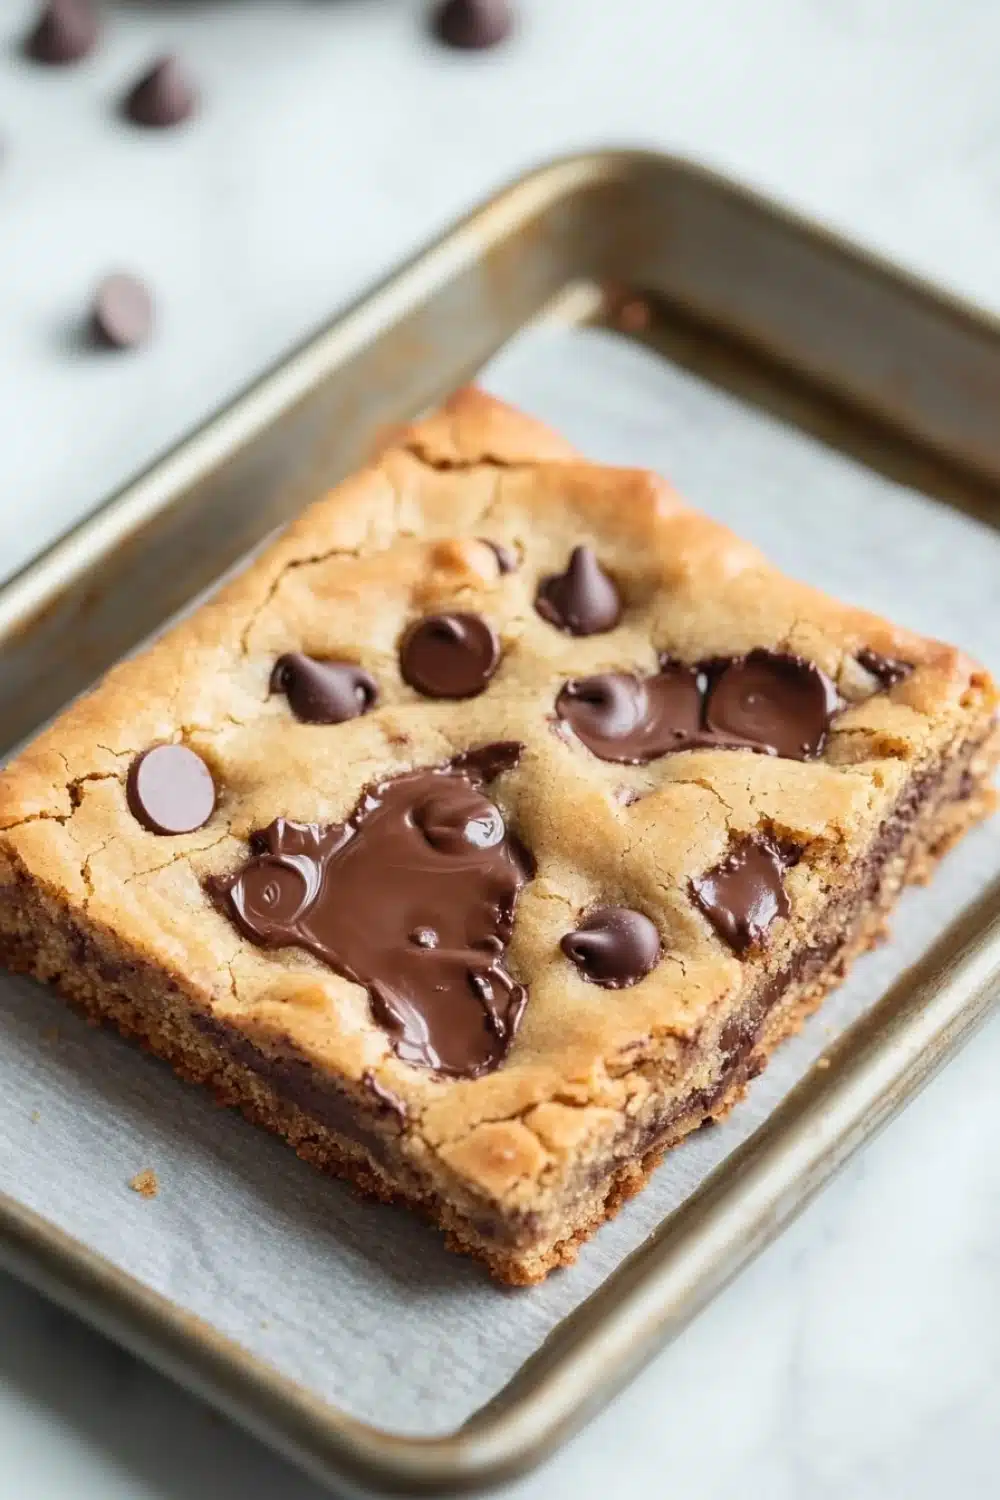
Nothing beats the pull of a warm, chewy chocolate chip cookie bar fresh out of the oven—edges just set, center still tender, and pockets of semi-melted chocolate chips waiting for that first bite. I swear, those gooey morsels are the kind of magic that turns any kitchen into a playground of comfort and joy.
One crisp autumn afternoon, while the golden light sifted through my kitchen window, I found myself whisking melted butter with sugars, the air thick with the aroma of vanilla and caramelizing sugar. The dough was thick, almost begging to be scooped and squished into the pan, promising bars that would slice clean yet still ooze softness. It’s a recipe that doesn’t mess around—simple ingredients, straightforward steps, and that unmistakable chewy texture that has me hooked every single time.
Ready to bake your own stash? These bars are perfect for sharing—or hoarding. No judgment here.
If you’re craving something sweet, these chewy chocolate chip cookie bars are soft, rich, and ready in just 40 minutes.
Why These Chewy Chocolate Chip Cookie Bars Rock in Real Life
- Perfect for busy weeknights—ready from start to finish in just 40 minutes, so no waiting around for treats.
- Soft and thick texture means they stay chewy, resisting that annoying crumbly fate many cookie bars face.
- Loaded with melty chocolate chips, so every bite hits that sweet spot—no skimping here.
- Easy to slice and share, making them ideal for office snacks, potlucks, or just because you want to impress without breaking a sweat.
- Store them at room temp or freeze for a rainy-day stash—flexibility that keeps your snack game strong.
Chewy Chocolate Chip Cookie Bars
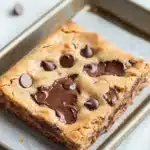
These chewy chocolate chip cookie bars are a delicious twist on classic cookies, offering a soft, thick texture and loaded with melty chocolate chips. Perfect for sharing or enjoying as a convenient snack!
- Prep Time: 15 minutes
- Cook Time: 25 minutes
- Total Time: 40 minutes
- Yield: 16 bars
Ingredients
1 cup (227 grams) unsalted butter, melted and slightly cooled
1 cup (200 grams) packed light brown sugar
1/2 cup (100 grams) granulated sugar
2 large eggs, at room temperature
2 teaspoons vanilla extract
2 1/4 cups (280 grams) all-purpose flour
1 teaspoon baking soda
1/2 teaspoon salt
2 cups (340 grams) semisweet chocolate chips
Instructions
Preheat the oven to 350°F (175°C). Grease a 9×13-inch baking pan or line it with parchment paper, leaving an overhang on the sides for easy removal.
In a large mixing bowl, whisk together the melted butter, light brown sugar, and granulated sugar until smooth and combined.
Add the eggs one at a time, mixing well after each addition. Stir in the vanilla extract until fully incorporated.
In a separate bowl, whisk together the all-purpose flour, baking soda, and salt.
Gradually add the dry ingredients to the wet ingredients, stirring gently until just combined. Do not overmix.
Fold in the semisweet chocolate chips evenly throughout the dough.
Spread the cookie dough evenly into the prepared baking pan, smoothing the top with a spatula.
Bake in the preheated oven for 22 to 25 minutes, or until the edges are golden brown and a toothpick inserted in the center comes out with a few moist crumbs.
Remove from the oven and allow the cookie bars to cool completely in the pan on a wire rack.
Once cooled, use the parchment paper overhang to lift the bars out of the pan and cut into 16 squares.
Explore more:
Breakfast Recipes
Mastering Chewy Chocolate Chip Cookie Bars: Tips, Tricks, and Fixes
The Secret to That Thick, Chewy Texture
Listen—if you want chewy cookie bars that hug your teeth just right, melted butter is your MVP. It’s not just about flavor; melting butter changes the fat’s structure, allowing the sugars to dissolve and mingle more intimately, which gives you that dense yet tender crumb. Brown sugar? Absolutely non-negotiable. The molasses in it holds onto moisture like a champ, keeping those bars soft instead of drying out into a sad, crumbly mess. I always tell folks: forget overmixing. That’s the rookie mistake that turns chewy dreams into tough reality. Stir just until the flour disappears—any more and you’re building gluten highways to chew-town, not what we want here.
Ingredient Swaps That Won’t Kill the Vibe
Butter woes? Sub with melted coconut oil for a hint of tropical swagger and a slightly lighter bar. It’s a trick I keep up my sleeve when I’m low on butter but still craving that chew factor. For sugars, you can swap half the brown sugar for coconut sugar to add a deeper, caramel note—think of it like upgrading your cookie’s street cred. Not a fan of all-purpose flour? Try a 50/50 mix of all-purpose and bread flour to dial up the chew even more—bread flour’s higher protein content is the secret handshake for that lovely stretch. And hey, if chocolate chips are running low, chunk up a good-quality chocolate bar; uneven chunks mean pockets of molten joy. Trust me, I once swapped chips for chunks and ended up with bars that vanished before cool-down.
Fixing Common Cookie Bar Catastrophes—Fast
Edges burnt to a crisp but the center’s still gooey? Next time, lower your oven rack a notch and check your oven’s calibration. Every oven’s a diva; some run hot, some cold. Toothpick test is your best friend—pull it out at the first sign of moist crumbs, not dry. If your bars turned out cakey instead of chewy, odds are you overmixed or used too much flour—ease up on the stirring and measure carefully. Oh, and don’t skip the cooling step! Cutting cookie bars warm is like slicing into lava—they’ll crumble and lose that perfect chewy profile. Let them chill on a wire rack completely; patience here pays dividends. Finally, if your bars keep sticking, always use parchment paper with an overhang—lifting bars out cleanly without smashing the edges is a game changer.
Chewy Chocolate Chip Cookie Bars FAQ
Yes, but reduce or skip the added salt in the recipe. Salted butter can throw off the balance, making these bars a tad too salty.
Don’t overbake—timing is clutch here. Pull them out when the edges are golden but the center still looks a bit underdone. They’ll firm up as they cool, staying satisfyingly chewy instead of crunchy.
Totally. Chunks bring a rustic vibe, and nuts add that crunch contrast. Just toss ’em in with the chips or replace them completely depending on your cravings.
Yes! Freeze in an airtight container for up to 3 months. When you’re ready, thaw at room temp. They’ll taste freshly baked—no joke.
Absolutely, but use a larger pan or bake in two batches. Overcrowding the pan messes with the texture—nobody wants that dense, undercooked middle.