
Flour everywhere.
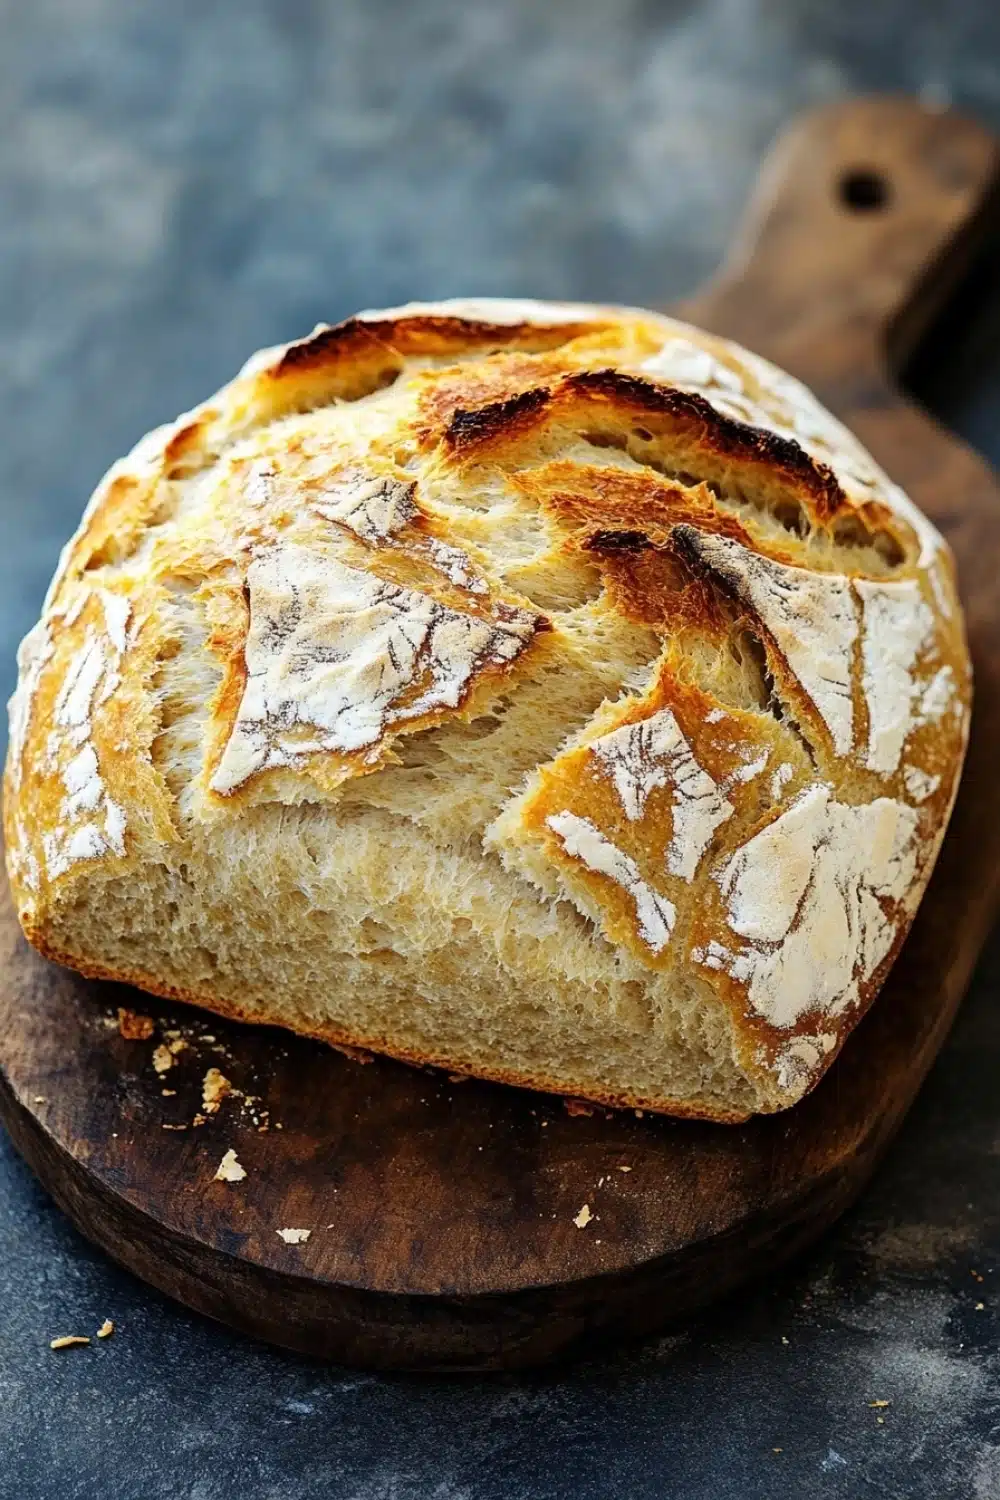
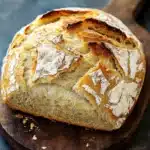
There’s something about the humble act of baking bread that pulls me back into the kitchen, even on the busiest days. The yeast bubbling quietly in warm water—like little alive whispers—promises a loaf that’s soft inside, with a crust that snaps just right. This vegan yeast bread isn’t just a recipe; it’s a ritual that demands a little patience but pays off with a golden crust worth the wait.
Mixing, kneading, and waiting for the dough to double in size is a test of faith. I remember the first time I tackled this vegan loaf—I was skeptical about skipping eggs and dairy. But as I punched down that risen dough and slid it into the oven, I knew I was onto something special. The smell alone turns the kitchen into a warm haven, a scent that’s far from your run-of-the-mill loaf.
And the result? A soft crumb that’s perfect for anything—from thick sandwich stacks to simply buttered toast. This bread is the real deal—no fluff, just honest, everyday magic.
For a detailed guide on making vegan yeast bread that’s soft, fluffy, and completely plant-based, check out this helpful article.
Real Life Benefits of Baking Vegan Yeast Bread
- Freshly baked bread fills your home with that unmistakable, cozy aroma—no bakery run needed.
- Soft, fluffy texture that holds up perfectly to your favorite sandwich fixings or morning toast slathered with jam.
- Simple ingredients mean no shady additives—just honest food you can trust.
- Customizable dough lets you experiment—throw in seeds, nuts, or herbs to make it your own signature loaf.
- Saving cash and reducing food waste by baking at home beats buying pre-packaged any day.
Vegan Yeast Bread
A simple and delicious vegan yeast bread recipe that yields a soft, fluffy loaf with a golden crust. Perfect for sandwiches, toast, or as a side to any meal.
- Prep Time: 15 minutes
- Cook Time: 30 minutes
- Total Time: 1 hour 15 minutes
- Yield: 12 slices
Ingredients
3 1/4 cups (390 grams) all-purpose flour, plus extra for kneading
1 cup (240 ml) warm water (about 110°F / 43°C)
2 1/4 teaspoons (7 grams) active dry yeast
2 tablespoons (25 grams) granulated sugar
1 teaspoon (6 grams) salt
2 tablespoons (30 ml) olive oil
Instructions
In a small bowl, combine the warm water, sugar, and active dry yeast. Stir gently and let it sit for 5 to 10 minutes until the mixture is foamy.
In a large mixing bowl, whisk together the flour and salt.
Make a well in the center of the flour mixture and pour in the yeast mixture and olive oil.
Using a wooden spoon or your hands, mix until a rough dough forms.
Turn the dough out onto a lightly floured surface and knead for about 8 to 10 minutes until the dough is smooth and elastic. Add small amounts of flour if the dough is too sticky.
Place the kneaded dough into a lightly oiled bowl, cover it with a clean kitchen towel or plastic wrap, and let it rise in a warm place for about 45 minutes to 1 hour, or until doubled in size.
Preheat your oven to 375°F (190°C).
Punch down the risen dough to release the air. Shape it into a loaf and place it into a greased 9×5-inch loaf pan.
Cover the loaf pan with a towel and let the dough rise again for 20 to 30 minutes until it has risen slightly above the pan edges.
Bake the bread in the preheated oven for 25 to 30 minutes until the crust is golden brown and the bread sounds hollow when tapped.
Remove the bread from the oven and let it cool in the pan for 10 minutes.
Transfer the bread to a wire rack and allow it to cool completely before slicing.
Explore more:
Breakfast Recipes
Mastering Vegan Yeast Bread: Tips, Tricks, and Fixes
The Yeast Wake-Up Call: Why Foam Means Go
When I started baking vegan yeast bread, I used to skip the foam test—big mistake. That bubbly, foamy surface is your yeast’s RSVP, the signal that the little fungi critters are alive and kicking. Without it, your dough’s a flat party, no rise, no fluff. Warm water around 110°F (43°C) is the sweet spot—too hot, and you’re putting the yeast out on the curb; too cold, and they’re just snoozing. Sugar isn’t just a sweet talker; it’s yeast’s energy booster, making them wake up and multiply. So, when your mixture bubbles up like a mini volcano, you know you’re set for success. Do yourself a favor—never toss yeast straight into dry flour without proofing. It’s like asking a rock band to play without instruments.
Ingredient Swaps That Work (and Those That Don’t)
All-purpose flour is the classic choice here, but sometimes pantry raids leave you with alternatives. Whole wheat? Great for a nuttier flavor—but beware, it’s a bit of a diva and will want more water to avoid a dense, brick-like loaf. I’ve learned the hard way that swapping all the flour out straight up leads to a loaf that’s more doorstop than bread. A 50/50 blend usually keeps things cozy. And olive oil? It’s the MVP for moisture and crumb softness, but vegan bakers sometimes ask if avocado oil or coconut oil can jump in. Avocado oil’s mellow and slides right in; coconut oil needs a bit of melting and can add a subtle sweetness—no bad thing unless you’re going savory.
One quick hack: if you hit flour shortages, bread flour is an ace up your sleeve because of its higher protein content, which means more gluten and better chew. But don’t let it fool you—it’ll suck up water differently, so add liquid slowly. And salt? It’s the unsung hero that controls yeast activity and boosts flavor. Don’t skip or skimp.
When Your Bread Flops: Common Pitfalls and How to Fix Them
Flat, dense, or gummy bread—been there, cursed that. Most fails boil down to one villain: yeast drama. If your dough never doubles, it’s probably the yeast’s fault—dead on arrival or chilled to the grave. Always proof first. Over-kneading can also be a silent killer, turning your dough into a tough mess rather than a pillowy dream. On the flip side, under-kneading leaves it slack and unstructured. The feel test? Your dough should be smooth, elastic, and just a bit tacky to the touch.
Second rise—don’t ghost it. That 20-30 minute second proof is your loaf’s final stretch. Skip it, and you get a dense loaf. Too long, and the dough collapses, leaving you with a sad, sunken bread. Oven temp matters, too—too hot, and you get burned crust with raw insides; too low, and you’re baking forever with no browning.
Pro tip: tap the bottom of the loaf when it’s out of the oven. A hollow thump means you nailed it. If it sounds dense or dull, it’s probably underbaked.
Vegan Yeast Bread FAQ
Is this bread really vegan?
Yes! No animal products here — just flour, water, yeast, sugar, salt, and olive oil. Simple and clean.
Can I use a bread machine to make this?
Absolutely. Just toss all the ingredients in the machine, choose the dough setting for the first rise, then shape and bake as directed. However, nothing beats kneading by hand if you want to feel that dough transformation magic.
Why is my bread dense and heavy?
This usually happens if the yeast isn’t active enough or the dough didn’t get a proper rise. Make sure your water is warm (not scorching hot), and give the dough plenty of time to double in size. Also, don’t skimp on kneading — those gluten strands need TLC.
Can I swap olive oil for another oil?
Yeah, you can use any neutral oil like canola or sunflower. Olive oil adds a subtle flavor, but if you’re fresh out or prefer something lighter, go for it.
How should I store leftover bread?
Keep it airtight at room temp for a few days or pop slices in the freezer — they’ll keep up to 3 months. Toast frozen slices directly for a quick fix.