
Crunch time in the kitchen.
There’s something magical about the crisp snap of a cookie that’s been baked just right—thin, golden, and crackling under the slightest bite. I remember the first time I nailed the perfect thin and crispy cookie; it was an impromptu bake session fueled by midnight cravings and a stubborn refusal to settle for a chewy, doughy mess. These cookies are all about that delicate balance—just enough butter to spread, a whisper of vanilla, and a quick bake that leaves edges crisped and centers light.
Mixing the dough is a breeze, but here’s the kicker: don’t overwork it. Overmixing is the enemy of a thin, crisp texture and the fastest way to end up with a cookie that’s more cakey than crackly. When flattening the dough on the tray, think of it like patting down a delicate treasure—it spreads in the oven, so give each mound room to breathe.
By the time they come out of the oven, your kitchen will be humming with a warm, buttery smell that promises a satisfying crunch with every bite. Trust me, once you go thin and crispy, there’s no turning back.
For more tips on creating the perfect texture, check out our guide on thin and crispy cookie techniques.
Why These Thin and Crispy Cookies Are a Game-Changer
- Perfect crunch every time—these cookies snap with that satisfying bite, not the usual soft mush you get from overbaked treats.
- Quick prep and bake—under 30 minutes total, so you won’t burn daylight waiting for your sweet fix.
- Minimal ingredients, maximum punch—no fancy add-ons needed to nail that golden, crisp texture.
- Great for dunking—these thin cookies hold up in milk or coffee without falling apart like a soggy mess.
- Easy to share—makes about two dozen cookies, ideal for parties, lunchboxes, or sneaky midnight snacking sessions.
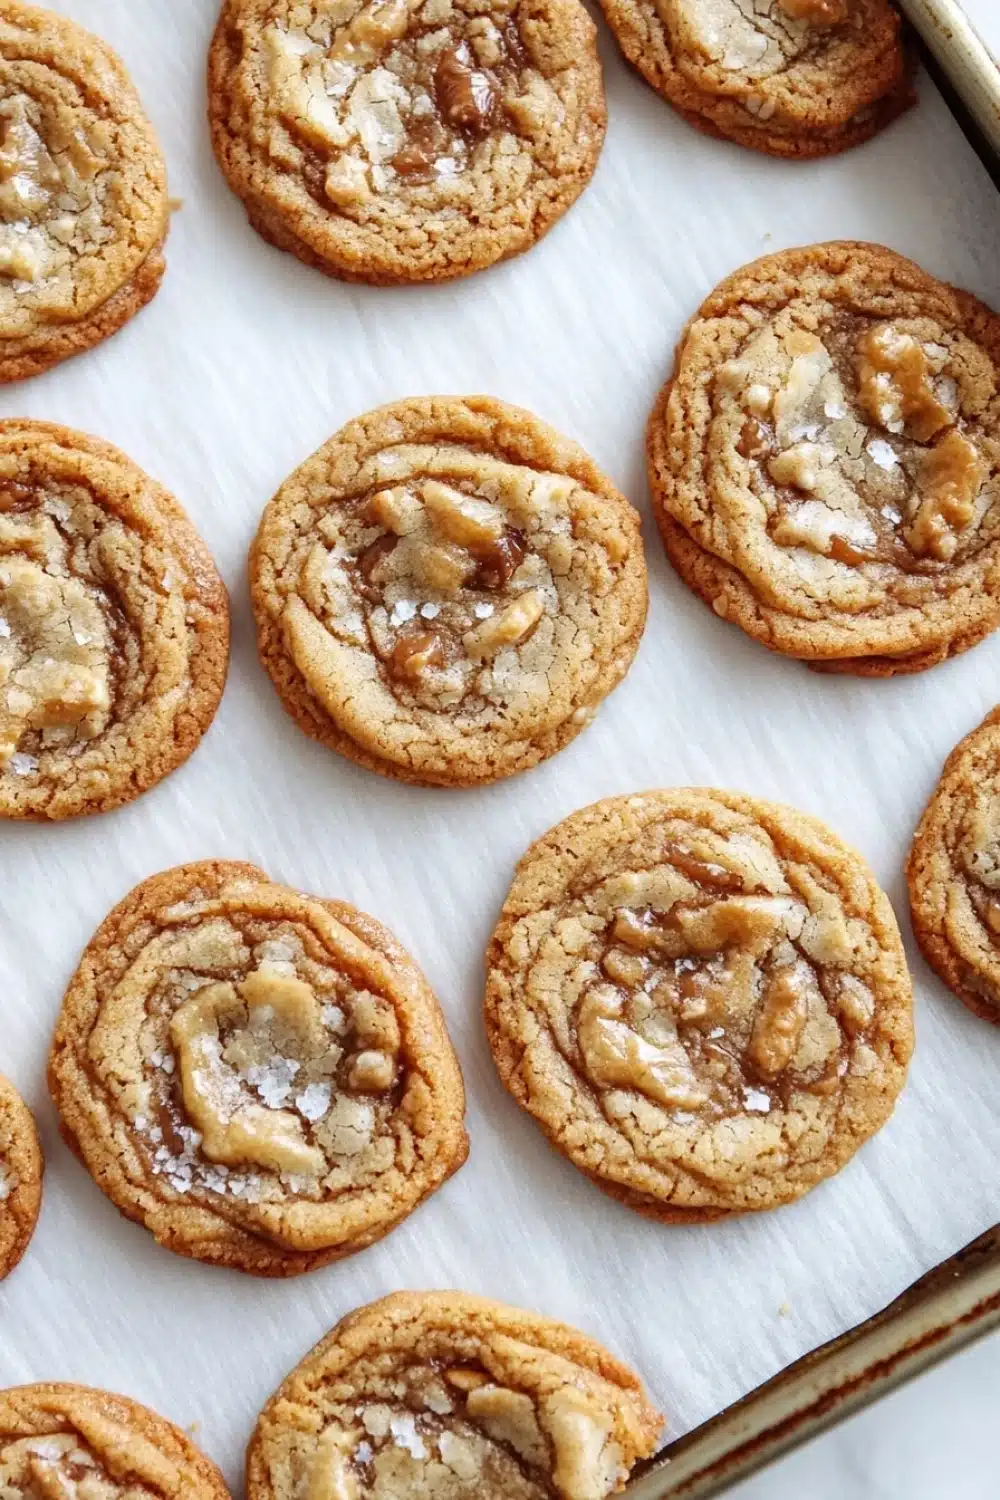
Thin and Crispy Cookies

These thin and crispy cookies are perfectly golden with a delightful crunch. They are easy to make and ideal for those who love a light, crisp texture in their cookies.
- Prep Time: 15 minutes
- Cook Time: 12 minutes
- Total Time: 27 minutes
- Yield: 24 cookies
Ingredients
1 cup (200 grams) granulated sugar
1/2 cup (113 grams) unsalted butter, melted and cooled
1 large egg
1 teaspoon vanilla extract
1 1/4 cups (160 grams) all-purpose flour
1/2 teaspoon baking soda
1/4 teaspoon salt
Instructions
Preheat the oven to 350°F (175°C). Line two baking sheets with parchment paper.
In a large bowl, whisk together the granulated sugar and melted butter until smooth.
Add the egg and vanilla extract to the sugar and butter mixture and whisk until fully combined.
In a separate bowl, sift together the all-purpose flour, baking soda, and salt.
Gradually add the dry ingredients to the wet ingredients, stirring until just combined. Do not overmix.
Scoop about 1 tablespoon of dough per cookie onto the prepared baking sheets, spacing them at least 2 inches apart to allow for spreading.
Using the back of a spoon or your fingers, gently flatten each cookie dough ball to about 1/4 inch thickness.
Bake in the preheated oven for 10 to 12 minutes or until the edges are golden brown and the centers are set.
Remove the cookies from the oven and allow them to cool on the baking sheets for 5 minutes before transferring them to a wire rack to cool completely.
Store the cooled cookies in an airtight container at room temperature for up to 1 week.
Explore more:
Breakfast Recipes
Mastering Thin and Crispy Cookies: Tricks, Tweaks, and Troubleshooting
The Sugar Shuffle: Why Granulated Wins for Crisp
When it comes to nailing that crackling crunch, the choice of sugar isn’t just a detail—it’s the main act. Granulated sugar is the MVP here because it melts and caramelizes during baking, giving those cookies their signature golden edges and snap. Swap it out for brown sugar, and you’re diving into chewy territory with a moister crumb. Been there, done that; brown sugar throws a wrench in the thin-and-crispy plan every time. Plus, granulated sugar’s crystal structure helps spread the dough thinner, which is clutch for that wafer-like finish. Pro tip? Don’t skimp on the sugar—half measures here lead to limp, sad cookies that don’t have the backbone they need.
Flattening the Dough—The Secret Sauce to Thinness
Here’s the deal: you can’t just plop cookie dough balls on a sheet and expect paper-thin magic. Nope. The flattening step is your secret weapon. After scooping, you gotta press each mound to about a quarter-inch thick—using the back of a spoon or fingertips. This little hack sets the stage for max spread and crispness. Skip it, and you’ll end up with fat, cakey blobs that laugh in the face of thinness. Flattening also helps heat reach the center faster, making those cookies bake evenly without drying out or burning edges. I always tell friends: this step is non-negotiable. Plus, it’s oddly satisfying to push down cookie dough—it’s like therapy, minus the hourly rate.
Cookie Fails: How to Rescue Your Crunch When Things Go Sideways
Let’s talk real talk: sometimes, even with all the right moves, cookies flop. Flat but rubbery? Too thick and doughy? Here’s the lowdown on quick fixes—watch your oven temp first. Too hot, and edges burn while centers stay raw. Too low, and cookies just sit there, never crisping. I keep an oven thermometer handy—it’s a game changer. Another culprit is overmixing; beat the dry into the wet just until the streaks disappear. Overdoing it develops gluten, leading to tough bites, turning your dream cookie into a chew fest nobody asked for. Finally, if your dough feels too wet or sticky, toss it in the fridge for 15 minutes. Cooling tightens fats and sugars, making the dough easier to handle and less likely to spread out into sad puddles. Remember, patience here pays off big time.
Thin and Crispy Cookies FAQ
A: Nope, these babies are all about the crunch. To get chewy cookies, you’d need to tweak the sugar ratio and maybe add more moisture—think brown sugar and a tad more butter.
A: Yes, melting the butter gives the dough a smooth texture and helps the cookies spread thin and crisp when baking. Solid butter won’t give you the same snap.
A: You can, but be careful. Using cake flour will make them too delicate and soft; bread flour might mess with the texture, making them tougher. All-purpose hits that sweet spot for thin, crispy cookies.
A: Store them airtight at room temp and they’ll hold their crunchy charm for about a week. Freeze leftovers, and they’ll keep up to three months—perfect for when you wanna flex your baking creds later!
A: No. Baking soda is the secret sauce here—it helps the cookies spread right and gives that slight lift without puffing them up. Trust me, it’s worth the pinch.