
Got wings on your mind?
The kitchen hums with anticipation as I prep these chicken wings—drying each piece meticulously to coax out that coveted crunch. Baking powder? It’s the secret weapon, creating a crackling crust without deep-frying. No greasy aftermath here, just golden, blistered perfection that snaps with every bite.
It’s not just cooking; it’s a ritual. The oven’s heat crisps the skin while locking in the juicy goodness beneath. Tossed in a smoky paprika and cayenne blend, these wings pack a punch that keeps you coming back. Flipping halfway through? Non-negotiable, ensuring an even tan all around.
Remember, wings aren’t just finger food—they’re mood makers. Once they’re out, resting a few minutes lets the juices settle; patience pays off, trust me.
For more tips on achieving perfectly crispy juicy baked chicken wings, check out our detailed guide.
Why These Crispy Juicy Baked Chicken Wings Win Every Time
- Skip the fryer drama—these wings crisp up in the oven, cutting out the grease but keeping that crackling skin everyone craves.
- Using baking powder (yep, the secret weapon) creates that golden crust without any weird aftertaste—trust me, it’s a game changer.
- Perfect for weeknight dinners or game day—ready in about an hour, including prep; crispy wings minus the messy cleanup.
- Made with pantry staples like smoked paprika and cayenne, so you can throw this together even on a whim when guests drop by.
- Leftovers don’t lose their mojo—pop them back in the oven to re-crisp instead of soggy microwave sad wings.
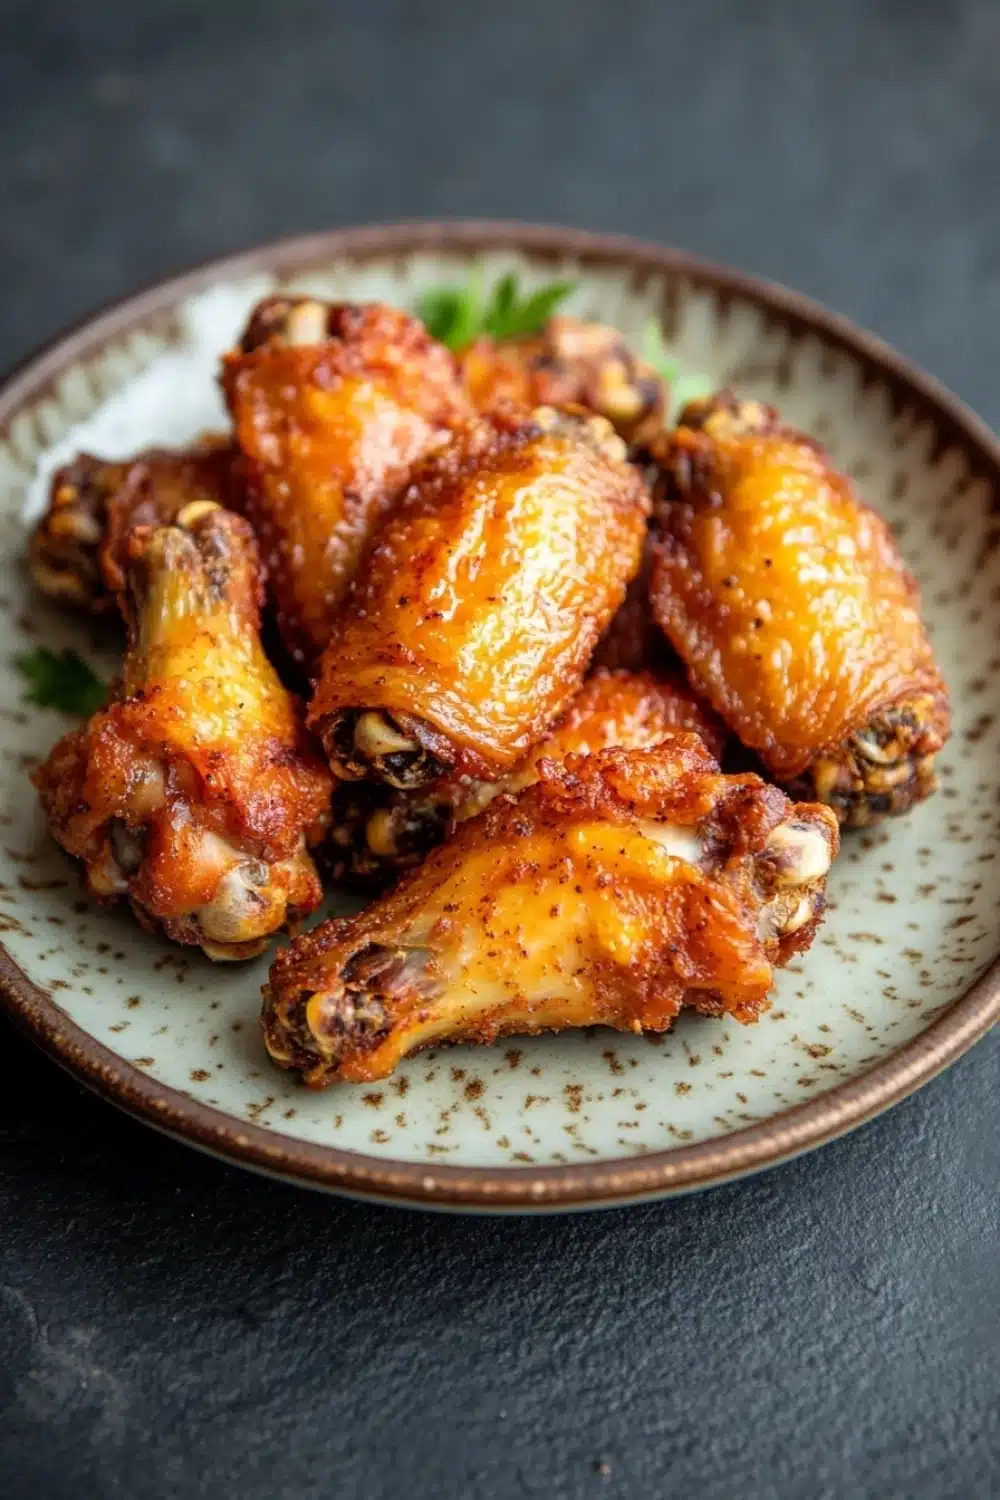
Crispy Juicy Baked Chicken Wings

These crispy, juicy baked chicken wings are perfectly seasoned and oven-baked to golden perfection. They’re a healthier alternative to fried wings but just as delicious and satisfying.
- Prep Time: 15 minutes
- Cook Time: 45 minutes
- Total Time: 1 hour
- Yield: 4
Ingredients
2 pounds chicken wings, tips removed and wings separated into flats and drumettes
1 tablespoon baking powder (aluminum-free)
1 teaspoon kosher salt
1/2 teaspoon freshly ground black pepper
1 teaspoon garlic powder
1 teaspoon smoked paprika
1/2 teaspoon onion powder
1/4 teaspoon cayenne pepper
1 tablespoon olive oil
Instructions
Preheat the oven to 425°F (220°C). Line a large baking sheet with aluminum foil and place a wire rack on top. Lightly grease the wire rack with olive oil to prevent sticking.
Pat the chicken wings dry thoroughly with paper towels to remove excess moisture. This step is crucial for achieving crispiness.
In a large bowl, combine the baking powder, kosher salt, black pepper, garlic powder, smoked paprika, onion powder, and cayenne pepper.
Add the chicken wings to the bowl and drizzle with olive oil. Toss the wings until they are evenly coated with the baking powder mixture and oil.
Arrange the wings in a single layer on the prepared wire rack, making sure they are not touching to allow air circulation.
Bake the wings in the preheated oven for 25 minutes. Then, carefully flip each wing over and continue baking for an additional 20 minutes or until the wings are golden brown and crispy.
Remove the wings from the oven and let them rest for 5 minutes before serving to allow the juices to redistribute.
Serve the crispy baked chicken wings hot with your favorite dipping sauce or enjoy them as is.
Explore more:
Dinner Recipes
Crispy Juicy Baked Chicken Wings
The Baking Powder Trick—Not Just a Random Add-On
Let me spill the tea on why baking powder is your wings’ best friend here. It’s not just some kitchen wizardry—it actually changes the game by making the skin super dry on the surface before baking. That dryness? Crucial to crispiness because moisture is the mortal enemy of crunch. But hold up, aluminum-free baking powder is non-negotiable—aluminum-based can give off a weird metallic aftertaste, which is like a bad plot twist in an otherwise tasty story. I’ve had my fair share of soggy wings before I stumbled upon this trick, and trust me, tossing them with baking powder is the secret sauce behind that perfect snap when you bite into these babies.
Why Pat Dry Like Your Life Depends on It
Every wing deserves a timeout with some paper towels before getting tossed in the seasoning. Moisture on the skin? It’s like setting up a soggy blanket over your crispy hopes. Seriously, skipping this step is the fastest route to limp, sad wings that just can’t pull off the crispy look. When I’m in the kitchen grinding through a batch, I often remind myself: dry skin, happy wings. It’s that simple. Not to mention, the olive oil clings better, seasoning sticks like a champ, and your oven air can do its crispy magic without hindrance.
Flip or Flop? The Art of the Wing Turnover
Here’s where a lot of folks go sideways—overcrowding the pan or skipping the flip. Wings need space to breathe, like a cool breeze on a hot summer day. No crowded wings allowed. Get a wire rack involved; it’s like giving each wing its own little VIP seat so heat gets everywhere. And flipping at the 25-minute mark? Mandatory. It’s not just about even color—it’s about making sure every nook and cranny gets that golden touch. Miss this, and you’re begging for unevenly cooked bits, some soggy, some dry. I once made a batch without flipping—big mistake. The bottoms were limp. Lesson learned, flipping is sacred.
Crispy Juicy Baked Chicken Wings: FAQs
Q1: Can I use baking soda instead of baking powder?
Nope! Baking soda reacts differently and can give your wings a weird metallic taste—stick to aluminum-free baking powder for that perfect crust.
Q2: Do I need to pat the wings dry?
Absolutely. This is non-negotiable. Moisture is the enemy of crispiness. If your wings aren’t bone-dry before seasoning, you’ll end up with soggy skin instead of that coveted crunch.
Q3: Can I make these wings ahead of time?
Yes, you can prep the wings by seasoning them and storing them in the fridge for a few hours or overnight. Just make sure to bring them to room temp before baking, or the cook time might need tweaking.
Q4: What dipping sauces go best?
Honestly, it’s up to your mood. Ranch and blue cheese are classics, but I’ve also rocked these with a spicy buffalo sauce, honey mustard, or even a garlicky aioli. The wings themselves are robust enough to handle bold flavors.
Q5: Should I flip wings halfway through baking?
Yes! Flipping the wings at the 25-minute mark ensures even browning and maximum crunch. Skipping this step? That’s rookie territory.