
Crusty or soft? Always soft.
There’s something endlessly satisfying about tearing into a warm loaf of bread alongside a bowl of rich, spicy chili. The way the bread cushions the heat, soaking up that thick, smoky sauce without turning into a soggy mess—it’s a small magic trick every home cook should master. I remember the first time I nailed a soft homemade bread recipe that paired perfectly with my chili game; it was like the kitchen gods gave me a nod.
Making bread to go with chili isn’t just about slapping some carbs on the side. It’s about creating a vessel that holds flavor, texture, and heat all in one bite. This bread’s tender crumb and slightly chewy crust do exactly that. It’s not a crusty sourdough that steals the spotlight—it’s a humble, soft loaf that knows its role and plays it flawlessly.
In this kitchen hustle, having a loaf that rises just right, with a golden top and a whisper of olive oil, is pure satisfaction. Trust me: once you master this, your chili nights will never be the same.
Looking for the perfect bread to go with chili? Check out our Slow Cooker Chicken and Stuffing: The Ultimate Cozy Dinner Fix for some hearty meal inspiration.
Why This Soft Homemade Bread Rocks with Chili
- Perfect soak-up action: The tender crumb and chewy crust soak up chili juices like a champ—no flavor left behind.
- Easy prep hustle: Just 15 minutes of hands-on time before letting the dough do its magic. Kick back while it rises.
- Kid-friendly munch: Soft texture means even picky eaters can chow down without crusty complaints.
- Freezer-friendly stash: Bake ahead and freeze slices. Pop them out for quick warm-ups on chili nights—zero hassle.
- Versatile sidekick: It’s not just chili’s BFF—this bread pairs solidly with soups, stews, or just slathered with butter for a midnight snack.
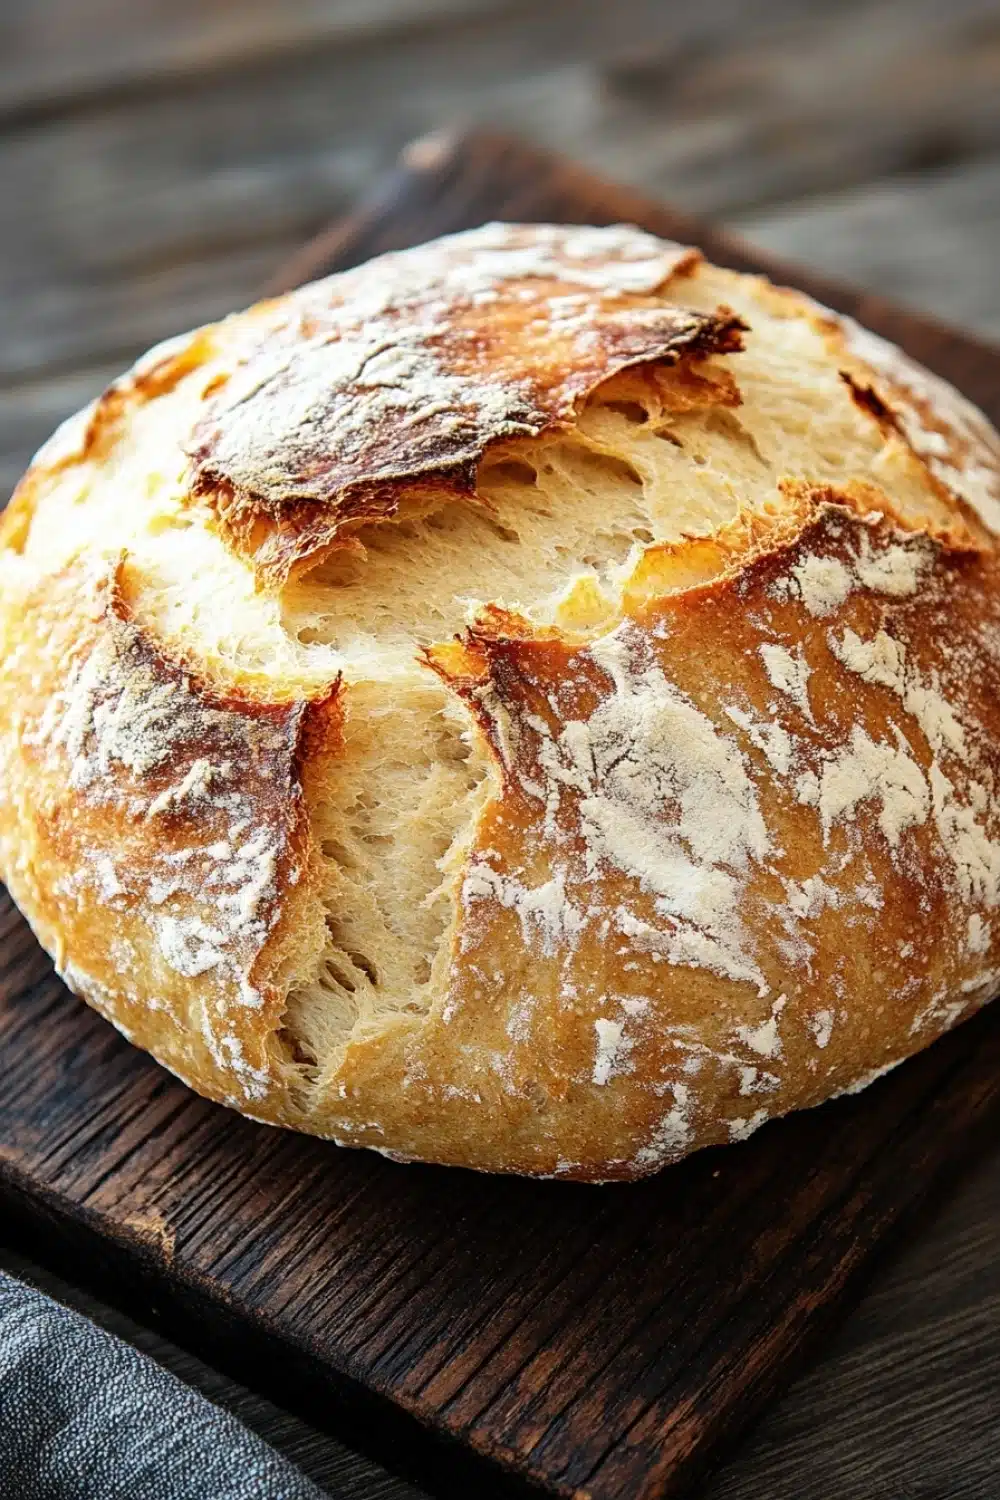
Soft Homemade Bread to Go with Chili

This soft homemade bread is perfect for serving alongside chili. It has a tender crumb and a slightly chewy crust, ideal for soaking up the rich flavors of your favorite chili recipe.
- Prep Time: 15 minutes
- Cook Time: 30 minutes
- Total Time: 1 hour 45 minutes
- Yield: 8 slices
Ingredients
3 1/2 cups (420 grams) all-purpose flour, plus extra for dusting
1 tablespoon granulated sugar
2 teaspoons instant yeast
1 1/4 teaspoons salt
1 1/4 cups (300 ml) warm water (about 110°F/43°C)
2 tablespoons olive oil, plus extra for greasing
Instructions
In a large mixing bowl, combine the flour, sugar, instant yeast, and salt. Stir to combine evenly.
Add the warm water and olive oil to the dry ingredients. Mix with a wooden spoon or dough hook until a shaggy dough forms.
Turn the dough onto a lightly floured surface and knead for about 8-10 minutes until the dough is smooth and elastic. Alternatively, knead with a stand mixer fitted with a dough hook for 6-7 minutes on medium speed.
Lightly grease a clean bowl with olive oil. Place the dough in the bowl, turning it once to coat with oil. Cover the bowl with a clean kitchen towel or plastic wrap.
Let the dough rise in a warm, draft-free place for 1 hour or until doubled in size.
Preheat your oven to 375°F (190°C). Lightly grease a 9×5-inch loaf pan with olive oil.
Punch down the risen dough to release air bubbles. Shape it into a loaf and place it into the prepared loaf pan.
Cover the loaf pan loosely with a kitchen towel and let the dough rise for another 30 minutes until it has risen about 1 inch above the edge of the pan.
Bake the bread in the preheated oven for 25-30 minutes or until the top is golden brown and the loaf sounds hollow when tapped on the bottom.
Remove the bread from the oven and transfer it to a wire rack. Let it cool completely before slicing.
Slice the bread into 8 pieces and serve warm alongside your favorite chili.
Explore more:
Dinner Recipes
Soft Homemade Bread to Go with Chili
The Secret to That Tender Crumb
Here’s the lowdown on why this bread turns out soft yet chewy—it’s all about the water temperature and kneading magic. Using warm water around 110°F wakes up the yeast without killing it—too hot, and you’re toast (literally). That gentle heat kick-starts fermentation, giving you a dough that’s springy and lively. Kneading for 8-10 minutes by hand (or 6-7 with a mixer) develops the gluten just right. Too little, and your bread’s a sad, dense brick; too much, and it gets tough and rubbery. The slight sugar splash? Not just for sweetness—it feeds the yeast, helping it party hard in the bowl. Olive oil isn’t just for greasing—folded into the dough, it tenderizes the crumb and adds subtle richness. When you bake it, the crust crisps up just enough to give a little crunch, but the inside stays fluffy. Perfect for soaking up chili’s spicy goodness.
Swapping Ingredients without Crashing the Party
Don’t have all-purpose flour? No sweat. Bread flour is your ace if you want a bit more chew, thanks to its higher protein content. Whole wheat? Cool move for extra fiber and a nuttier vibe, but toss in a touch more water—the bran soaks it up like a sponge. If sugar’s not your jam, honey or maple syrup can step in, though they’ll slightly tweak the flavor profile. Olive oil is king here, but you can swap it for melted butter if you want a richer, slightly buttery crumb—think of it as swapping your ride from a cruiser to a muscle car. Instant yeast is pretty forgiving, but if you’re stuck with active dry yeast, just proof it first in warm water with a pinch of sugar before mixing.
When Things Go Sideways: Fixing Common Bread Blunders
Forgot to let your dough rise enough? It’ll be dense—like trying to chew on a tire. Solution? Give it a warm spot and more time. Sometimes, your kitchen’s just too chilly; a warm oven (turned off) with the light on works wonders. Over-proofed dough? It’s flabby and crashes in the oven—think of it as an overinflated balloon losing air too fast. To salvage, shape gently and bake immediately; the bread might be less fluffy but still tasty. Dry dough that tears easily? Add water a tablespoon at a time during kneading. Sticky dough that clings like a clingy ex? Dust with flour sparingly—too much, and you stiffen the crumb. The bottom line: bread-making is a dance, and sometimes you trip. But with a few tweaks, you’ll get back on your feet.
Soft Homemade Bread to Go with Chili – FAQ
A: Yes, you can! Just proof it first in warm water with a pinch of sugar before mixing with the flour. It might take a bit longer to rise, but you’ll get there.
A: Nope. Kneading by hand works just fine—and honestly, it’s a nice way to connect with the dough. Just be ready to put some elbow grease in for about 8-10 minutes.
A: Pop it in a warm spot and keep an eye on it. When it looks about twice as big and puffy, you’re good to roll. Think of it like proofing your dough’s ego.
A: Technically, yes—but your loaf might be dense. That second rise is like a power nap for the dough, giving it that soft crumb and cheeky chewiness.
A: About 3 days at room temp in an airtight setup. For longer haul, slice and freeze. Toast those frozen slices straight up for a quick fix.