
Introduction to Fun Halloween Food
As the leaves turn and the air gets crisp, it’s time to embrace the magic of Halloween! I know how busy life can get, especially for us moms juggling work, kids, and everything in between. That’s why I’m excited to share this delightful recipe for fun Halloween food that’s not only easy to whip up but also a hit with the whole family. Imagine serving up spooky treats that bring smiles and laughter to your Halloween celebrations. This recipe is a quick solution for a busy day, ensuring you can enjoy the festivities without the stress!
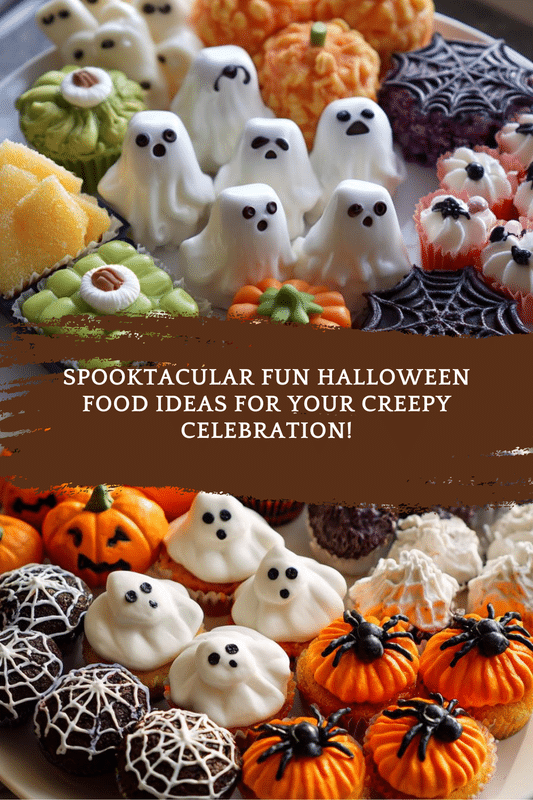
PrintFun Halloween Food: Discover Treats That Thrill!

A collection of exciting and spooky treats perfect for Halloween celebrations.
- Prep Time: 15 minutes
- Cook Time: 30 minutes
- Total Time: 45 minutes
- Yield: 12 servings
- Category: Dessert
- Method: Baking
- Cuisine: American
- Diet: Vegetarian
Ingredients
- 1 cup of pumpkin puree
- 2 cups of flour
- 1 cup of sugar
- 1/2 cup of butter
- 2 eggs
- 1 tsp of baking powder
- 1 tsp of cinnamon
- 1/2 tsp of nutmeg
- 1/4 tsp of salt
- 1 cup of chocolate chips
Instructions
- Preheat the oven to 350°F (175°C).
- In a bowl, mix the pumpkin puree, sugar, and butter until smooth.
- Add the eggs one at a time, mixing well after each addition.
- In another bowl, combine the flour, baking powder, cinnamon, nutmeg, and salt.
- Gradually add the dry ingredients to the wet mixture, stirring until just combined.
- Fold in the chocolate chips.
- Pour the batter into a greased baking pan.
- Bake for 25-30 minutes or until a toothpick comes out clean.
- Let cool before cutting into spooky shapes.
Notes
- For a vegan version, substitute eggs with flaxseed meal.
- Decorate with Halloween-themed sprinkles for added fun.
- Store leftovers in an airtight container for up to a week.
Why You’ll Love This Fun Halloween Food
This fun Halloween food is a lifesaver for busy moms like us! It’s quick to prepare, taking just 15 minutes of your time, and the baking is a breeze. Plus, the delightful combination of pumpkin and chocolate makes it a treat that everyone will adore. You’ll love how it fills your home with a warm, inviting aroma, creating a cozy atmosphere perfect for Halloween festivities!
Ingredients for Fun Halloween Food
Gathering the right ingredients is the first step to creating these delightful treats. Here’s what you’ll need:
- Pumpkin puree: This adds moisture and a lovely fall flavor. You can use canned or homemade puree.
- Flour: All-purpose flour gives structure to your treats. For a gluten-free option, try almond or coconut flour.
- Sugar: Granulated sugar sweetens the batter. You can substitute with brown sugar for a richer taste.
- Butter: Unsalted butter adds richness. If you prefer a dairy-free version, coconut oil works well.
- Eggs: They help bind everything together. For a vegan alternative, flaxseed meal is a great substitute.
- Baking powder: This leavening agent helps your treats rise, making them light and fluffy.
- Cinnamon: A warm spice that enhances the pumpkin flavor, making it feel like fall.
- Nutmeg: Just a pinch adds a cozy, aromatic touch to your treats.
- Salt: A little salt balances the sweetness and enhances the flavors.
- Chocolate chips: These are the fun part! They add a sweet surprise in every bite. You can use dark, milk, or even white chocolate chips.
For exact measurements, check the bottom of the article where you can find everything available for printing. Happy baking!
How to Make Fun Halloween Food
Step 1: Preheat the Oven
First things first, preheat your oven to 350°F (175°C). This step is crucial! Preheating ensures that your treats bake evenly. If you skip this, you might end up with gooey centers or burnt edges. Trust me, no one wants that on Halloween!
Step 2: Mix Wet Ingredients
In a large bowl, combine the pumpkin puree, sugar, and softened butter. Mix them together until you have a smooth, creamy mixture. This is where the magic begins! The pumpkin adds moisture, while the sugar and butter create a sweet base that will make your treats irresistible.
Step 3: Add Eggs
Now, it’s time to add the eggs. Crack them in one at a time, mixing well after each addition. This helps to incorporate air into the batter, making your treats light and fluffy. Plus, it’s a fun way to get the kids involved—let them help with the mixing!
Step 4: Combine Dry Ingredients
In another bowl, whisk together the flour, baking powder, cinnamon, nutmeg, and salt. This step is important for evenly distributing the leavening agent and spices. The aroma of cinnamon and nutmeg will fill your kitchen, making it feel like fall!
Step 5: Combine Wet and Dry Mixtures
Now, gently add the dry ingredients to the wet mixture. Stir until just combined. Be careful not to overmix! Overmixing can lead to tough treats, and we want them to be soft and tender. A few lumps are perfectly fine!
Step 6: Fold in Chocolate Chips
Next, it’s time for the fun part—folding in the chocolate chips! Use a spatula to gently mix them into the batter. This ensures that every bite has a sweet surprise. Remember, folding is key; you want to keep the batter light and airy.
Step 7: Pour and Bake
Pour the batter into a greased baking pan, spreading it evenly. Pop it into the preheated oven and bake for 25-30 minutes. You’ll know it’s done when a toothpick inserted in the center comes out clean. The smell wafting through your home will be heavenly!
Step 8: Cool and Cut
Once baked, let your treats cool in the pan for about 10 minutes. Then, transfer them to a wire rack to cool completely. This is the perfect time to get creative! Once cooled, cut them into spooky shapes using cookie cutters. Your fun Halloween food is now ready to impress!
Tips for Success
- Always measure your ingredients accurately for the best results.
- Let your butter soften at room temperature for easier mixing.
- Use parchment paper in your baking pan for easy removal.
- Don’t skip the cooling step; it helps the treats set properly.
- Get creative with shapes and decorations to make them extra festive!
Equipment Needed for Fun Halloween Food
- Mixing bowls: A set of various sizes is handy. You can also use any large bowl you have.
- Whisk: Great for mixing dry ingredients. A fork works in a pinch!
- Spatula: Perfect for folding in chocolate chips. A wooden spoon can do the job too.
- Baking pan: A square or rectangular pan works best. You can use a muffin tin for fun individual treats!
- Wire rack: Ideal for cooling. If you don’t have one, a plate will suffice.
Variations of Fun Halloween Food
- Gluten-Free: Substitute all-purpose flour with almond flour or a gluten-free blend for a delicious alternative.
- Vegan: Replace eggs with flaxseed meal mixed with water for a plant-based version that’s just as tasty.
- Spicy Kick: Add a pinch of cayenne pepper or chili powder to the batter for a surprising twist!
- Nutty Flavor: Incorporate chopped walnuts or pecans for added texture and a nutty taste.
- Fruity Addition: Mix in dried cranberries or raisins for a sweet and chewy surprise in every bite.
Serving Suggestions for Fun Halloween Food
- Pair your spooky treats with a warm cup of apple cider for a cozy fall vibe.
- Serve alongside a platter of fresh fruit for a colorful contrast.
- Decorate with Halloween-themed plates and napkins to enhance the festive atmosphere.
- Consider adding a scoop of vanilla ice cream on the side for an extra indulgence!
FAQs about Fun Halloween Food
Can I make this fun Halloween food ahead of time?
Absolutely! You can bake these treats a day or two in advance. Just store them in an airtight container to keep them fresh. They’ll still taste delicious when it’s time to celebrate!
What can I use instead of pumpkin puree?
If you don’t have pumpkin puree, you can substitute it with applesauce or mashed bananas. Both options will add moisture and a hint of sweetness to your treats.
How can I make these treats more festive?
Get creative with decorations! Use Halloween-themed sprinkles, edible glitter, or even drizzle melted chocolate on top. You can also cut them into fun shapes using cookie cutters!
Can I freeze the leftovers?
Yes, you can freeze these treats! Just wrap them tightly in plastic wrap and place them in a freezer-safe bag. They’ll keep for up to three months. Thaw them at room temperature when you’re ready to enjoy!
Are there any nut-free options for this recipe?
Definitely! Just omit any nuts if you’re concerned about allergies. The recipe is already nut-free, so you can enjoy these fun Halloween food treats without worry!
Final Thoughts
Creating fun Halloween food is more than just baking; it’s about making memories with your loved ones. The joy of mixing ingredients, the delightful aroma wafting through your home, and the laughter shared while cutting spooky shapes all contribute to a festive atmosphere. This recipe is a wonderful way to bring everyone together, even on the busiest of days. So, roll up your sleeves, gather your family, and dive into this delicious adventure. Trust me, the smiles and satisfied bellies will make it all worthwhile. Happy Halloween baking!