
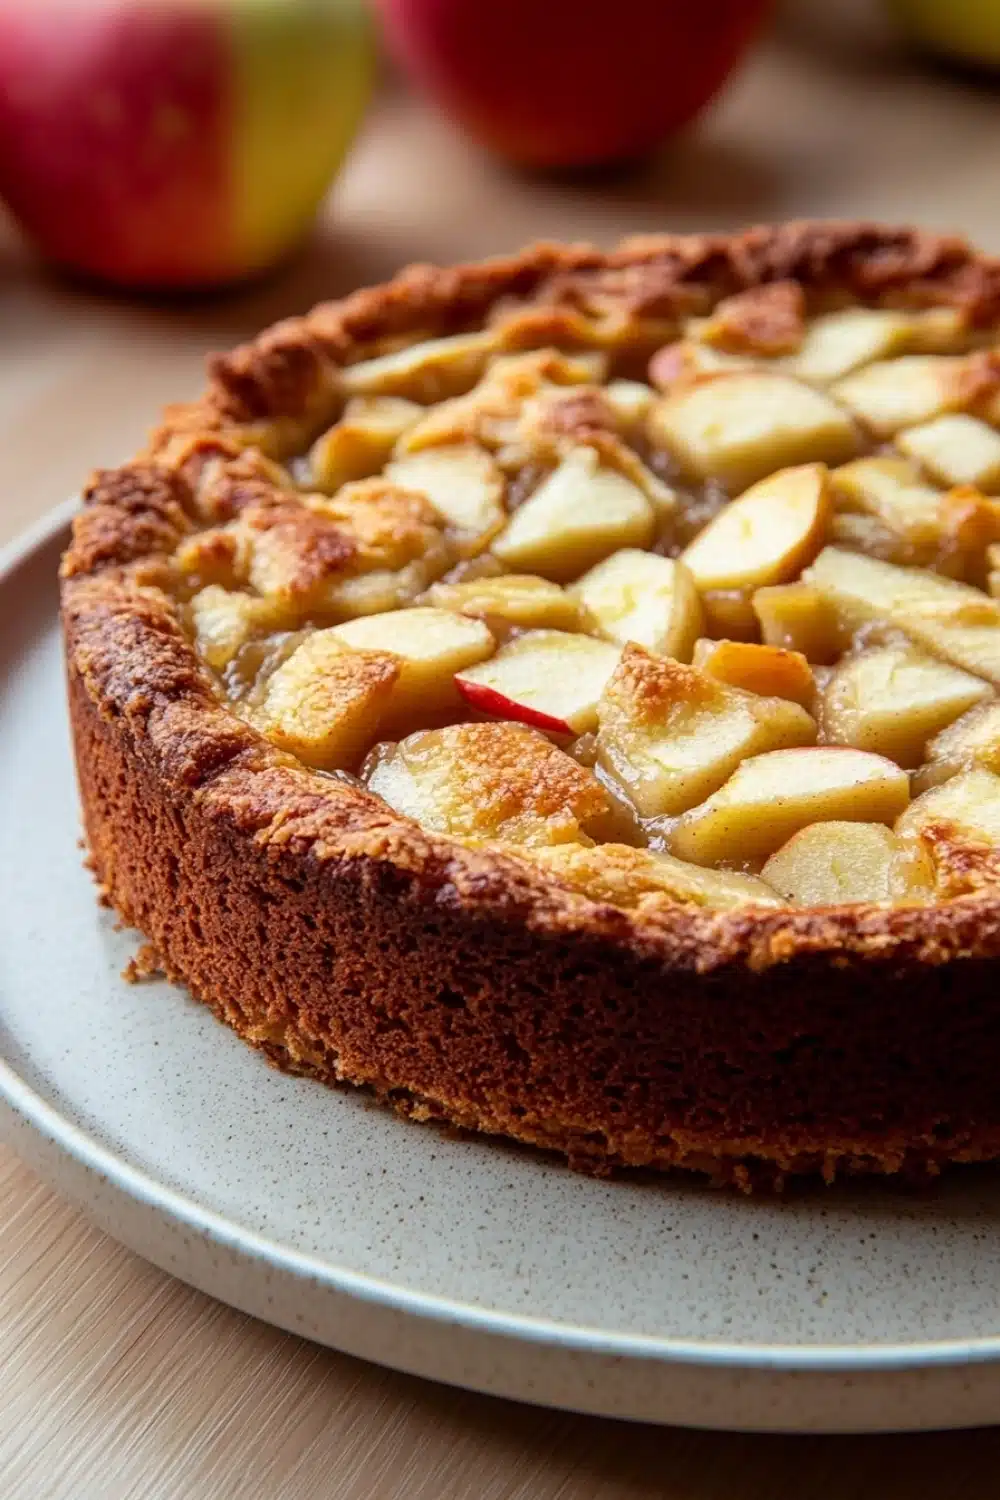
Apples and cake—match made in heaven.
There’s something about the kitchen on a crisp afternoon when the scent of baked apples and warm spices fills the air. I remember one fall day when I whipped up this apple cake using apple pie filling—no fuss, just pure comfort. The batter is silky, the spices subtle but teasing, and then that luscious layer of apple pie filling right in the middle? Game changer.
This cake isn’t just about throwing ingredients together; it’s about layering textures. You get that tender crumb surrounding a gooey, cinnamony apple core that steals the show every single time. Trust me, this isn’t your average apple dessert—it’s like a plot twist in every bite.
Ready to ditch your usual snack and dive into this? Let’s get our hands dirty and the oven hot.
If you’re a fan of apple cake with apple pie filling, you’ll love our Green Apple Muffins: A Crisp, Cinnamon-Kissed Breakfast Treat for a delicious twist.
Real Life Perks of This Apple Cake with Apple Pie Filling
- Quick to whip up—20 minutes prep lets you get this cake in the oven before your afternoon slump hits.
- One-pan wonder: minimal cleanup means more time enjoying and less scrubbing. That’s a win in my book.
- The apple pie filling keeps the cake moist and bursting with flavor—no dry bites here.
- Versatile for any occasion: cozy night in, potluck, or even a last-minute guest drop-in.
- Leftovers stay fresh for days when stored right, and freezing means you can stash slices for a rainy day treat.
Apple Cake with Apple Pie Filling
A moist and flavorful apple cake made with sweet and spiced apple pie filling, perfect for a cozy dessert or afternoon treat.
- Prep Time: 20 minutes
- Cook Time: 45 minutes
- Total Time: 1 hour 5 minutes
- Yield: 8
Ingredients
2 cups all-purpose flour
1 1/2 teaspoons baking powder
1/2 teaspoon baking soda
1/2 teaspoon ground cinnamon
1/4 teaspoon ground nutmeg
1/4 teaspoon salt
1/2 cup unsalted butter, softened
1 cup granulated sugar
2 large eggs
1 teaspoon vanilla extract
1/2 cup sour cream
1 (21-ounce) can apple pie filling
Instructions
Preheat the oven to 350°F (175°C). Grease and flour a 9-inch round cake pan.
In a medium bowl, whisk together the all-purpose flour, baking powder, baking soda, ground cinnamon, ground nutmeg, and salt. Set aside.
In a large bowl, beat the softened unsalted butter and granulated sugar together with an electric mixer on medium speed until light and fluffy, about 3 minutes.
Add the eggs one at a time, beating well after each addition. Mix in the vanilla extract.
Reduce the mixer speed to low and add the dry ingredients in three additions, alternating with the sour cream, beginning and ending with the dry ingredients. Mix until just combined.
Pour half of the batter into the prepared cake pan and spread evenly.
Spoon the entire can of apple pie filling evenly over the batter layer in the pan.
Carefully spread the remaining batter over the apple pie filling layer, smoothing the top with a spatula.
Bake in the preheated oven for 40 to 45 minutes, or until a toothpick inserted into the center of the cake comes out clean.
Remove the cake from the oven and allow it to cool in the pan on a wire rack for 15 minutes.
Run a knife around the edges of the cake to loosen it from the pan, then invert onto a serving plate.
Let the cake cool completely before slicing and serving.
Explore more:
Breakfast Recipes
Mastering Apple Cake with Apple Pie Filling
The Secret to That Moist, Spiced Base
This apple cake isn’t just a cake—it’s a cozy hug on a plate, and that starts with the batter. The combo of baking powder and baking soda is a classic tag team: baking powder gives a gentle rise, while baking soda reacts with the sour cream’s acidity for a tender crumb that almost floats. Speaking of sour cream, it’s the unsung hero here. It keeps everything moist, no dry dust-bunny crumbs allowed. I once tried swapping sour cream for plain yogurt thinking no biggie—huge misstep. The texture turned dense and just… sad. So stick with sour cream, trust me on this one. The cinnamon and nutmeg? They’re your spice squad, subtle but unmistakable, blending with the sweetness so the cake never feels one-note. If you’re craving a little kick, a pinch of ground ginger or clove could hop in, but don’t overdo it—this cake’s all about balance.
Flipping Layers and Why It Works
Layering the batter and apple pie filling is like building a flavor sandwich—each bite hits different. Pour half the batter, dollop that canned apple pie filling evenly, then cap with the rest of the batter. This technique traps tender apple pockets inside the cake, keeping it from turning into some sad, flat apple glue. Spreading the second batter layer can be tricky—go slow, use a spatula, and don’t stress if it’s not perfectly smooth. During baking, the fruit sinks just enough to blend but stays chunky enough to bite into—no mushy disasters here.
Why canned apple pie filling, you ask? It’s the cheat code for consistent results—apples already sweetened and spiced, no need to fuss with peeling and seasoning yourself. But if you’re feeling adventurous, homemade apple compote works too—just remember to drain excess liquid to avoid a soggy mess.
Fixing Common Fails: When Your Apple Cake Goes Sideways
Ever pulled out a cake only to see it either a) too dense or b) a soggy mess? Been there, done that. If your cake feels brick-like, chances are you mixed the dry ingredients too aggressively or overbaked it. Mix just until combined—overworking your batter is the quickest way to a tire-tread texture. Keep a sharp eye on the clock; ovens vary, so start checking at 40 minutes.
On the soggy side, too much apple juice can be the culprit—especially if your pie filling is extra saucy or homemade. Next time, drain the filling on paper towels before layering. Also, make sure your cake pan is properly greased and floured—this baby sticks like crazy otherwise. And for that classic clean slice? Let the cake cool completely before cutting. I know patience is hard, but slice too soon and you’ll end up with a sloppy mess on your hands.
Apple Cake with Apple Pie Filling FAQs
Yes, you can—but here’s the kicker: fresh apples need to be peeled, sliced, and cooked down with sugar and spices to mimic the pie filling’s sweet-spicy vibe. It’s a bit more hands-on but worth the hustle if you want that fresh-fruit punch.
Nope. This recipe calls for all-purpose flour, which contains gluten. To make it gluten-free, you’d have to swap in a suitable blend—like a 1-to-1 gluten-free baking mix—and expect a slight change in texture.
This cake keeps its moistness nicely for about 2 days at room temp in an airtight container. The sour cream in the batter is the secret MVP here, locking in that tender crumb. If you want to stretch freshness, refrigerate it wrapped tightly, but bring it back to room temp before serving for best results.
Absolutely! Just double every ingredient and use a larger pan or two 9-inch pans so the batter isn’t too thick. Baking times might extend by 5–10 minutes—keep an eye on it and do the toothpick test to avoid a dry cake.
Yes, flipping it out onto a plate helps reveal the luscious apple layer on top—making every slice look as good as it tastes. Plus, it cools evenly. Just don’t rush it; waiting those 15 minutes before flipping saves your cake from crumbling.