
Introduction to Christmas Tree Snacks
As the holiday season approaches, I find myself searching for festive treats that bring joy without the fuss. That’s where these delightful Christmas Tree Snacks come in! They’re not just adorable; they’re a quick solution for busy days filled with holiday chaos. Imagine gathering your loved ones around a platter of these colorful, edible trees, each one a little masterpiece. With minimal effort and maximum cheer, these snacks are perfect for holiday gatherings or cozy family nights. Trust me, they’ll be a hit with kids and adults alike, making your celebrations even more special!
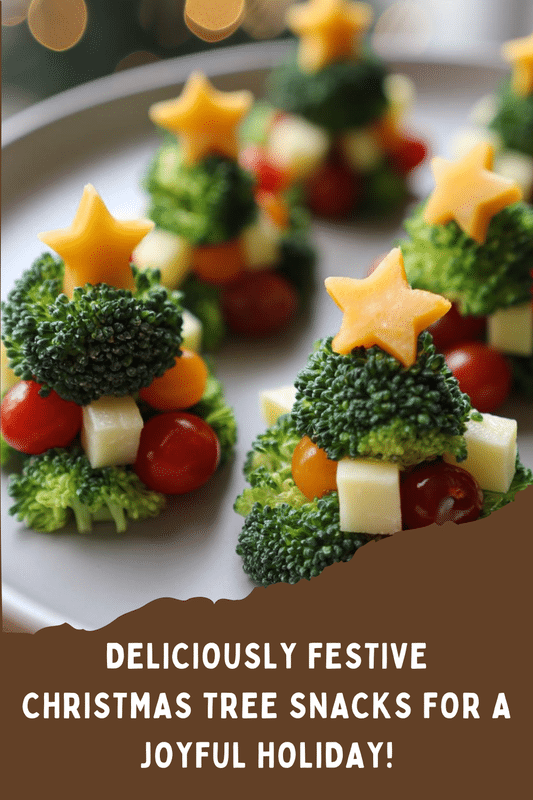
PrintChristmas Tree Snacks: Delightful Treats for the Holidays!

Christmas Tree Snacks are festive and fun treats perfect for holiday gatherings, made with colorful ingredients that resemble Christmas trees.
- Prep Time: 20 minutes
- Cook Time: 0 minutes
- Total Time: 20 minutes
- Yield: 12 snacks
- Category: Dessert
- Method: No-bake
- Cuisine: American
- Diet: Vegetarian
Ingredients
- 1 cup of green frosting
- 12 sugar cones
- 1 cup of mini marshmallows
- 1 cup of chocolate chips
- 1 cup of colorful sprinkles
- 1 cup of pretzel sticks
Instructions
- Start by placing the sugar cones upside down on a serving platter.
- Spread green frosting over each cone to resemble a Christmas tree.
- Decorate the trees with mini marshmallows, chocolate chips, and colorful sprinkles.
- Insert pretzel sticks at the base of each cone to act as tree trunks.
- Let the decorations set for a few minutes before serving.
Notes
- Feel free to use different colors of frosting for a variety of trees.
- These snacks can be made a day in advance and stored in an airtight container.
- Consider adding edible glitter for extra sparkle!
Why You’ll Love This Christmas Tree Snacks
These Christmas Tree Snacks are a lifesaver for busy moms and professionals like us! They’re incredibly easy to whip up, taking just 20 minutes from start to finish. Plus, the kids can join in on the fun, making it a delightful family activity. With their vibrant colors and sweet flavors, these treats are sure to bring smiles and laughter to your holiday gatherings. Who doesn’t love a little festive magic on their plate?
Ingredients for Christmas Tree Snacks
Creating these festive Christmas Tree Snacks is a breeze with just a handful of colorful ingredients. Here’s what you’ll need:
- Green frosting: This is the star of the show! It gives our trees that vibrant, holiday look. You can use store-bought or make your own for a personal touch.
- Sugar cones: These serve as the base of our trees. Their conical shape is perfect for mimicking the classic Christmas tree silhouette.
- Mini marshmallows: These fluffy delights add a snowy effect and a sweet bite. They’re also great for decorating!
- Chocolate chips: A sprinkle of these adds a rich, chocolaty flavor. They can represent ornaments or just be a tasty treat.
- Colorful sprinkles: These bring a festive flair! Use a mix of shapes and colors to make your trees pop.
- Pretzel sticks: These act as the tree trunks, adding a crunchy texture. You can swap them for candy canes for a fun twist!
Feel free to get creative! You can use different colors of frosting for a variety of trees or even add edible glitter for extra sparkle. For exact measurements, check the bottom of the article where you can find everything available for printing.
How to Make Christmas Tree Snacks
Step 1: Prepare the Sugar Cones
Start by placing the sugar cones upside down on a serving platter. This creates a sturdy base for your Christmas Tree Snacks. Make sure they’re spaced out enough to allow for decorating later. It’s like setting the stage for a festive performance!
Step 2: Frost the Cones
Next, grab your green frosting and spread it generously over each cone. Use a spatula or a butter knife for an even layer. The frosting should resemble the lush branches of a Christmas tree. Don’t worry about perfection; a little mess adds to the charm!
Step 3: Decorate the Trees
Now comes the fun part! Decorate your trees with mini marshmallows, chocolate chips, and colorful sprinkles. Let your creativity shine! Arrange the toppings in a way that makes each tree unique. It’s like dressing up your trees for a holiday party!
Step 4: Add the Tree Trunks
Insert pretzel sticks at the base of each cone to act as tree trunks. Gently push them in until they’re secure. This adds a delightful crunch and completes the look of your festive trees. It’s the finishing touch that makes them truly special!
Step 5: Let Set Before Serving
Finally, let the decorations set for a few minutes before serving. This helps everything stick together and makes for easier handling. Plus, it builds anticipation for your guests. Trust me, the wait will be worth it when you see their smiles!
Tips for Success
- Use a piping bag for frosting to create fun designs and patterns.
- Let the kids help with decorating; it’s a great way to bond!
- For a smoother frosting application, warm the frosting slightly in the microwave.
- Keep extra toppings on hand for a DIY decorating station.
- Store any leftovers in an airtight container to keep them fresh.
Equipment Needed
- Serving platter: A festive tray works well, but any flat surface will do.
- Spatula or butter knife: For spreading frosting; a plastic knife can be a fun alternative for kids.
- Piping bag (optional): For more intricate frosting designs; a zip-top bag with a corner cut works too.
- Measuring cups: Handy for portioning toppings, but eyeballing works just fine!
Variations of Christmas Tree Snacks
- Gluten-free option: Use gluten-free sugar cones and check that your toppings are gluten-free as well.
- Healthier twist: Swap out the frosting for yogurt or whipped cream for a lighter version.
- Nutty flavor: Add crushed nuts or nut butter as a topping for a delicious crunch.
- Fruit trees: Use slices of kiwi, strawberries, or grapes instead of candy for a fruity alternative.
- Chocolate lovers: Drizzle melted chocolate over the trees for an extra indulgent treat.
Serving Suggestions for Christmas Tree Snacks
- Pair these festive treats with hot cocoa or eggnog for a cozy holiday vibe.
- Serve alongside a platter of fresh fruit for a colorful contrast.
- Display them on a decorative cake stand to elevate your holiday table.
- Consider adding a sprinkle of edible glitter for extra sparkle!
FAQs about Christmas Tree Snacks
Can I make Christmas Tree Snacks in advance?
Absolutely! You can prepare these festive treats a day ahead. Just store them in an airtight container to keep them fresh. This way, you can enjoy more time with your loved ones during the holiday rush!
What can I use instead of sugar cones?
If sugar cones aren’t available, you can use waffle cones or even ice cream cones. They’ll still create that charming tree shape, and your Christmas Tree Snacks will be just as delightful!
How can I make these snacks healthier?
For a healthier twist, consider using yogurt or whipped cream instead of frosting. You can also add fresh fruit as decorations, making them a nutritious option for your holiday gatherings.
What if my kids are picky eaters?
No worries! Let them choose their favorite toppings. You can set up a decorating station with various options, allowing them to create their own unique Christmas Tree Snacks. It’s a fun way to get them involved!
Can I customize the colors of the frosting?
Definitely! Feel free to use different colors of frosting to create a variety of trees. You can even mix colors for a fun, whimsical look. The more colorful, the merrier!
Final Thoughts
Creating these Christmas Tree Snacks is more than just a recipe; it’s a joyful experience that brings families together. As I watch my kids decorate their edible trees, laughter fills the kitchen, and the holiday spirit comes alive. These treats are not only delicious but also a canvas for creativity, allowing everyone to express their festive flair. Whether you’re hosting a gathering or enjoying a cozy night in, these snacks add a sprinkle of magic to your celebrations. So, gather your loved ones, roll up your sleeves, and let the holiday fun begin with these delightful Christmas Tree Snacks!