
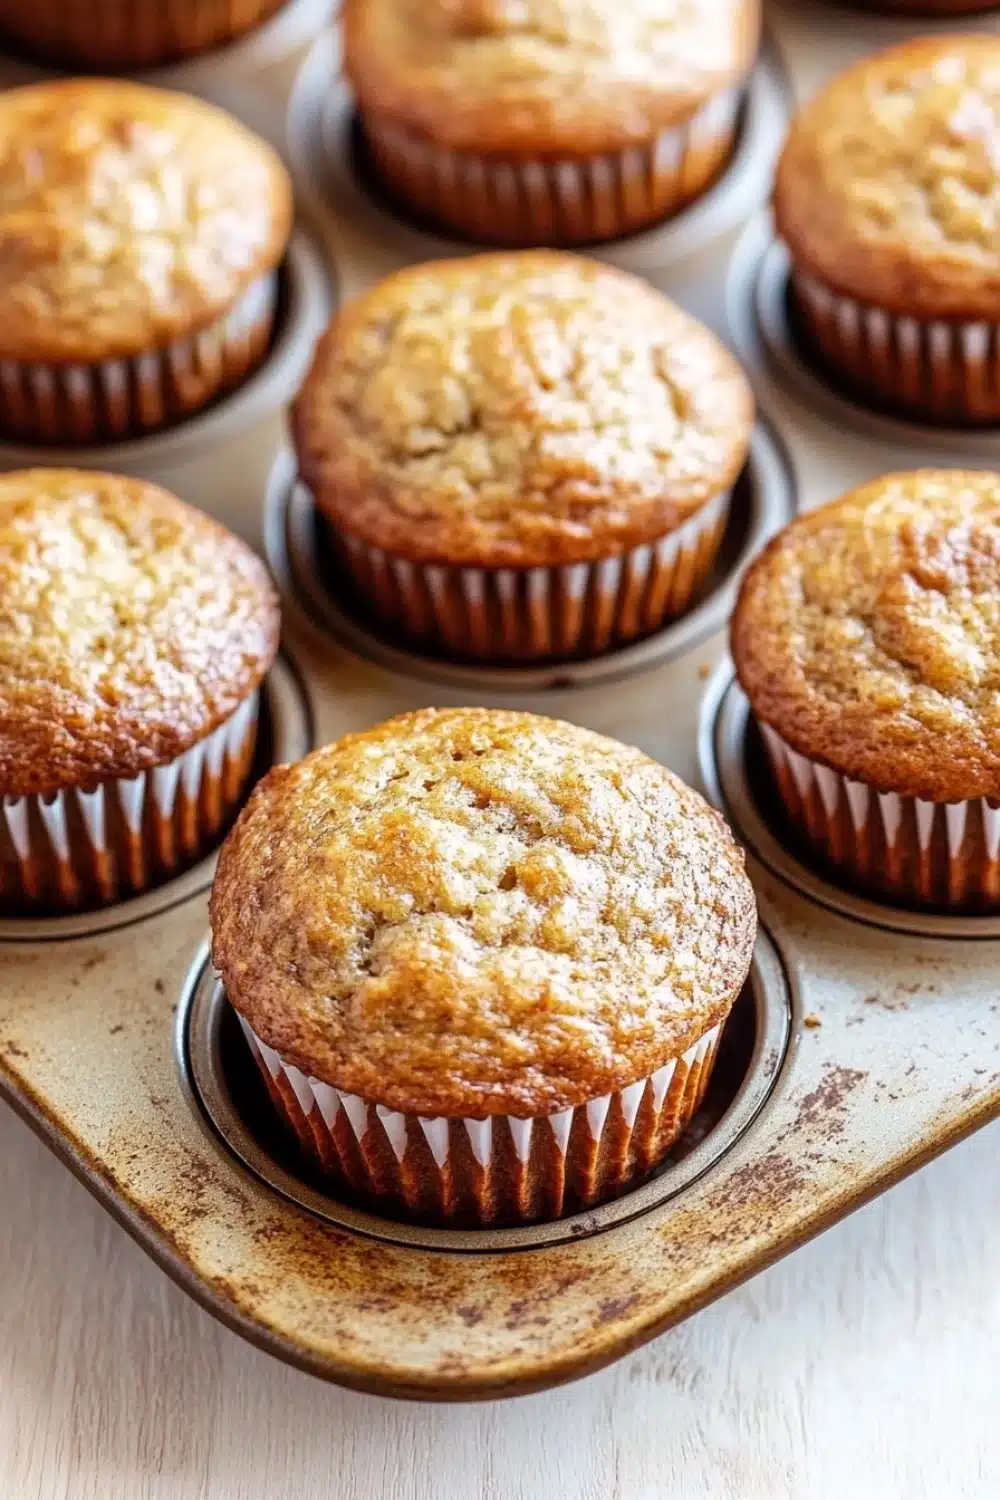
Banana muffins beckon.
From the moment ripe bananas meet sugar and vanilla in a humble bowl, the kitchen fills with a scent that’s nothing short of hypnotic. The batter—lumpy, yet promising—whispers secrets of soft, tender crumb and a golden crust that’ll have you reaching for seconds before the timer even dings. Baking these beauties is like catching lightning in a bottle; simple ingredients, but the mood they set? Unbeatable.
Captured in crisp photos, these banana muffin pictures don’t just showcase baked goods—they tell a story. The cracked tops, the moist interiors peeking out, the way light hits each muffin like it’s an old friend you can’t wait to bite into. I remember the first time I nailed that perfect rise—no bakery tricks, just patience and respect for the batter’s quirks. That’s kitchen magic you can snap in a frame.
So, grab your muffin tin and prep to make memories that look just as good as they taste.
For a delicious twist on your baking, check out these Moist Apple Muffins with Almond Flour for a Gluten-Free Start that pair perfectly with your favorite banana muffin pictures.
Real-Life Perks of Baking Classic Banana Muffins
- Quick breakfast fix—ready in just over half an hour when mornings are already a sprint.
- Perfect snack for lunchboxes; no need for fancy packaging or extras.
- Uses overripe bananas that might otherwise end up in the trash—zero waste vibes.
- Simple ingredients mean no last-minute grocery runs or mystery pantry raids.
- Great way to sneak fruit into a picky eater’s diet without a fuss or bribe.
Classic Banana Muffins
Moist and fluffy classic banana muffins made with ripe bananas and a hint of vanilla. Perfect for breakfast or a snack.
- Prep Time: 15 minutes
- Cook Time: 20 minutes
- Total Time: 35 minutes
- Yield: 12 muffins
Ingredients
1 1/2 cups (190 grams) all-purpose flour
1 teaspoon baking powder
1 teaspoon baking soda
1/2 teaspoon salt
3 large ripe bananas, mashed
3/4 cup (150 grams) granulated sugar
1 large egg, beaten
1/3 cup (80 ml) vegetable oil
1 teaspoon vanilla extract
Instructions
Preheat the oven to 350°F (175°C). Line a 12-cup muffin tin with paper liners or grease the cups.
In a large bowl, whisk together the all-purpose flour, baking powder, baking soda, and salt until well combined.
In a separate medium bowl, mash the ripe bananas with a fork until smooth.
Add the granulated sugar, beaten egg, vegetable oil, and vanilla extract to the mashed bananas. Stir until combined.
Pour the banana mixture into the dry ingredients and gently fold together with a spatula until just combined. Do not overmix; the batter should be slightly lumpy.
Divide the batter evenly among the 12 muffin cups, filling each about 3/4 full.
Bake in the preheated oven for 18 to 20 minutes, or until a toothpick inserted into the center of a muffin comes out clean.
Remove the muffins from the oven and let them cool in the tin for 5 minutes.
Transfer the muffins to a wire rack to cool completely before serving.
Explore more:
Breakfast Recipes
Classic Banana Muffins: The No-Fail Guide
The Great Flour Switch-Up: When and How to Shake Things Up
Ever wondered if you could swap that all-purpose flour for something a little funkier? Trust me—I’ve been there, trying to dodge the gluten monster or just sneak in more nutrients. Whole wheat flour is your go-to for a nuttier, denser muffin—expect a bit more chew, but it’s worth the trade-off. Just remember: whole wheat drinks up more moisture, so toss in an extra splash of milk or an extra banana to keep things moist. Almond flour? It’s a game-changer for that crumbly, tender vibe but don’t go 1:1—it’s heavier and lacks gluten’s stretch. Play with the combos—half all-purpose, half almond—to keep your crumb happy and not turn your muffins into rocks. Here’s the kicker: if you’re tossing in oats or flaxseed, reduce the flour a tad to avoid a dense brick. Baking is a bit of a tightrope walk—too much change, and the whole thing topples.
Why You Don’t Want to Overmix—The Batter’s Delicate Dance
Look, I get it. When the dry ingredients stare at the banana mush, there’s a temptation to go full-on blender mode. Resist! Overmixing is the muffin world’s equivalent of a bad haircut—tough to fix and leaves you with a tough, rubbery chew. The secret? Folding gently with a spatula until you see just a few streaks of flour. Lumps? Totally fine—they’ll bake out and keep your muffins cloud-soft. Think of it as a casual mingle, not a full-on handshake. Mixing too much develops that gluten, and suddenly you’re munching on something more like a biscuit than the tender banana treat you dreamed of. One time, I blitzed the batter too enthusiastically—lesson learned when my muffins bounced off the plate instead of sinking into it.
Rescue Mission: When Muffins Go Sideways
Burnt edges? Muffin toppers that look like sad little craters? Don’t chuck the batch just yet. Here’s what’s usually tripping you up: oven temps that run hotter than a summer sidewalk, or overfilling those cups like you’re at an ice cream sundae bar. First, grab an oven thermometer—ovens love to fib about their temps. Next, fill those muffin cups no more than 3/4 full; anything more and you’re begging for a volcano top or a spillover mess. If your muffins turn out dry, it’s often the oil quantity or overbaking. Tip: test your muffins a couple of minutes before the timer’s up with a toothpick—pull it out clean or with a few moist crumbs, and you’re golden. Also, don’t skimp on the ripe bananas; underripe ones just won’t pack the right punch. I once swapped green bananas in a pinch—huge mistake. Muffins tasted like disappointment and regret.
Classic Banana Muffins FAQ
A: Absolutely! Brown sugar adds a richer, molasses-y vibe to these muffins. It’s a nice twist if you want a deeper flavor with a bit more chew.
A: Not really. I like to leave a few small lumps in the batter for texture—gives a bit of character to each bite. Over-mashing can make the muffins too dense.
A: Yes, but heads up—a butter swap will give a different mouthfeel. Use melted and slightly cooled butter for best results. Expect a slightly richer, more buttery flavor.
A: Yes. Freeze ’em in a sealed bag for up to 2 months. When you’re ready, just thaw at room temp—and boom—ready to munch.
A: For sure! Toss in about 1/2 cup of chopped nuts or chocolate chips when folding the batter. Just be gentle—don’t go all Hulk Smash on the mix.