
Introduction to Classic Halloween Eyeball Brownies
As the leaves turn and the air gets crisp, I find myself dreaming of spooky treats that bring a smile to my family’s faces. That’s where my Classic Halloween Eyeball Brownies come in! These deliciously spooky brownies are not just a feast for the eyes; they’re a quick solution for busy days filled with Halloween festivities. With just a handful of ingredients, you can whip up a batch that’s sure to impress your loved ones. Trust me, these brownies will be the highlight of your Halloween celebrations!
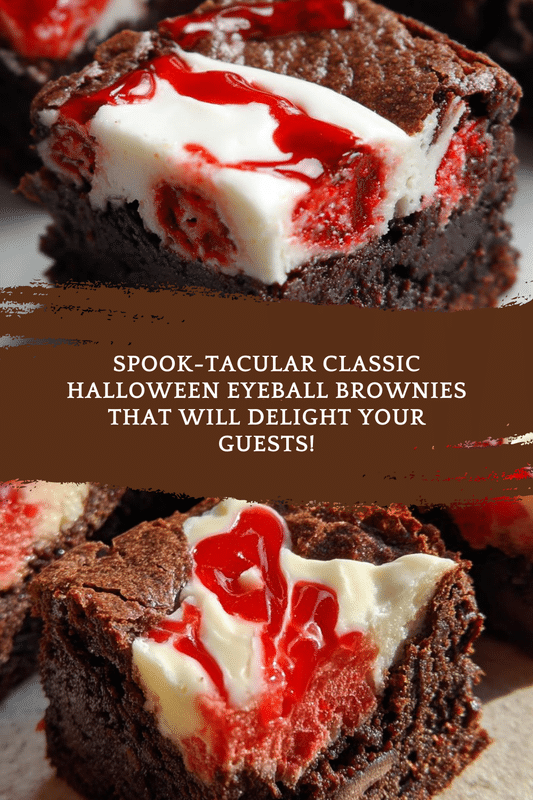
PrintClassic Halloween Eyeball Brownies You Must Try Today!

Deliciously spooky brownies topped with candy eyeballs, perfect for Halloween celebrations.
- Prep Time: 20 minutes
- Cook Time: 30 minutes
- Total Time: 50 minutes
- Yield: 24 brownies
- Category: Dessert
- Method: Baking
- Cuisine: American
- Diet: Vegetarian
Ingredients
- 1 cup unsalted butter
- 2 cups granulated sugar
- 4 large eggs
- 1 teaspoon vanilla extract
- 1 cup all-purpose flour
- 1 cup cocoa powder
- 1/2 teaspoon salt
- 1/2 teaspoon baking powder
- Candy eyeballs for decoration
Instructions
- Preheat the oven to 350°F (175°C) and grease a 9×13 inch baking pan.
- In a large bowl, melt the butter and mix in the sugar until well combined.
- Add the eggs one at a time, mixing well after each addition, then stir in the vanilla extract.
- In another bowl, whisk together the flour, cocoa powder, salt, and baking powder.
- Gradually add the dry ingredients to the wet ingredients, mixing until just combined.
- Pour the brownie batter into the prepared baking pan and spread evenly.
- Bake for 25-30 minutes or until a toothpick inserted in the center comes out clean.
- Let the brownies cool completely before cutting into squares.
- Top each brownie square with candy eyeballs for decoration.
Notes
- For a richer flavor, use dark chocolate cocoa powder.
- Store leftovers in an airtight container at room temperature.
- These brownies can be made a day in advance for easier party prep.
Why You’ll Love These Classic Halloween Eyeball Brownies
These Classic Halloween Eyeball Brownies are a delightful blend of ease and taste, making them perfect for busy moms like us. In just 50 minutes, you can create a spooky dessert that’s sure to wow your family and friends. The rich, fudgy texture paired with the playful candy eyeballs makes for a treat that’s not only delicious but also fun. Plus, they’re a fantastic way to get the kids involved in the kitchen!
Ingredients for Classic Halloween Eyeball Brownies
Gathering the right ingredients is half the fun of baking! For these Classic Halloween Eyeball Brownies, you’ll need a few staples that you might already have in your pantry. Here’s what you’ll need:
- Unsalted butter: This adds richness and moisture to the brownies. You can substitute with margarine if needed.
- Granulated sugar: Sweetness is key! It helps create that fudgy texture we all love.
- Large eggs: They bind everything together and give the brownies their structure.
- Vanilla extract: A splash of this adds a warm, inviting flavor that enhances the chocolate.
- All-purpose flour: This is the backbone of the brownies, giving them body and texture.
- Cocoa powder: Use unsweetened cocoa for a deep chocolate flavor. Dark chocolate cocoa can elevate the taste even more!
- Salt: Just a pinch balances the sweetness and enhances the chocolate flavor.
- Baking powder: This helps the brownies rise slightly, giving them a nice texture.
- Candy eyeballs: The fun part! These are the spooky decorations that make your brownies come alive.
For exact measurements, check the bottom of the article where you can find everything listed for easy printing. Happy baking!
How to Make Classic Halloween Eyeball Brownies
Step 1: Preheat and Prepare
First things first, let’s get that oven preheating to 350°F (175°C). This step is crucial for achieving that perfect fudgy texture. While the oven warms up, grab a 9×13 inch baking pan and grease it well. You can use butter or cooking spray—whatever you have on hand. This will ensure your brownies slide out easily once they’re baked. Trust me, no one wants to wrestle with stuck brownies!
Step 2: Mix the Wet Ingredients
Now, let’s melt that unsalted butter in a large bowl. I usually do this in the microwave for about 30 seconds. Once it’s melted, stir in the granulated sugar until it’s well combined. The mixture should look glossy and inviting! Next, add the eggs one at a time, mixing well after each addition. Don’t forget to add a splash of vanilla extract for that warm, comforting flavor. This step is where the magic begins!
Step 3: Combine the Dry Ingredients
In another bowl, whisk together the all-purpose flour, cocoa powder, salt, and baking powder. This is where the dry ingredients come together to create the backbone of your brownies. Make sure to break up any lumps in the cocoa powder; we want a smooth, even batter. The aroma of cocoa will start to fill your kitchen, and trust me, it’s heavenly!
Step 4: Combine Wet and Dry Mixtures
Now it’s time to bring it all together! Gradually add the dry ingredients to the wet mixture, stirring gently until just combined. Be careful not to overmix; we want our brownies to stay fudgy and rich. You’ll see the batter come together beautifully, and it should be thick and luscious. This is the moment when you can almost taste the chocolatey goodness!
Step 5: Bake the Brownies
Pour the brownie batter into your prepared baking pan, spreading it evenly with a spatula. Pop it into the preheated oven and bake for 25-30 minutes. To check for doneness, insert a toothpick in the center; it should come out clean or with a few moist crumbs. The smell wafting through your home will be irresistible, and your family will be eagerly waiting for these spooky treats!
Step 6: Cool and Decorate
Once baked, let the brownies cool completely in the pan. This is important for cutting them into neat squares. After they’ve cooled, it’s time for the fun part! Top each brownie square with candy eyeballs. You can arrange them however you like—get creative! These little decorations will make your Classic Halloween Eyeball Brownies a hit at any Halloween gathering!
Tips for Success
- Use room temperature eggs for better mixing.
- Don’t overbake; check for doneness a few minutes early.
- For extra fudginess, let the brownies cool in the pan.
- Experiment with different candy eyeballs for a fun twist!
- Store leftovers in an airtight container to keep them fresh.
Equipment Needed
- 9×13 inch baking pan: A standard size for brownies; you can use a glass or metal pan.
- Mixing bowls: A large bowl for wet ingredients and a medium bowl for dry ingredients.
- Whisk: Perfect for mixing dry ingredients; a fork works in a pinch!
- Spatula: Great for spreading the batter evenly in the pan.
- Toothpick: Essential for checking doneness; a knife can also do the trick.
Variations
- Nutty Brownies: Add chopped walnuts or pecans for a delightful crunch.
- Gluten-Free Option: Substitute all-purpose flour with a gluten-free blend for a safe treat.
- Mint Chocolate: Mix in mint extract for a refreshing twist on the classic flavor.
- Spicy Kick: Add a pinch of cayenne pepper or chili powder for a surprising heat.
- Vegan Version: Replace eggs with flaxseed meal and use dairy-free butter for a plant-based treat.
Serving Suggestions
- Pair with a scoop of vanilla ice cream for a delightful contrast.
- Serve alongside a warm cup of hot cocoa or apple cider.
- For a spooky touch, plate on a black or orange platter.
- Garnish with sprinkles or edible glitter for extra flair.
FAQs about Classic Halloween Eyeball Brownies
Can I make these brownies ahead of time?
Absolutely! These Classic Halloween Eyeball Brownies can be made a day in advance. Just store them in an airtight container at room temperature. This way, you can enjoy more time with your family and friends during the Halloween festivities!
What can I use instead of candy eyeballs?
If you can’t find candy eyeballs, don’t worry! You can use chocolate chips, gummy candies, or even mini marshmallows. Get creative with your decorations; the goal is to have fun!
How do I know when the brownies are done baking?
To check for doneness, insert a toothpick into the center of the brownies. If it comes out clean or with a few moist crumbs, they’re ready! Remember, a little fudginess is perfect for that rich texture.
Can I freeze the brownies?
Yes, you can freeze these brownies! Just wrap them tightly in plastic wrap and place them in an airtight container. They’ll stay fresh for up to three months. Thaw them at room temperature before serving.
What’s the best way to cut brownies?
For clean cuts, use a sharp knife and wipe it clean between cuts. This will help you achieve those perfect brownie squares. You can also chill the brownies in the fridge for a bit before cutting for even neater slices!
Final Thoughts
Making Classic Halloween Eyeball Brownies is more than just baking; it’s about creating memories with your loved ones. The joy of watching your kids’ faces light up as they decorate these spooky treats is priceless. Plus, the rich, fudgy texture paired with the playful candy eyeballs makes for a dessert that’s both delicious and fun. Whether you’re hosting a Halloween party or just looking for a sweet treat to enjoy at home, these brownies are sure to bring smiles all around. So, roll up your sleeves and dive into this delightful baking adventure!