
Ready in a flash.
There’s something about the sizzle and pop of an air fryer that instantly perks up the kitchen vibe. I recently threw some thawed tilapia fillets into mine—a simple, no-fuss move that turned out to be a game-changer for busy weeknights. No more waiting around or wrestling with soggy fish.
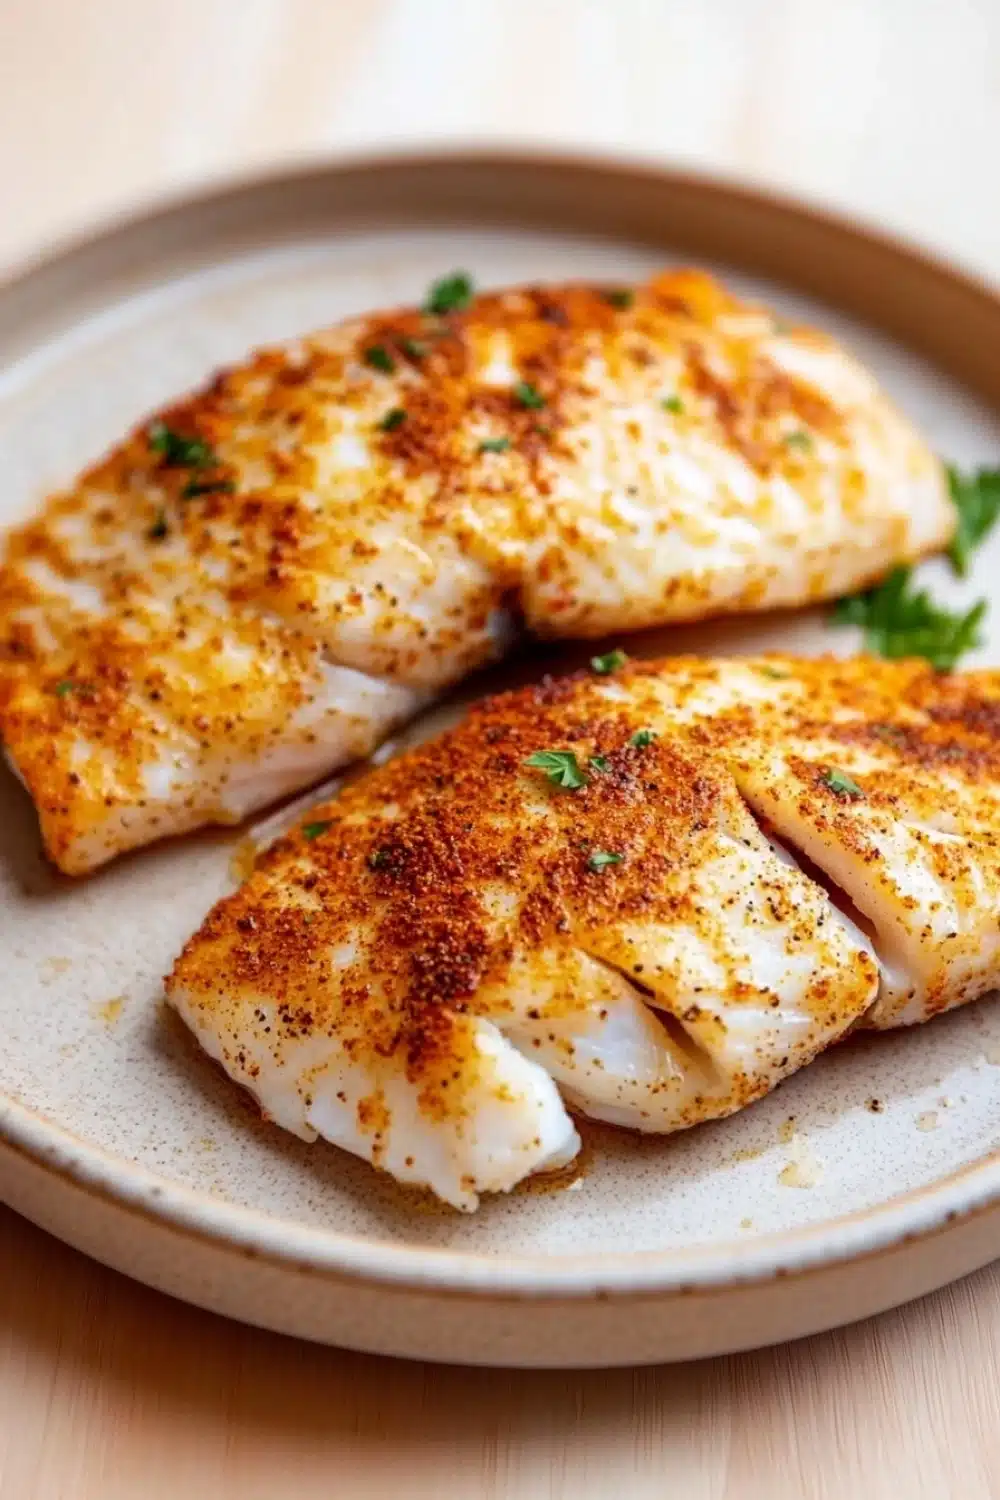
Prepping these fillets couldn’t be easier. I patted them dry—because soggy skin is a no-go—then slathered on olive oil and a cheeky sprinkle of garlic powder, paprika, and dried parsley. The aroma? Like a punch in the nose from the best fish shack down by the bay.
Ten minutes later, the tilapia came out perfectly crispy on the outside, flaky on the inside. Just like that, dinner was served with zero hassle. Trust me, once you go air fryer, you never go back.
If you’re looking for a delicious way to prepare air fryer tilapia thawed, check out our recipe for Crispy Tilapia in Air Fryer: Quick, Golden, and Perfectly Tender for a perfect meal.
Real Life Benefits of Air Fryer Tilapia
- Ready in a flash—under 20 minutes from fridge to fork, perfect for those hectic weeknights when you’re slammed but still want something homemade.
- Lighter on the waistline without skimping on flavor—using olive oil and a no-fuss spice rub keeps it clean and crunchy.
- No grease splatter drama—air frying means less mess and no need to stand guard over a hot stove.
- Meal-prep friendly—cook a batch, stash leftovers in the fridge, and reheat in the air fryer to restore that fresh-crisp vibe.
- Great for beginners—zero guesswork with simple seasoning and foolproof timing, even if you’re just getting your sea legs in the kitchen.
Air Fryer Tilapia (Thawed)

A quick and easy recipe for perfectly cooked, crispy air fryer tilapia fillets. This healthy dish is ready in under 20 minutes and perfect for a light lunch or dinner.
- Prep Time: 5 minutes
- Cook Time: 12 minutes
- Total Time: 17 minutes
- Yield: 2
Ingredients
2 tilapia fillets, thawed (about 6 ounces each)
1 tablespoon olive oil
1/2 teaspoon garlic powder
1/2 teaspoon paprika
1/4 teaspoon salt
1/4 teaspoon black pepper
1/2 teaspoon dried parsley
Instructions
Preheat the air fryer to 400°F (200°C) for 3 minutes.
Pat the thawed tilapia fillets dry with paper towels.
Brush both sides of each fillet with olive oil.
In a small bowl, mix garlic powder, paprika, salt, black pepper, and dried parsley.
Sprinkle the seasoning mixture evenly over both sides of the tilapia fillets.
Place the fillets in the air fryer basket in a single layer, ensuring they do not overlap.
Cook the tilapia in the air fryer at 400°F (200°C) for 10 to 12 minutes, flipping halfway through, until the fish is opaque and flakes easily with a fork.
Carefully remove the fillets from the air fryer and serve immediately.
Explore more:
Dinner Recipes
Mastering Air Fryer Tilapia: Tips, Tricks, and Fixes
The Lowdown on Seasoning Swaps — Don’t Overthink It
Here’s the skinny: if you’re fresh out of paprika or dried parsley, don’t sweat it. Swap that paprika for smoked paprika or even a dash of cayenne if you want a little kick — just go easy unless you’re ready for a firecracker on your plate. Parsley can be swapped with dried dill or even oregano, depending on your mood or pantry raids. Olive oil? Can be swapped for avocado oil or melted butter if you’re feeling rogue. The key is balancing fat and flavor so the fillets crisp up without drying out. Trust me, your fish won’t notice if you tweak a bit, but it’ll thank you for not going overboard.
Why Flip the Fillets? The Flip Side of Air Frying
Flipping the tilapia halfway through cooking isn’t just a courtesy — it’s the difference between a soggy bottom and a crispy crown. The air fryer’s heat source blasts from all sides, but sometimes the basket’s design or how you load the fish means one side cooks faster. Flipping ensures even browning, that subtle crunch, and that flake-easy texture everyone’s chasing. I remember the first time I ignored this step—end result? One side charred, the other limp. Lesson learned the hard way. So set a timer, flip the fillets with a gentle hand, and let the fryer do its magic on both sides.
Oops, My Tilapia’s Not Crispy! Here’s How to Fix That
Dry fish, no crunch, or a rubbery chew? Yeah, that’s the classic air fryer trap when you’re starting out. The culprit? Moisture and crowding. Pat your fillets dry with a paper towel — moisture is the enemy of crispiness. Don’t pile them up like sardines. Give each fillet its own breathing room in the basket. If you rush the process or skip the oil, you’re basically asking for a sad fish scenario. Another hack? After air frying, let them rest for a minute outside the fryer. This little breathing space helps the crust set up. And if you’re reheating leftovers, skip the microwave—air fryer or oven is your crispy friend here. With these tweaks, even a kitchen newbie can nail crispy tilapia every time.
Air Fryer Tilapia FAQs
A: No, this recipe is designed for thawed fillets to ensure even cooking and crispy texture. Frozen fish tends to steam rather than crisp up properly.
A: Look for opaque flesh that flakes easily with a fork. If the fish still looks translucent or resists flaking, give it a couple more minutes. Overcooking dries it out, so keep a close eye.
A: Absolutely! Feel free to swap the garlic powder and paprika for cumin, chili powder, or even Old Bay seasoning if you want to kick it up a notch. The air fryer’s hot blast lets those spices sing without sogginess.
A: Yes. Using olive oil sparingly and air frying instead of deep-frying keeps the calories and fat low while locking in protein and flavor. Perfect for anyone watching what goes on their plate.
A: Yes. Flipping helps cook each side evenly and crisps up the edges. Skipping this step can lead to uneven cooking and a sad, soggy bottom.