
Introduction to Halloween Pinwheel Cookies
As the leaves turn and the air gets crisp, I find myself dreaming of festive treats that bring a smile to my family’s faces. These Halloween Pinwheel Cookies are just the ticket! They’re not only colorful and fun but also incredibly easy to whip up, making them perfect for busy moms like us. Whether you’re hosting a Halloween party or just want to surprise your loved ones, these cookies will surely impress. Plus, they’re a delightful way to get the kids involved in the kitchen, creating memories that last far beyond the spooky season.
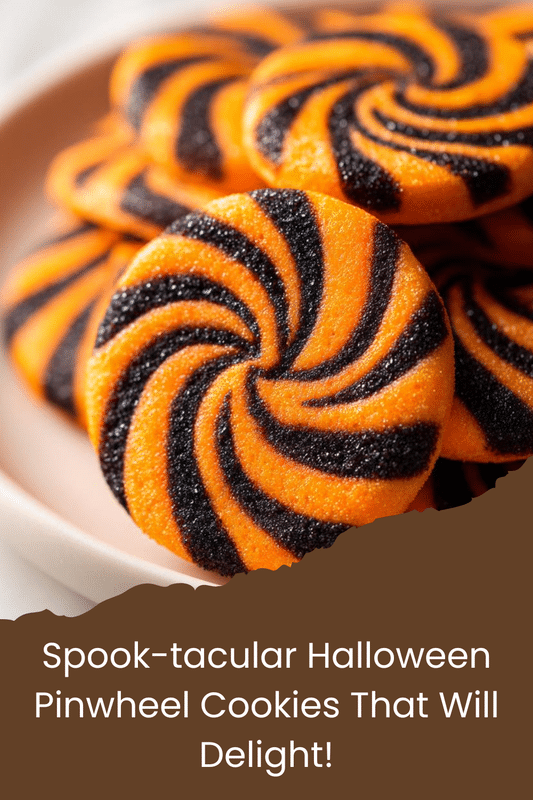
PrintHalloween Pinwheel Cookies: Delight Your Guests with These Festive Treats!

These Halloween Pinwheel Cookies are colorful, festive, and perfect for celebrating the spooky season. They are easy to make and will delight your guests with their fun design and delicious taste.
- Prep Time: 20 minutes
- Cook Time: 12 minutes
- Total Time: 1 hour 32 minutes
- Yield: 24 cookies
- Category: Dessert
- Method: Baking
- Cuisine: American
- Diet: Vegetarian
Ingredients
- 1 cup unsalted butter, softened
- 1 cup granulated sugar
- 1 large egg
- 1 teaspoon vanilla extract
- 2 ½ cups all-purpose flour
- 1 teaspoon baking powder
- ½ teaspoon salt
- 1 cup cocoa powder
- 1 cup orange food coloring
- 1 cup black food coloring
Instructions
- Preheat your oven to 350°F (175°C).
- In a large bowl, cream together the softened butter and sugar until light and fluffy.
- Add the egg and vanilla extract, mixing until well combined.
- In a separate bowl, whisk together the flour, baking powder, and salt.
- Gradually add the dry ingredients to the wet mixture, mixing until a dough forms.
- Divide the dough into three equal parts. Leave one part plain, color one part with orange food coloring, and the other with black food coloring.
- Roll out each colored dough between two sheets of parchment paper into rectangles.
- Layer the colored doughs on top of each other, starting with the plain dough, followed by the orange, and then the black.
- Roll the layered dough tightly into a log and refrigerate for at least 30 minutes.
- Slice the log into ¼ inch thick rounds and place them on a baking sheet lined with parchment paper.
- Bake for 10-12 minutes or until the edges are lightly golden.
- Allow to cool before serving.
Notes
- For a more vibrant color, add more food coloring as desired.
- These cookies can be stored in an airtight container for up to a week.
- Feel free to experiment with different colors for other holidays!
Why You’ll Love This Halloween Pinwheel Cookies
These Halloween Pinwheel Cookies are a delightful blend of ease and flavor. With just a few simple steps, you can create a stunning dessert that looks as good as it tastes. They bake up quickly, making them a perfect solution for those busy days when you want to impress without the stress. Plus, the vibrant colors and fun design will have everyone reaching for seconds, ensuring your treats are the star of the show!
Ingredients for Halloween Pinwheel Cookies
Gathering the right ingredients is the first step to creating these festive delights. Here’s what you’ll need:
- Unsalted butter: This is the base of your cookies, providing richness and flavor. Make sure it’s softened for easy mixing.
- Granulated sugar: Sweetness is key! This helps create that delightful texture we all love in cookies.
- Large egg: Eggs bind the ingredients together and add moisture, making your cookies soft and chewy.
- Vanilla extract: A splash of vanilla enhances the overall flavor, giving your cookies a warm, inviting aroma.
- All-purpose flour: The backbone of your dough, it gives structure to your cookies. You can substitute with gluten-free flour if needed.
- Baking powder: This leavening agent helps your cookies rise, ensuring they’re light and fluffy.
- Salt: Just a pinch balances the sweetness and enhances the flavors of the other ingredients.
- Cocoa powder: This adds a rich chocolate flavor to one of the layers, making your cookies even more irresistible.
- Orange food coloring: A must for that festive Halloween vibe! Feel free to adjust the amount for a bolder hue.
- Black food coloring: This gives your cookies a spooky touch, perfect for the season. Again, adjust as desired for intensity.
For exact measurements, check the bottom of the article where you can find everything listed for easy printing. Happy baking!
How to Make Halloween Pinwheel Cookies
Now that you have your ingredients ready, let’s dive into the fun part—making these Halloween Pinwheel Cookies! Follow these simple steps, and you’ll have a colorful treat that’s sure to impress.
Step 1: Preheat the Oven
First things first, preheat your oven to 350°F (175°C). Preheating is crucial because it ensures your cookies bake evenly. If the oven isn’t hot enough, your cookies might spread too much, losing that lovely pinwheel shape.
Step 2: Cream Butter and Sugar
In a large bowl, cream together the softened butter and granulated sugar until the mixture is light and fluffy. This process is essential for creating a tender texture in your cookies. The air you incorporate while creaming helps them rise beautifully in the oven.
Step 3: Add Egg and Vanilla
Next, add in the large egg and vanilla extract. Mix until everything is well combined. The egg adds moisture, while the vanilla infuses a warm, inviting flavor that makes your cookies irresistible. Trust me, this step is where the magic begins!
Step 4: Combine Dry Ingredients
In a separate bowl, whisk together the all-purpose flour, baking powder, and salt. This step is vital for a balanced dough. The baking powder helps your cookies rise, while the salt enhances the sweetness. Gradually add this dry mixture to your wet ingredients, mixing until a dough forms.
Step 5: Form the Dough
Now, divide the dough into three equal parts. Leave one part plain, color one with orange food coloring, and the other with black. This is where you can get creative! Feel free to adjust the colors to your liking. Just remember, the more vibrant, the better for Halloween!
Step 6: Roll Out the Dough
Roll out each colored dough between two sheets of parchment paper into rectangles. This helps prevent sticking and makes it easier to layer. Aim for about ¼ inch thick. Once rolled, layer the colored doughs on top of each other, starting with the plain, followed by the orange, and then the black.
Step 7: Chill the Dough
After layering, roll the dough tightly into a log. Wrap it in plastic wrap and refrigerate for at least 30 minutes. Chilling is crucial as it helps the cookies maintain their shape while baking. Plus, it makes slicing much easier!
Step 8: Slice and Bake
Once chilled, slice the log into ¼ inch thick rounds. Place them on a baking sheet lined with parchment paper. Bake for 10-12 minutes or until the edges are lightly golden. Keep an eye on them; you want that perfect balance of chewy and crispy!
Tips for Success
- Make sure your butter is softened for easy creaming.
- Use a kitchen scale for precise measurements, especially for flour.
- Don’t skip the chilling step; it’s key for maintaining shape.
- Experiment with colors to match your Halloween theme.
- Keep an eye on baking time to avoid overbaking.
- Let cookies cool completely before storing to maintain freshness.
Equipment Needed
- Mixing bowls: A set of various sizes is handy. You can also use any large bowl you have.
- Electric mixer: This makes creaming easier, but a whisk works too if you’re feeling strong!
- Parchment paper: Essential for easy baking and cleanup. Aluminum foil can be a substitute.
- Rolling pin: A must for rolling out dough. A wine bottle can work in a pinch!
- Baking sheet: Use any flat baking tray you have on hand.
Variations of Halloween Pinwheel Cookies
- Chocolate Chip Addition: Fold in some mini chocolate chips into the dough for an extra burst of sweetness.
- Spooky Sprinkles: Add Halloween-themed sprinkles on top before baking for a festive touch.
- Gluten-Free Option: Substitute all-purpose flour with a gluten-free blend to accommodate dietary needs.
- Nutty Twist: Incorporate finely chopped nuts like walnuts or pecans for added texture and flavor.
- Different Colors: Experiment with other food coloring shades for different holidays, like red and green for Christmas!
Serving Suggestions for Halloween Pinwheel Cookies
- Milk: Serve these cookies with a cold glass of milk for a classic pairing that everyone loves.
- Coffee: A warm cup of coffee or pumpkin spice latte complements the cookies beautifully.
- Festive Platter: Arrange the cookies on a spooky-themed platter for a fun presentation.
- Ice Cream: Pair with a scoop of vanilla or pumpkin ice cream for a delightful dessert.
- Decorative Touch: Add some Halloween-themed decorations around the serving area for extra flair!
FAQs about Halloween Pinwheel Cookies
As you embark on your baking adventure with these Halloween Pinwheel Cookies, you might have a few questions. Here are some common queries that can help you along the way:
Can I use different colors for the dough?
Absolutely! While orange and black are perfect for Halloween, feel free to experiment with other colors for different occasions. Think red and green for Christmas or pastel shades for spring!
How should I store the cookies?
Store your Halloween Pinwheel Cookies in an airtight container at room temperature. They’ll stay fresh for up to a week, but I doubt they’ll last that long!
Can I freeze the dough?
Yes! You can freeze the rolled log of dough for up to three months. Just wrap it tightly in plastic wrap and foil. When you’re ready to bake, let it thaw in the fridge before slicing.
What if my dough is too sticky?
If your dough feels sticky, try chilling it for a bit longer. You can also sprinkle a little flour on your work surface while rolling it out to make it easier to handle.
Can I make these cookies ahead of time?
Definitely! These cookies can be made a day or two in advance. Just store them in an airtight container, and they’ll be ready to impress your guests when you need them!
Final Thoughts
Making Halloween Pinwheel Cookies is more than just baking; it’s about creating joyful moments with family and friends. The vibrant colors and delightful flavors bring a festive spirit to any gathering. I love how these cookies can spark creativity in the kitchen, especially when the kids join in. Plus, they’re a fantastic way to celebrate the spooky season without a lot of fuss. So, whether you’re sharing them at a party or enjoying them at home, these cookies are sure to bring smiles and sweet memories. Happy baking, and may your Halloween be filled with treats and laughter!