
Chewy cookie magic—it’s real.
There’s nothing quite like that moment when you pull a tray of thick, gooey cookies from the oven, the scent of melted chocolate chips wrapping around your kitchen like a warm, familiar hug. I remember the first time I nailed this texture: soft center, just-set edges, that satisfying tug when you bite in. It’s a small victory, but one worth savoring.
Mixing the dough feels like alchemy—melting butter just right, beating sugars until glossy, folding in chocolate chips like treasure troves. Each step is a dance between precision and intuition. Overmix, and you risk a cakey flop; underbake, and you get a gooey mess.
Trust the process. This recipe isn’t just baking; it’s the art of chewy cookie mastery. Dive in, and let your taste buds do the talking.
If you’re craving a chewy cookie that also supports your breastfeeding journey, check out our Oatmeal Lactation Cookies: Boost Milk Supply with Every Bite for a delicious treat.
Why These Chewy Chocolate Chip Cookies Rock Your Snack Game
- Soft and thick texture that stays chewy bite after bite — no cardboard cookie nonsense here.
- Melty semisweet chocolate chips spread generously, hitting your taste buds like a sweet jackpot every time.
- Prepping takes just 15 minutes — perfect for when you’re craving fresh-baked cookies ASAP.
- Batch yields 24 cookies, ideal for sharing or hoarding in your secret snack stash.
- Easy to store and freeze, so you can keep your cookie mojo going for weeks without losing that fresh-baked vibe.
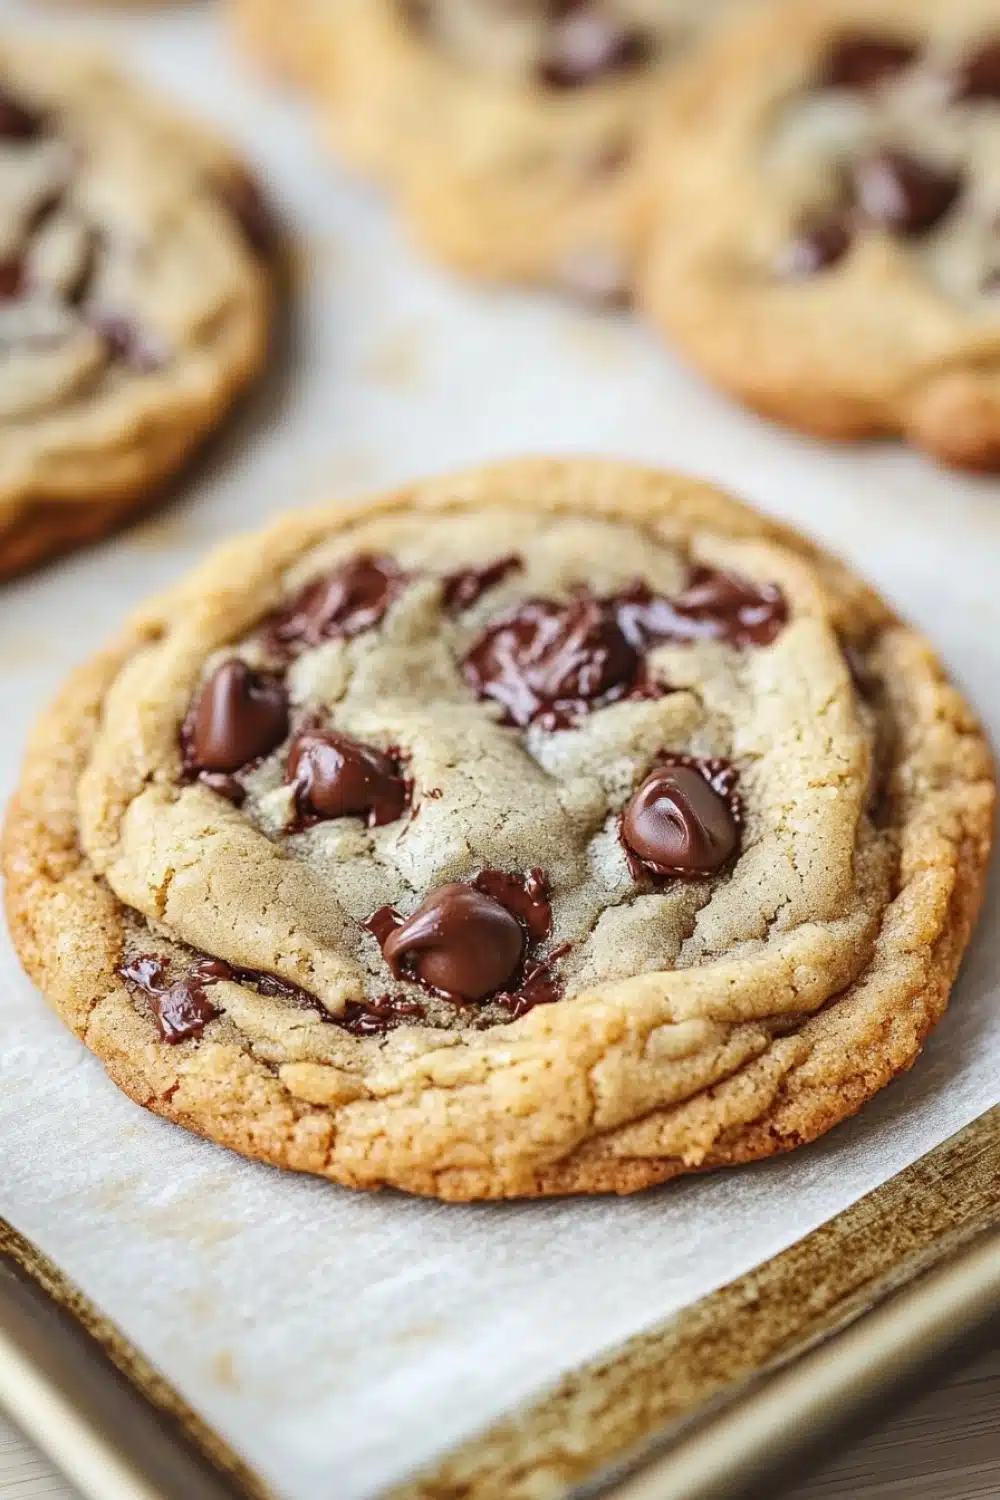
Chewy Chocolate Chip Cookies

These chewy chocolate chip cookies are soft, thick, and packed with melty chocolate chips. Perfect for cookie lovers who enjoy a tender, chewy texture in every bite.
- Prep Time: 15 minutes
- Cook Time: 12 minutes
- Total Time: 27 minutes
- Yield: 24 cookies
Ingredients
2 1/4 cups all-purpose flour
1/2 teaspoon baking soda
1 cup unsalted butter, melted and slightly cooled
1 cup packed light brown sugar
1/2 cup granulated sugar
1 tablespoon vanilla extract
1 large egg
1 large egg yolk
2 cups semisweet chocolate chips
1/2 teaspoon salt
Instructions
Preheat the oven to 325°F (163°C). Line two baking sheets with parchment paper.
In a medium bowl, whisk together the all-purpose flour, baking soda, and salt. Set aside.
In a large bowl, combine the melted unsalted butter, light brown sugar, and granulated sugar. Stir until well combined and smooth.
Add the vanilla extract, egg, and egg yolk to the butter and sugar mixture. Beat until the mixture is light and creamy, about 2 minutes.
Gradually add the dry flour mixture to the wet ingredients, stirring until just combined. Do not overmix.
Fold in the semisweet chocolate chips evenly throughout the dough.
Using a cookie scoop or tablespoon, drop dough balls about 2 inches apart onto the prepared baking sheets.
Bake in the preheated oven for 11 to 13 minutes, or until the edges are set but the centers still look slightly underbaked.
Remove from the oven and allow the cookies to cool on the baking sheet for 5 minutes before transferring them to a wire rack to cool completely.
Explore more:
Breakfast Recipes
Mastering Chewy Chocolate Chip Cookies
The Butter Move That Changes Everything
Melted butter isn’t just a lazy shortcut—it’s the secret handshake for chewy cookie lovers. When you melt the butter, you’re dissolving all those solid fat crystals, which means the dough spreads differently in the oven. Instead of puffing up like a cloud, it hugs the chocolate chips and stays thick. This gives you that dense, chewy bite that keeps folks coming back for more.
Remember, though, don’t pour the butter straight off the stove. Let it cool down slightly—too hot and you’ll end up scrambling your eggs or melting your sugars prematurely, throwing the whole chemistry off. I’ve been there. It’s a rookie move that wrecks texture faster than you can say “cookie monster.”
Flour, Soda, and Salt—The Holy Trinity
Flour is your cookie’s skeleton, but the type and amount? They make or break your chew. All-purpose flour hits the sweet spot, giving enough gluten structure without turning your cookie into a rock. Too much gluten? Say hello to jaw exercise. Baking soda acts like a cheeky little agent, slightly puffing up the dough and balancing sweetness with a tiny bit of tang. Salt? Don’t skip it—it’s the unsung hero that sharpens all those sugary notes and makes the chocolate chips pop.
Mixing these dry ingredients? Easy to overmix. You want to fold them in just until combined—think gentle nudges, not a full-body wrestling match with your dough. Overdo it and you’ll toughen the cookie, like biting into a tire. Patience here pays off.
Rescue Mission: When Cookies Go Sideways
Ever pulled cookies out the oven only to find them flat as pancakes? Don’t panic. First culprit: butter temperature. If it’s too warm or liquidy, the dough surrenders to gravity early. Next, check your flour measurement. Scooping straight from the bag often compacts the flour—add a pinch more to the mix next time.
Another fix? Chill that dough. Ten minutes in the fridge firms up fats and slows spread, giving you thicker, chewier results.
And if your cookies are rock-hard a day later? Slide a slice of bread into your storage container. The moisture transfer is an old-school trick that softens things right up—like magic, but with carbs. Cookie life hack, anyone?
Chewy Chocolate Chip Cookies FAQ
Yes, but skip adding extra salt. Salted butter can throw off the balance, making these sweet treats a bit salty.
Flat cookies usually mean your dough is too warm or the butter was too melted. Next time, let that butter cool more or chill the dough for 30 minutes before baking. This helps the cookies hold their shape and puff up just right—no pancake cookies here!
Absolutely! Dark chocolate adds a richer, slightly bitter edge that pairs surprisingly well with the chewy sweetness. I sometimes toss in a handful of chopped nuts for a little textural pop too.
Store them in an airtight container with a slice of bread or a couple of apple slices. The moisture exchange keeps the cookies soft and chewy, preventing that dreaded rock-hard snap after a day or two.
Yes! In fact, chilling the dough overnight intensifies the flavor and improves texture. Just cover tightly and bake within 3 days. Instant gourmet vibes with zero extra effort.