
Ready for a game-changer?
There’s something about the smell of chocolate that grabs you by the collar and refuses to let go. On a quiet afternoon, with the oven humming softly, I dove into making this chocolate cake paired with Oreo frosting—a combo that’s anything but shy. The batter, slick and glossy after folding in boiling water, promised a moist crumb that would hold its own against the boldly textured frosting. It’s not just a cake; it’s a knock-out punch of flavors and textures.
Oreo frosting? Oh, that’s the real MVP here. Creamy butter whipped to cloud-like peaks, then folded with crushed Oreos that add a subtle crunch and a nostalgic twist. It’s like a little party on your palate, where every bite tells a story.
Trust me—this cake is worth every crumb.
If you’re craving a decadent treat, don’t miss our Irresistible Chocolate Cake with Oreo Frosting Recipe that’s sure to satisfy your sweet tooth.
Real Life Perks of This Chocolate Cake with Oreo Frosting
- Perfect crowd-pleaser: This cake nails celebrations whether it’s a birthday, potluck, or casual hangout—everyone dives in, no questions asked.
- Quick turnaround: From pantry staples to a finished cake in under an hour, it’s your go-to for last-minute sweet fixes.
- Moistness that sticks around: That boiling water trick keeps the crumb tender, so you’re not stuck with a dry, crumbly mess the next day.
- Frosting with a twist: Oreo bits folded right in add playful texture—none of that flat, one-note icing snoozefest.
- Fridge-friendly for days: Bake on Sunday, serve all week—just bring it to room temp before you slice and watch it disappear fast.
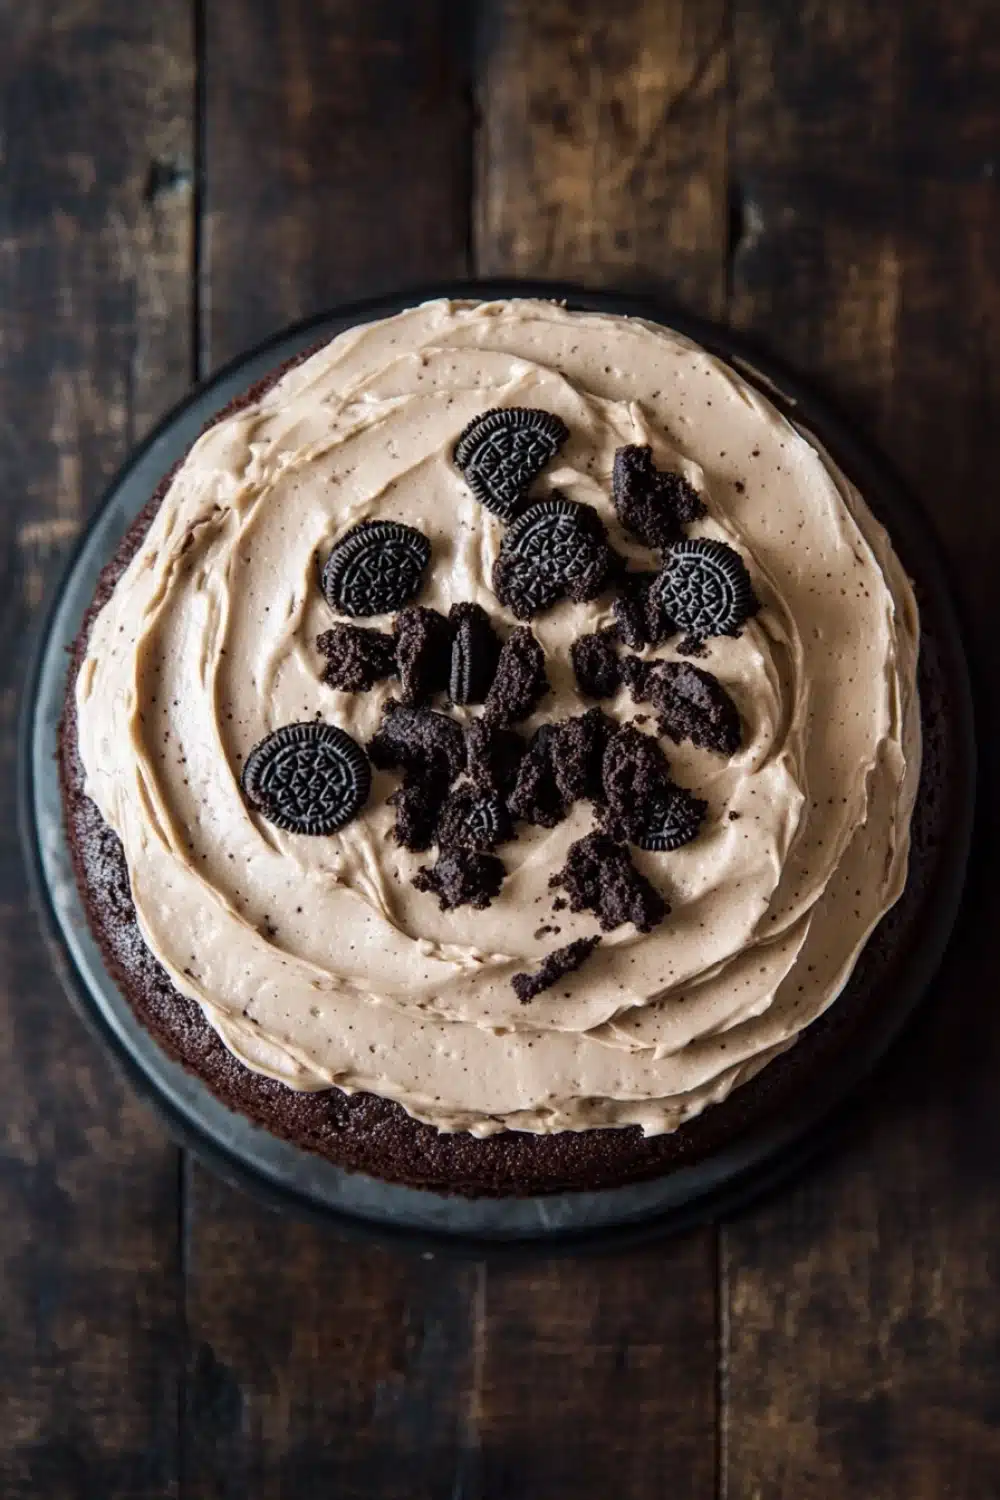
Chocolate Cake with Oreo Frosting

A rich and moist chocolate cake topped with creamy Oreo frosting, perfect for celebrations and chocolate lovers.
- Prep Time: 20 minutes
- Cook Time: 30 minutes
- Total Time: 50 minutes
- Yield: 12
Ingredients
1 and 3/4 cups (220g) all-purpose flour
3/4 cup (65g) unsweetened cocoa powder
2 cups (400g) granulated sugar
1 and 1/2 teaspoons baking powder
1 and 1/2 teaspoons baking soda
1 teaspoon salt
2 large eggs
1 cup (240ml) whole milk
1/2 cup (120ml) vegetable oil
2 teaspoons pure vanilla extract
1 cup (240ml) boiling water
1 cup (230g) unsalted butter, softened
4 cups (480g) powdered sugar
1/2 cup (120ml) heavy cream
2 teaspoons pure vanilla extract
15 Oreo cookies, finely crushed
Instructions
Preheat the oven to 350°F (175°C). Grease and flour two 9-inch round cake pans.
In a large mixing bowl, sift together the flour, cocoa powder, sugar, baking powder, baking soda, and salt.
Add the eggs, milk, vegetable oil, and vanilla extract to the dry ingredients. Beat on medium speed for 2 minutes until smooth.
Stir in the boiling water carefully; the batter will be thin.
Divide the batter evenly between the prepared cake pans.
Bake for 30 minutes or until a toothpick inserted into the center comes out clean.
Remove from oven and allow cakes to cool in the pans for 10 minutes. Then remove cakes from pans and cool completely on wire racks.
To make the Oreo frosting, beat the softened butter on medium speed until creamy, about 2 minutes.
Gradually add the powdered sugar, one cup at a time, beating on low speed until combined.
Add the heavy cream and vanilla extract, then beat on high speed for 3 minutes until fluffy.
Fold in the finely crushed Oreo cookies until evenly distributed.
Place one cake layer on a serving plate. Spread a generous amount of Oreo frosting on top.
Place the second cake layer on top and frost the top and sides of the cake with the remaining Oreo frosting.
Refrigerate the cake for at least 30 minutes before serving to set the frosting.
Explore more:
Lunch Recipes
Mastering That Chocolate Cake with Oreo Frosting
The Art of Ingredient Swaps—Why It’s Not Just About Substitution
Listen, swapping ingredients in a chocolate cake isn’t just a game of replace and pray. Take the flour, for example. If you’re eyeing a gluten-free swap, almond or oat flour might seem like a quick fix, but they’ll mess with the cake’s structure—expect a crumbly mess if you don’t adjust the wet ingredients accordingly. Same goes for the oil: vegetable oil keeps things moist and neutral, but if you swap it for melted butter, your cake gets richer and denser. I once tried using coconut oil for this recipe—big mistake. It overpowered the chocolate and threw off the frosting balance.
And that boiling water? Don’t skip or cool it off too much. It’s there to bloom the cocoa powder—think of it as unlocking the chocolate’s true mojo. Subbing coffee for water is a classic trick to deepen the chocolate notes, but it’s not just a flavor tweak—it chemically reacts with baking soda to give your cake a better rise.
Why That Thin Batter Matters—Unpacking the Technique
So here’s the kicker: after mixing, your batter looks like a thin chocolate soup. Weird, right? But that’s exactly what you want. The water thins things out, ensuring the cocoa powder fully hydrates, which avoids a dry, dusty bite. This batter flows into the pan, spreading evenly without fuss. If you ignore this and try to make it thick, you’ll get dense, leaden cake layers that are tough to frost.
Pro tip—I always let the batter rest for 5 minutes before pouring. It helps bubbles settle and layers bake with fewer cracks. Also, using two pans is not just about convenience; it’s about heat distribution. One pan? Your cake edges get burnt while the center stays gooey. The thin batter and even heat mean that perfect moist crumb every time.
Fixing the Common Cake Catastrophes—Rescue Mission Mode
Cracked top? Happens to the best of us. Don’t panic. A simple fix: once cooled, level the cake with a serrated knife to create a flat surface. That way, your frosting won’t slide off like a greasy skid. Also, if your frosting seems runny, it’s usually too warm or the cream-to-butter ratio is off. Pop it in the fridge for 15 minutes, then whip it again—instant rescue. Overmixing powdered sugar can lead to a chalky texture, so fold it gently and gradually. Lastly, if your cake tastes flat, a pinch more salt in the batter next time will sharpen the chocolate notes—salt is the unsung hero here.
Chocolate Cake with Oreo Frosting FAQs
A1: Yes, you can swap in regular milk—skim or 2%—and still get a moist cake. Whole milk just adds a bit more richness, but it’s not a deal-breaker.
A2: Great question! I always recommend greasing and flouring your pans thoroughly to prevent sticking, plus rotating the pans halfway through baking. Also, avoid opening the oven door too often—those sneaky drafts mess with rising. Thin batter from boiling water helps keep the crumb ultra moist, which is a game-changer.
A3: Absolutely. The Oreo frosting can be whipped up a day in advance and stored in the fridge. Just give it a quick beat before spreading to bring back that fluffy vibe—it firms up chilly but comes alive with a little air.
A4: I’m all about that fine crumble. Slam Oreos into a ziplock bag and use a rolling pin or the bottom of a coffee mug to crush them. You want little cookie bits, not dust—those chunks bring texture without turning gritty.
A5: Yes and no. You can freeze the cake layers wrapped tightly in plastic wrap and foil for up to 2 months. But the Oreo frosting? It’s best fresh or refrigerated because freezing can change its texture and make it a bit grainy.