
Light it right.
That first golden beam sneaking through my kitchen window often decides the fate of my banana cake loaf photography. It’s not just about snapping a picture; it’s about capturing the loaf’s moist crumb and those caramelized edges that spell “eat me now.” One afternoon, I set my camera on the counter, surrounded by scattered flour and a half-empty banana bunch — true kitchen carnage. But those moments, messy and real, make the photos sing.
The secret? Chase natural light, preferably early morning or late afternoon. Avoid flash; it turns that luscious texture into a flat ghost. A simple setup—a rustic wooden board, a linen napkin with a slight fray, and a sprinkle of powdered sugar—can turn a humble loaf into a stunner worthy of the ‘gram.
Banana cake loaf photography isn’t just about the cake. It’s about the vibe, the story baked into every crumb.
If you’re looking to capture the perfect banana cake loaf photography, this recipe for banana bread with almond flour is a cozy morning must-try.
Real-Life Perks of Baking This Banana Cake Loaf
- Breakfast game-changer: Wake up to a moist slice that’s sweet but not overpowering — way better than your usual cereal bowl drag.
- Kid-approved snack: This loaf sneaks in some fruit without the fuss, making it an easy go-to for after-school hunger pangs.
- Party pleaser with zero stress: Whip it up in just over an hour, then watch it vanish at the potluck—no one will believe it’s homemade.
- Fridge-to-freezer friendly: Bake once, enjoy twice as much by freezing slices. Pop one in the toaster oven for a fresh-baked vibe anytime.
- Perfect for coffee pairing: The subtle vanilla and banana notes cut through a bitter brew like a charm — your new ritual, no cap.
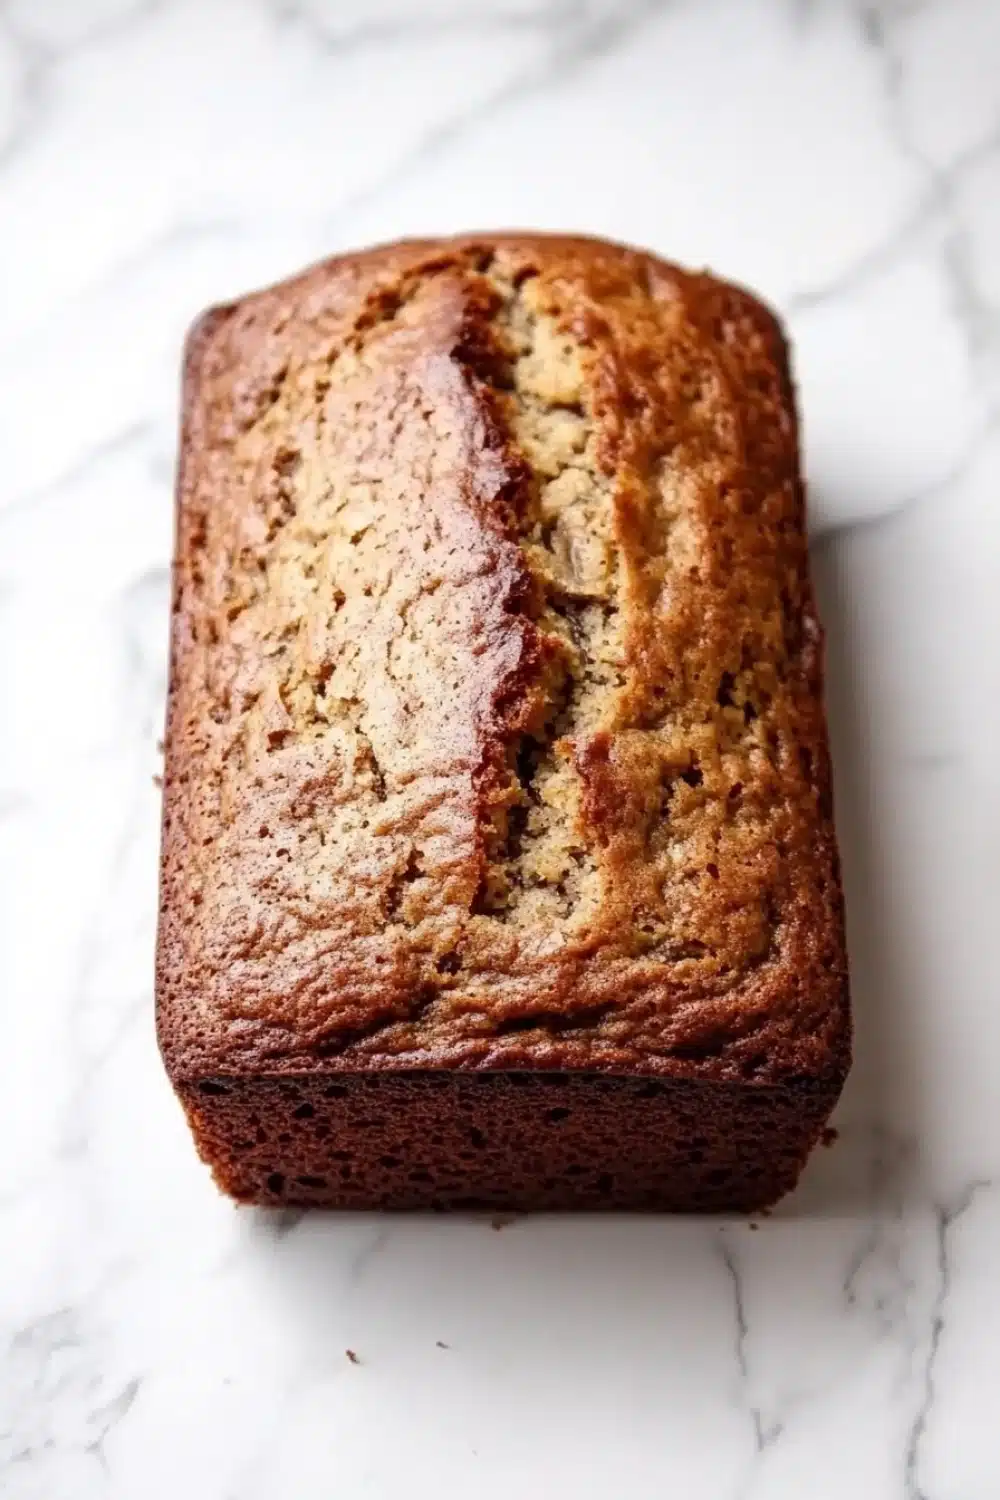
Banana Cake Loaf
A moist and flavorful banana cake loaf made with ripe bananas and a hint of vanilla. Perfect for breakfast, dessert, or a sweet snack.
- Prep Time: 15 minutes
- Cook Time: 50 minutes
- Total Time: 1 hour 5 minutes
- Yield: 8
Ingredients
3 ripe bananas, mashed
1 cup granulated sugar
1/2 cup unsalted butter, softened
2 large eggs
1 teaspoon vanilla extract
1 1/2 cups all-purpose flour
1 teaspoon baking powder
1/2 teaspoon baking soda
1/4 teaspoon salt
1/2 cup plain yogurt
Instructions
Preheat the oven to 350°F (175°C). Grease and flour a 9×5-inch loaf pan.
In a large mixing bowl, cream together the softened butter and granulated sugar until light and fluffy.
Add the eggs one at a time, beating well after each addition.
Mix in the vanilla extract and mashed bananas until combined.
In a separate bowl, whisk together the all-purpose flour, baking powder, baking soda, and salt.
Gradually add the dry ingredients to the banana mixture, alternating with the plain yogurt, beginning and ending with the dry ingredients. Mix until just combined.
Pour the batter into the prepared loaf pan and spread it evenly.
Bake for 50 minutes or until a toothpick inserted into the center comes out clean.
Remove the loaf from the oven and let it cool in the pan for 10 minutes.
Transfer the banana cake loaf to a wire rack to cool completely before slicing.
Explore more:
Breakfast Recipes
Mastering the Banana Cake Loaf
The Big Swap: Yogurt Over Sour Cream? Yes, Please
When I first started baking banana cake loafs, I used sour cream religiously. Classic move, right? But then—plot twist—I swapped in plain yogurt. Why? Because yogurt’s tang is subtler and it keeps the crumb a bit lighter. Plus, it plays nice with the mashed bananas, enhancing moisture without that heavy, dense aftermath sour cream sometimes drags in. If you’re feeling adventurous, Greek yogurt works too—but dial back the yogurt amount slightly since it’s thicker; nobody wants a loaf that’s a brick.
This swap isn’t just about moisture; yogurt also helps activate the baking soda better because of its acidity, giving you that gentle rise instead of a flat flop. Trust me, it’s a game changer for that tender crumb texture aficionados crave.
Why Cream Butter and Sugar? The Secret to Airy, Not Heavy
Creaming butter and sugar isn’t just a fancy step to make you feel professional—it’s where the magic starts. When you cream these two ingredients until light and fluffy, you’re actually entrapping tiny air bubbles. These bubbles expand during baking, giving your banana cake loaf a lift and that soft, tender crumb, not a dense, leaden bite.
It’s tempting to rush through this step. Been there, done that, ended up with cake-like a cement block. I recommend whipping the butter and sugar for at least 3 to 5 minutes at medium speed with a stand mixer. If you’re hand-beating, arm day is guaranteed—but worth it. When in doubt, stop and scrape the bowl. You want that pale, fluffy mixture that looks like a cloud, not a sticky mess.
Stuck in a Banana Cake Rut? Fixing Common Fails—Flat, Dense, or Dry
Let’s get real. Banana cake loafs can go sideways easily. Flat or dense? Usually under-creaming butter and sugar or overmixing the flour. The moment you dump in the flour, mix like your life depends on it—just until it disappears. Overworking it means gluten development, and bam, goodbye soft crumb.
Dry cake? Two usual suspects: overbaking or bananas that just don’t pack enough punch. Those brown-speckled, super-ripe bananas are your best friends here. They bring moisture and flavor—don’t skimp! Also, if your oven runs hot, slap on a tent of foil halfway through baking to keep the top from turning to leather while the inside finishes cooking.
Oh, and the toothpick test? Gold standard but with a caveat. Insert it near the center but not too close to the edge—edges bake faster and can fool you into pulling out a clean toothpick prematurely.
Banana Cake Loaf FAQs
A: Absolutely! Overripe bananas are actually the secret MVP here—they bring max sweetness and moisture to your loaf.
A: No, but yogurt adds a nice tang and keeps the crumb tender. You can swap it with sour cream or even buttermilk if you’re feeling adventurous.
A: The old toothpick trick is your best friend. Stick it in the center—if it comes out clean or with just a few crumbs clinging on, you’re golden. If batter’s sticking, toss it back in for a few more.
A: Yes! Wrap it up tight in plastic wrap, then foil, and pop it in the freezer. Pull it out, thaw at room temp, and it’ll taste like fresh-baked magic.
A: Nope, this one’s riding the classic wheat train. But swap the flour for a 1:1 gluten-free blend, and keep an eye on the texture—it might need a tweak.