
There’s something quietly satisfying about baking bread at home, especially when it’s as straightforward as this no knead bread without Dutch oven. It’s one of those recipes that gently reminds you that great things often come from simple steps and a bit of patience. This loaf is rustic and inviting, with a crust that crackles just right and an interior soft enough to practically melt in your mouth.
I remember the first time I tried this recipe—I was a bit skeptical. No kneading? No fancy Dutch oven? It almost seemed too good to be true. I mixed the dough in the evening, covering it loosely, and then left it on the counter while I went about my day. The next morning, the dough was beautifully bubbly and doubled, just like the recipe promised. I had to resist the urge to poke it too much. When it finally baked, the kitchen was filled with this warm, yeasty aroma that made me forget about the little flour dusting on my shirt or the timer I almost missed because I got distracted by a phone call.
Why you’ll love it:
- Effortless preparation: no kneading or special equipment needed — it’s simple, and that’s kind of the point.
- A crust that’s satisfyingly crisp, even without a Dutch oven’s steam trap.
- The dough’s long fermentation develops deep flavor without needing much attention.
- Perfectly soft interior that’s great for sandwiches or just slathering with butter.
- It’s forgiving — if you get caught up in the day and forget the exact timing, it usually still turns out great.
If you’re worried about having the right tools or experience, don’t be. This recipe’s charm is in how accessible it is. It’s a great way to build confidence in bread baking without feeling overwhelmed by technique or gear.
PrintNo Knead Bread Without Dutch Oven

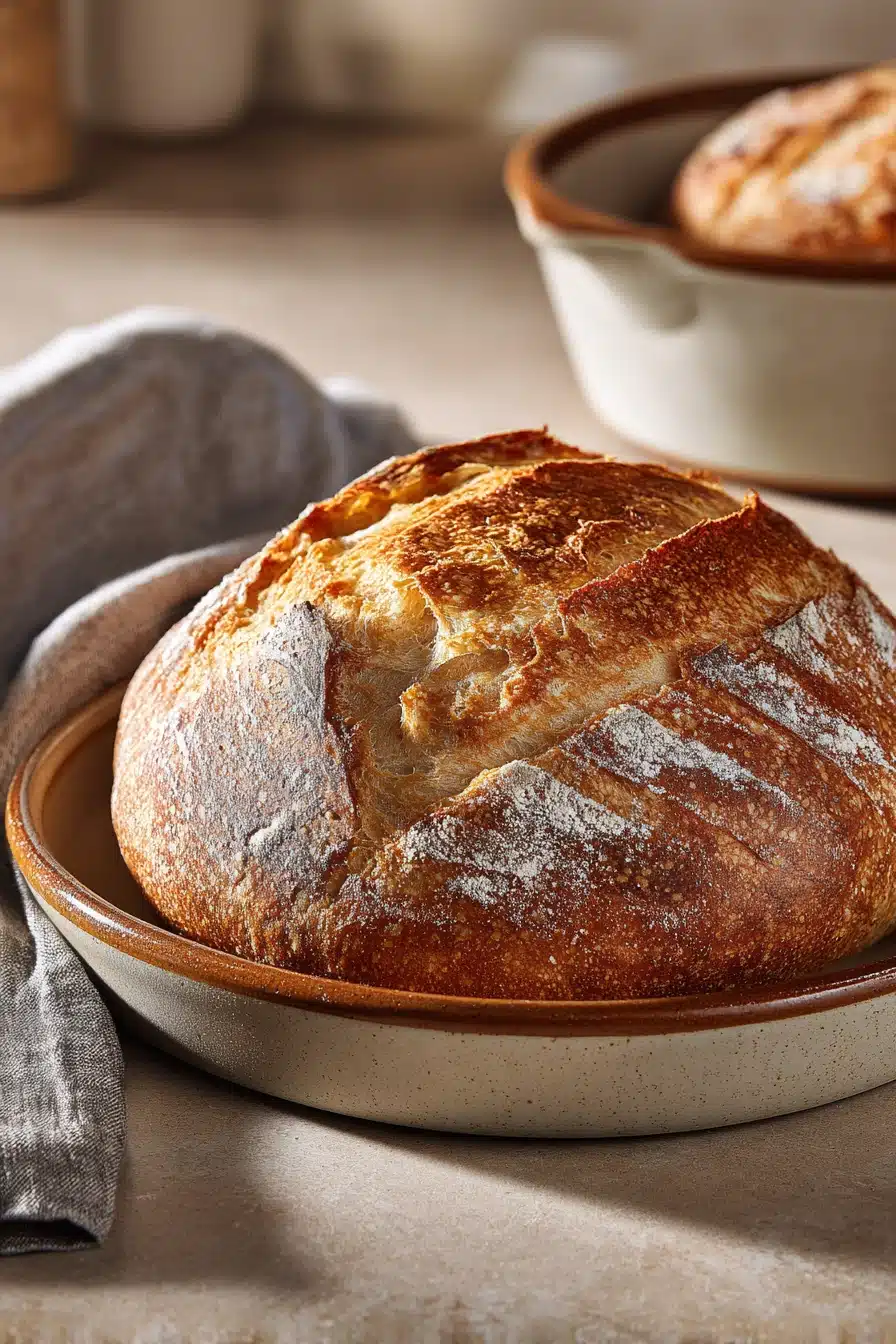
A simple and easy no knead bread recipe that requires no Dutch oven. This rustic loaf has a crisp crust and soft interior, perfect for beginners and those without specialized bakeware.
- Prep Time: 10 minutes
- Cook Time: 40 minutes
- Total Time: 10 hours 50 minutes
- Yield: 8
Ingredients
3 cups all-purpose flour
1/4 teaspoon instant yeast
1 1/4 teaspoons salt
1 1/2 cups warm water (about 110°F)
Instructions
In a large mixing bowl, combine 3 cups of all-purpose flour, 1/4 teaspoon of instant yeast, and 1 1/4 teaspoons of salt. Stir until evenly mixed.
Add 1 1/2 cups of warm water (about 110°F) to the dry ingredients and mix with a wooden spoon or spatula until a shaggy, sticky dough forms.
Cover the bowl tightly with plastic wrap or a clean kitchen towel and let the dough rest at room temperature for 8 to 12 hours, or until the surface is dotted with bubbles and the dough has doubled in size.
After the dough has risen, lightly flour a clean work surface and scrape the dough out of the bowl onto it.
With floured hands, gently fold the dough over itself once or twice to shape it into a rough ball. Do not knead.
Place the dough seam side down on a piece of parchment paper and cover loosely with a kitchen towel. Let it rest for 30 minutes.
About 30 minutes before baking, preheat your oven to 450°F (230°C). Place an empty metal baking sheet or pizza stone on the middle rack of the oven to heat.
After the dough has rested, carefully transfer the dough on the parchment paper onto the preheated baking sheet or pizza stone.
Pour 1 cup of hot water into a shallow pan placed on the bottom rack of the oven to create steam. Quickly close the oven door to trap the steam.
Bake the bread for 30 minutes with the steam, then remove the pan with water and continue baking for an additional 10 minutes or until the crust is deep golden brown and crisp.
Remove the bread from the oven and transfer it to a wire rack to cool completely before slicing.
Kitchen Notes: You don’t need any fancy equipment for this bread, just a sturdy baking sheet or a pizza stone if you have one. I usually bake it directly on parchment paper to make transferring easier. It’s lovely served warm with butter or alongside soup. Sometimes I toss in a handful of herbs or olives into the dough for a little twist, but I haven’t tested all sorts of add-ins—so if you try your own, just watch how it affects the dough’s hydration. Another variation I sometimes try is using part whole wheat flour, but that tends to make the crumb denser, which I don’t mind but might not be everyone’s favorite.
FAQ:
Can I speed up the rising time? You could, but the slow rise really builds flavor, so rushing it usually means less taste.
What if I don’t have a pizza stone? A heavy baking sheet works just fine; just make sure it’s preheated.
How do I keep the crust crisp after baking? Store the bread in a paper bag at room temperature. Avoid plastic bags unless freezing.
Ready to bake your own rustic loaf with no fuss? Scroll up and save this recipe now. It’s a simple way to bring fresh bread into your kitchen with minimal effort and maximum reward.