
There’s something about the simple pleasure of decorating sugar cookies that pulls me away from the usual afternoon slump. One day, I found myself staring at a plain batch of cookies, a little distracted by the hum of the kitchen timer and the way the sunlight hit the counter somewhere between bright and dim. I grabbed my trusty royal icing, remembering how it thickened into those glossy peaks just right the last time. As I swirled colors into separate bowls, the anticipation built—not for perfection, but for the chance to get messy with the colors, to try a few imperfect but charming designs. Somewhere between outlining and flooding, I lost track of time, and honestly, I wasn’t even sure if I was doing it all ‘right.’ But the moment the first cookie dried, with its shiny surface and slightly uneven edges, I knew the effort was worth it.
That little afternoon experiment reminded me why sugar cookie icing designs aren’t just about precision—they’re about the joy in creating something uniquely yours, one imperfect swirl at a time.
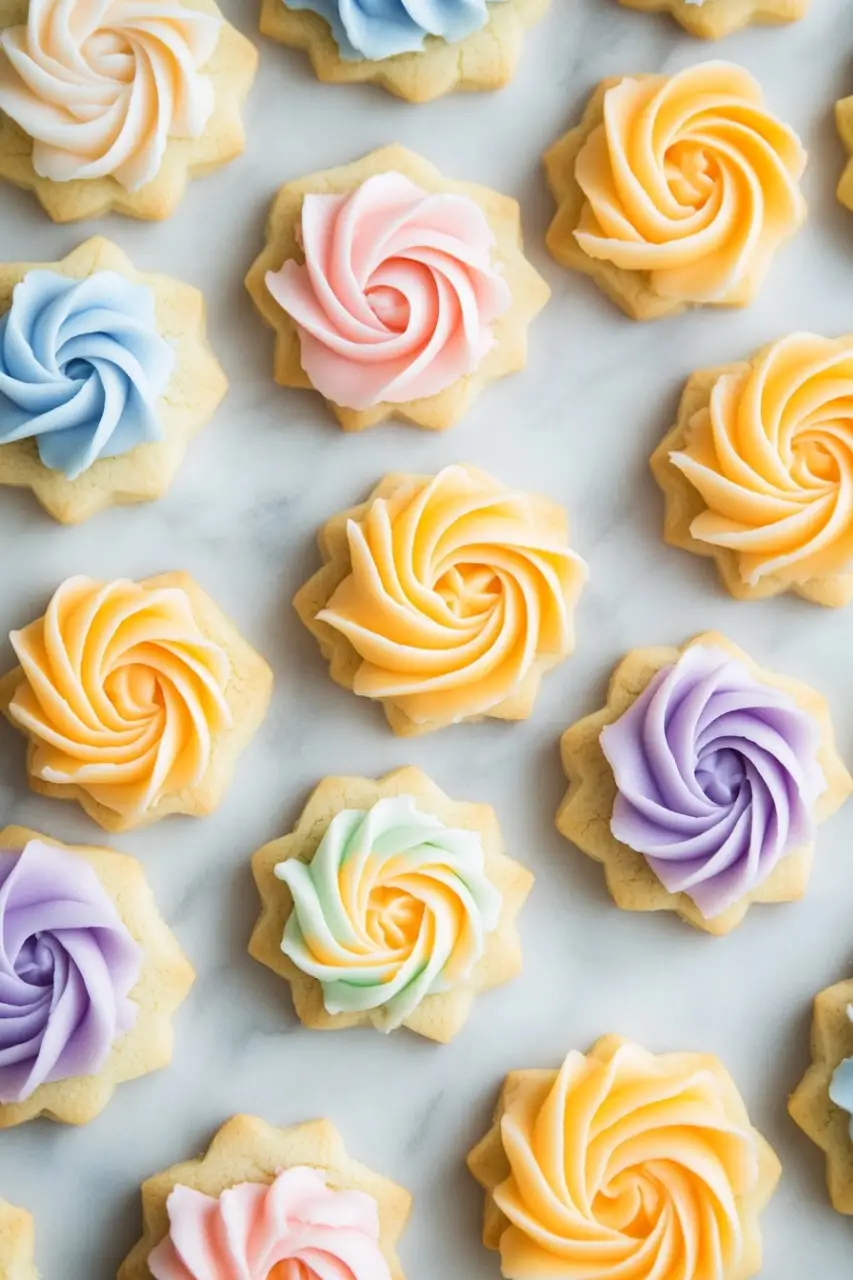
- The icing hardens to a beautiful glossy finish, perfect for stacking or gifting without smudges.
- It’s simple—and that’s kind of the point—so don’t stress over tiny mishaps; they add personality.
- Colors stay vibrant and smooth, making even basic designs pop with life.
- Long drying time means you can plan ahead, but it also means patience is part of the process.
Don’t worry if you’ve never piped icing before. This royal icing recipe is forgiving, and a little practice goes a long way. Plus, if your first attempt isn’t picture-perfect, it’s still delicious and charming in its own way.
PrintSugar Cookie Icing Designs

Create beautiful and delicious sugar cookie icing designs with this easy royal icing recipe. Perfect for decorating sugar cookies with smooth, vibrant, and detailed designs that harden to a glossy finish.
- Prep Time: 15 minutes
- Cook Time: 0 minutes
- Total Time: 15 minutes
- Yield: 24 cookies
Ingredients
[object Object]
[object Object]
[object Object]
[object Object]
[object Object]
Instructions
In a large mixing bowl, combine the sifted powdered sugar and meringue powder.
Add 5 tablespoons of warm water and the vanilla extract to the dry ingredients.
Using an electric mixer on low speed, mix until the ingredients are combined.
Increase the mixer speed to high and beat the mixture for about 5 to 7 minutes until stiff peaks form and the icing is glossy.
If the icing is too thick, add additional warm water, one teaspoon at a time, until the desired consistency is reached.
Divide the royal icing into separate bowls depending on how many colors you want to use.
Add gel food coloring to each bowl and stir until the color is evenly distributed.
For outlining cookies, thin the icing slightly by adding a few drops of water until it flows smoothly but holds its shape.
For flooding (filling in) cookie areas, thin the icing further by adding small amounts of water until it flows easily but is not runny.
Transfer the icing to piping bags fitted with small round tips or use squeeze bottles for easy control.
Outline the edges of each sugar cookie first, then flood the inside area with the thinner icing.
Use a toothpick or scribe tool to spread the icing evenly and pop any air bubbles.
Allow the icing to dry at room temperature for at least 4 hours or until completely hardened before stacking or packaging.
Using just a mixer and some simple bowls, you’re all set for a creative afternoon. I usually pair these decorated cookies with a warm cup of tea or coffee—the kind that invites you to slow down and admire your handiwork. If you want to switch things up, try using citrus zest in place of vanilla or experiment with a few drops of different extracts for subtle flavor twists. Sometimes, I thin the icing just a bit more for flooding, but it’s easy to go too thin, so test on a scrap before moving to cookies. And if you’re feeling adventurous, sprinkle a little edible glitter or add tiny sugar pearls after piping for extra flair.
FAQ
Can I store leftover icing? Yes, keep it airtight in the fridge for up to a week. Just bring it back to room temperature and stir well before using again.
How long does the icing take to dry? At least 4 hours at room temperature is best for a fully hardened finish.
What if my icing is too thick or too thin? Add warm water a teaspoon at a time to thin, or powdered sugar to thicken until you reach the right consistency for outlining or flooding.
Can I use this icing for other cookies? Absolutely! It works well on gingerbread, shortbread, or any cookie that needs a smooth, glossy finish.
Ready to turn your sugar cookies into colorful, shiny pieces of edible art? Grab your bowls and get decorating—those little imperfections are what make your designs truly special.