
Fire up that oven.
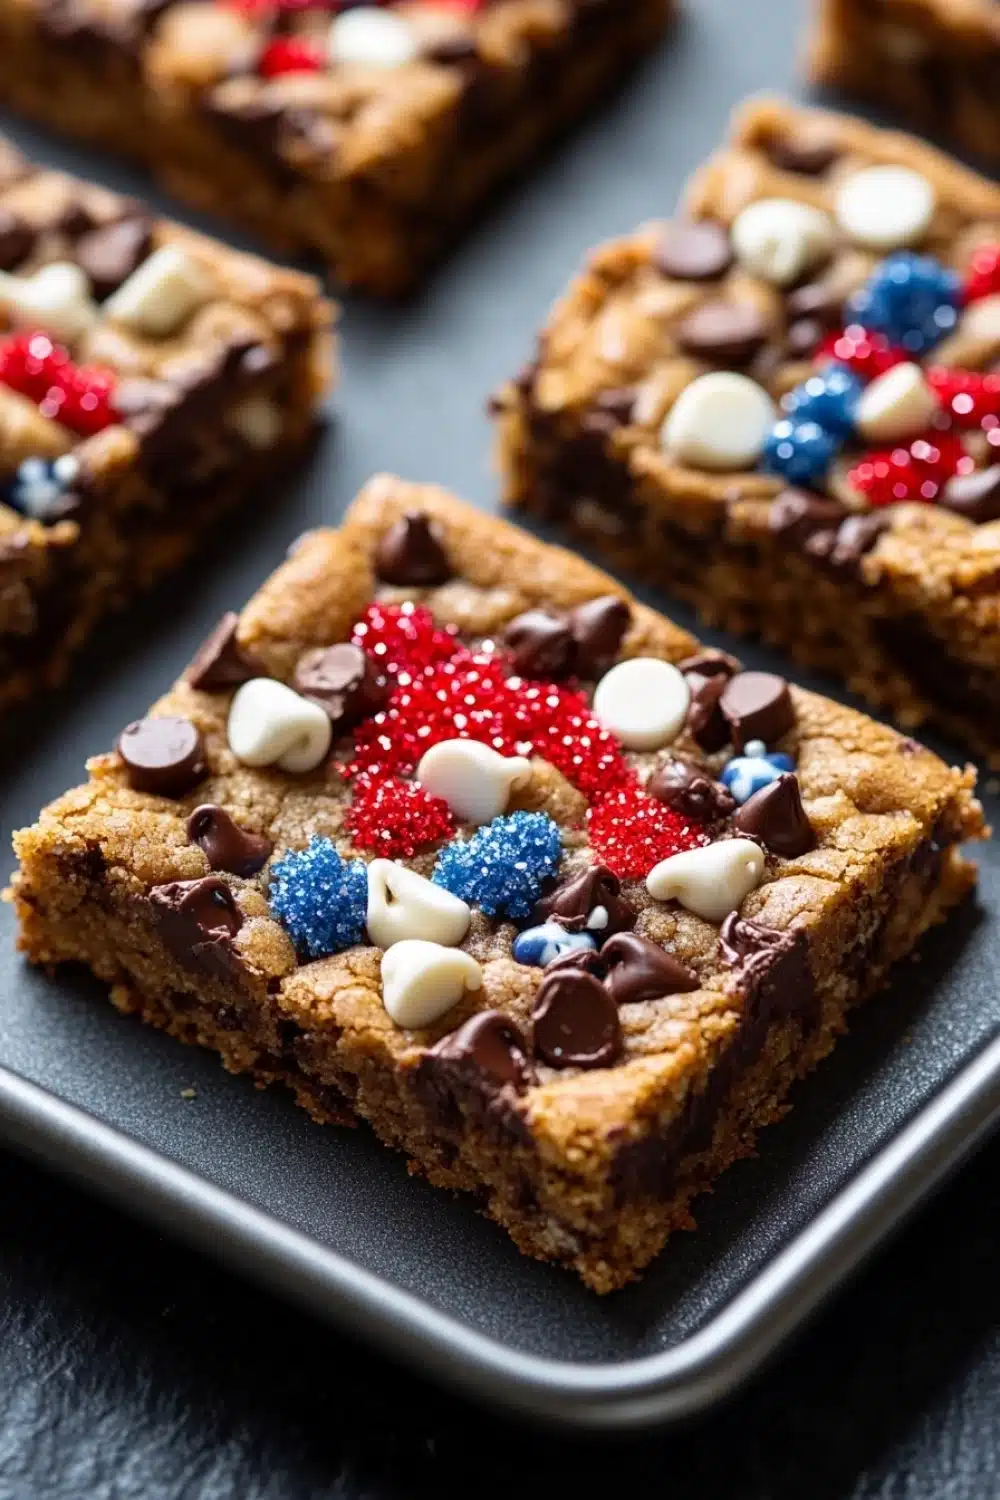
Nothing screams summer like baking up a batch of Fourth of July cookie bars. The kitchen smells like a sugar-fueled party, with butter melting into brown sugar and chocolate chips waiting to burst in your mouth. Red and blue sanding sugar sprinkle a patriotic confetti topping, while the white chocolate drizzle ties it all together in a casual, messy elegance.
One time, I tossed these bars into my picnic basket and watched them disappear faster than fireworks in the night sky. They’re that good—like the cookie dough’s got its own VIP pass to the holiday bash. This recipe doesn’t just aim to please; it throws a block party for your taste buds.
So grab your spatula and let’s get this dough rolling—because these bars aren’t just a snack, they’re the life of the party.
Looking for a delicious twist on your holiday treats? Check out our fourth of july cookie bar recipe that’s festive, fun, and packed with flavor!
Real Life Perks of Fourth of July Cookie Bars
- Perfect for last-minute BBQs — whip these up in under an hour and bring a splash of patriotism to the party.
- Kid-friendly and mess-free dessert that’s easy to slice and serve, no forks or plates needed.
- Great conversation starter — the red, white, and blue layers never fail to get the ‘Wow, did you make those?!’ nods.
- Easy to store and carry — stash in a cooler or bag, and they hold up well for outdoor festivities.
- Customizable sprinkles let you tweak the look for any patriotic holiday, not just July 4th. Think Veterans Day or Memorial Day vibes.
Fourth of July Cookie Bars
Celebrate Independence Day with these festive Fourth of July Cookie Bars featuring layers of classic chocolate chip cookie dough, red and blue sprinkles, and a creamy white chocolate drizzle.
- Prep Time: 20 minutes
- Cook Time: 25 minutes
- Total Time: 45 minutes
- Yield: 16 bars
Ingredients
2 1/4 cups all-purpose flour
1 teaspoon baking soda
1/2 teaspoon salt
1 cup unsalted butter, softened
3/4 cup granulated sugar
3/4 cup packed light brown sugar
1 teaspoon vanilla extract
2 large eggs
2 cups semi-sweet chocolate chips
1/4 cup red sanding sugar
1/4 cup blue sanding sugar
4 ounces white chocolate, chopped
Instructions
Preheat the oven to 350°F (175°C). Line a 9×13-inch baking pan with parchment paper, leaving an overhang on the sides for easy removal.
In a medium bowl, whisk together the flour, baking soda, and salt. Set aside.
In a large bowl, using an electric mixer, beat the softened butter, granulated sugar, and brown sugar until creamy and smooth, about 2-3 minutes.
Add the vanilla extract and eggs one at a time, beating well after each addition until fully incorporated.
Gradually add the dry flour mixture to the wet ingredients, mixing on low speed until just combined. Do not overmix.
Fold in the semi-sweet chocolate chips evenly into the dough.
Spread the cookie dough evenly into the prepared baking pan, smoothing the top with a spatula.
Sprinkle the red sanding sugar evenly over one third of the top edge of the dough, the blue sanding sugar evenly over the opposite third, leaving the middle third plain to create a red, white, and blue effect.
Bake in the preheated oven for 23-25 minutes, or until the edges are golden brown and a toothpick inserted into the center comes out with a few moist crumbs.
Remove from the oven and allow the bars to cool completely in the pan on a wire rack.
While the bars are cooling, melt the chopped white chocolate in a microwave-safe bowl in 20-second increments, stirring between each, until smooth and fully melted.
Drizzle the melted white chocolate evenly over the cooled cookie bars using a spoon or piping bag to enhance the festive look.
Once the white chocolate drizzle is set, use the parchment paper overhang to lift the bars out of the pan and place on a cutting board.
Cut into 16 equal bars and serve.
Explore more:
Breakfast Recipes
Mastering Fourth of July Cookie Bars: Tips, Tricks & Fixes
The Red, White, and Blue: Ingredient Swaps That Work
Listen, I get it—sometimes you find yourself staring down a half-empty bag of chocolate chips or realize the red and blue sanding sugar is MIA just as the festivities begin. No worries. Swap those classic semi-sweet chips for chunks of milk or dark chocolate if you want a richer bite — it’s all about mood, really. If you’re out of sanding sugar, grab regular coarse sugar and toss it with a few drops of food coloring; voilà, instant patriotic sparkle. Want to get fancy? Ditch the white chocolate drizzle for a cream cheese glaze — tangy and perfect for cutting through the sugar rush. Here’s the kicker: these swaps don’t just save your day, they spice up the narrative of your cookie bars, making each batch uniquely yours. Remember, it’s not about strict adherence; it’s about rocking what you’ve got in the pantry.
Why Let Dough Rest? The Technique Behind the Texture
Alright, here’s a nugget chefs sometimes skip: the magic of dough resting. I’ve seen countless bakers toss the dough straight into the pan—fast and furious—but pausing can transform your bars. Letting your dough chill for 30 minutes to an hour actually tightens the gluten strands, giving you that sturdy yet tender chew that screams homemade goodness. Plus, it keeps your butter from melting too quickly in the oven, preventing those sad, greasy edges. No resting? No biggie, but expect a slightly softer, more cake-like texture. Sometimes we’re in a rush, but if you want that classic cookie bar snap and chew, give the dough a breather. Trust me, it’s worth the wait.
Fixing Common Pitfalls — When Cookie Bars Go Sideways
Burnt edges or a doughy middle? Happens to the best of us. Here’s the lowdown: if your edges brown faster than the center cooks, your oven could be running hot or your pan placement is off. Simple fix—pop a sheet of foil loosely over the pan halfway through baking to prevent over-browning while the inside catches up. Too doughy? Extend bake time by a few minutes but keep a hawk’s eye so it doesn’t dry out. Underbaked bars can be salvaged too—cool them completely, then refrigerate. The chill firms up the interior, making cutting cleaner and improving texture. And if your white chocolate drizzle seizes or looks grainy, it probably overheated. Heat slowly in 15-second bursts, stirring in between. Patience, my friend—that’s the secret sauce.
Fourth of July Cookie Bars FAQs
Q: Can I make these bars ahead of time?
Absolutely! These bars actually taste better after a day or two as the flavors really settle in. Just keep them airtight at room temp or pop them in the fridge if it’s a hot day.
Q: What’s the best way to melt white chocolate without burning it?
Microwave it in short bursts of about 20 seconds, stirring in between. This keeps the chocolate smooth and prevents scorching. If you rush it, you’ll end up with a gritty mess—no bueno.
Q: Can I swap out the semi-sweet chocolate chips for something else?
Yes, you can! Dark chocolate chips, white chocolate chips, or even peanut butter chips work fine. Just remember, different chips will tweak the sweetness and texture, so play around until you hit your sweet spot.
Q: Is it okay to skip the sanding sugars?
Yes, but the sanding sugars give that signature patriotic pop and a little crunch. Without them, the bars will still be tasty but less festive.
Q: Do I have to use parchment paper in the pan?
Nope! But I highly suggest it. Parchment paper with an overhang makes lifting the bars out super clean and easy—no crumbly disaster zones.