
Sweet magic in the oven.
Nothing beats that nostalgic aroma wafting through the kitchen when peanut butter and chocolate meet. I remember my first batch of these cookies — the dough sticking to my fingers, the crisscross fork impressions marking each ball like a baker’s signature. It’s a quick 25-minute hustle, but the payoff? Utterly worth it.
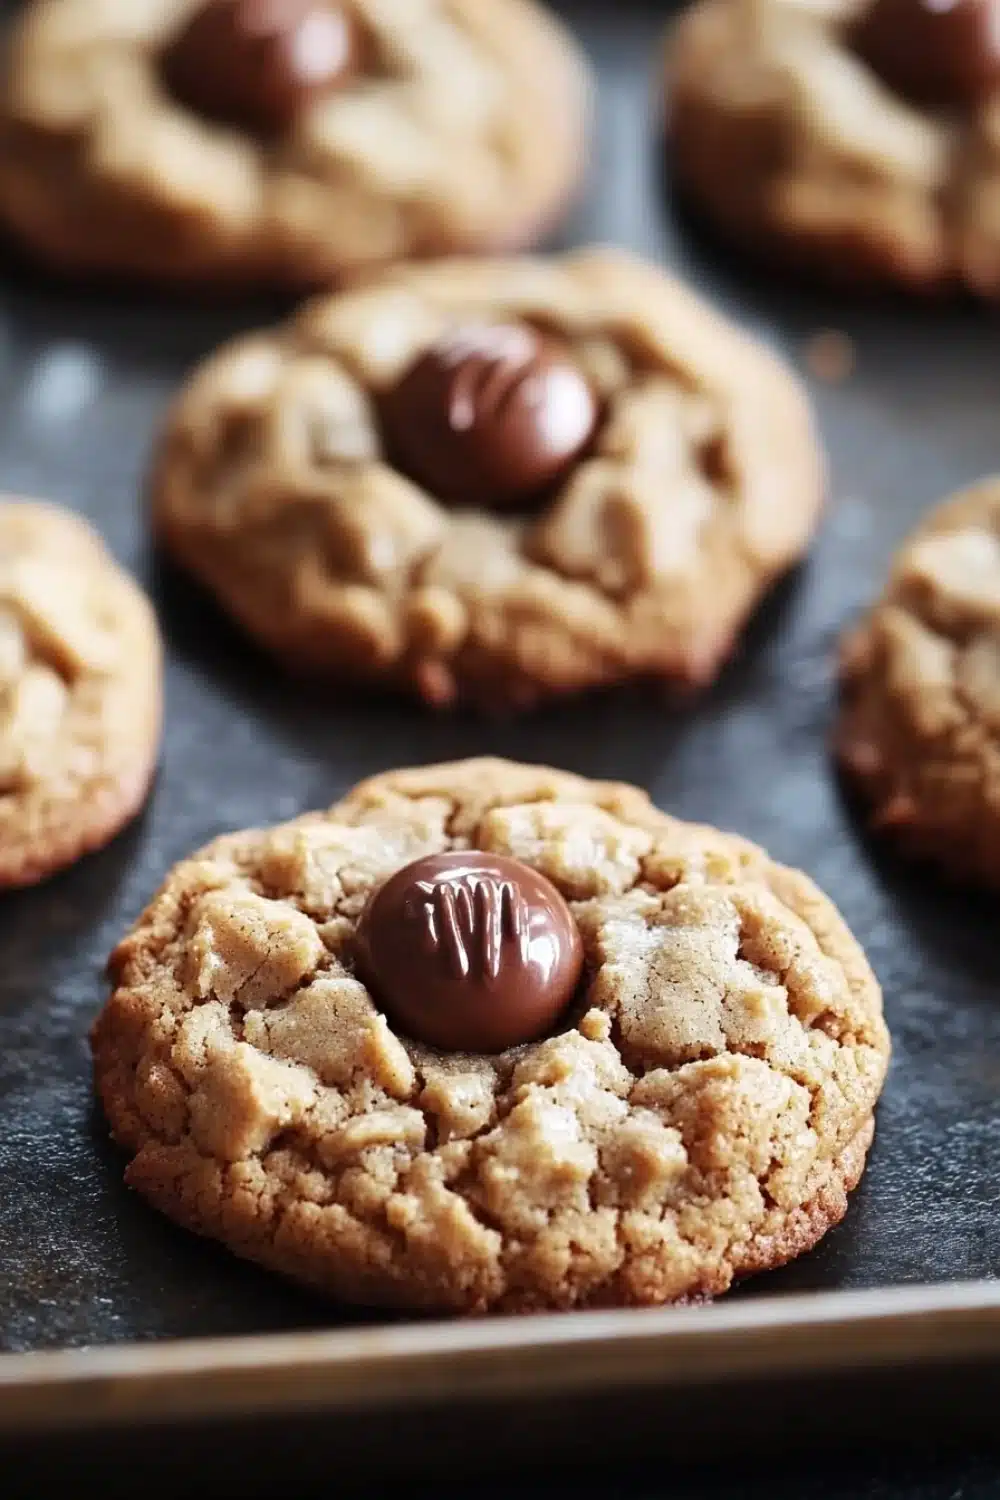
These cookies boast a soft, chewy center with edges just firm enough to snap, crowned by the iconic Hershey’s Kiss that melts into a slick chocolate cap as the cookies cool. Every bite is a sweet-salty jam session that leaves you reaching for more—no half-measures here.
So grab your mixing bowl, and let’s bring this classic cookie combo to life. Trust me—once you try these, you’ll be hooked on the peanut butter and chocolate hustle.
For a delicious twist on classic treats, check out our recipe on How to Make Monster Cookie Chewy Bars That Stick to Your Soul featuring cookie peanut butter Hershey’s kisses.
Real Life Perks of Peanut Butter Cookies with Hershey’s Kisses
- Whip these up in just 25 minutes—perfect for those last-minute bake sales or surprise snack attacks.
- The peanut butter base keeps them chewy and moist, unlike those rock-hard cookies that stick to your teeth.
- Kids go nuts for the chocolate kiss on top—it’s like a little treasure waiting inside each bite.
- Store them right, and they keep their charm for days. No sad, stale crumbs here.
- These cookies freeze well—pull them out for impromptu guests or when you need a quick sugar fix without baking from scratch.
Peanut Butter Cookies with Hershey’s Kisses

Delicious peanut butter cookies topped with classic Hershey’s Kisses. These soft and chewy cookies combine the rich flavor of peanut butter with the sweet chocolate of Hershey’s Kisses for a perfect treat.
- Prep Time: 15 minutes
- Cook Time: 10 minutes
- Total Time: 25 minutes
- Yield: 24 cookies
Ingredients
1 cup creamy peanut butter
1 cup granulated sugar
1 large egg
1 teaspoon baking soda
24 Hershey’s Kisses, unwrapped
Instructions
Preheat the oven to 350°F (175°C). Line a baking sheet with parchment paper.
In a medium bowl, mix together the peanut butter, sugar, egg, and baking soda until well combined and smooth.
Roll the dough into 1-inch balls and place them 2 inches apart on the prepared baking sheet.
Using a fork, gently press down on each ball to create a crisscross pattern.
Bake in the preheated oven for 8 to 10 minutes, until the edges are set but the centers are still soft.
Remove the cookies from the oven and immediately press one Hershey’s Kiss into the center of each cookie.
Allow the cookies to cool on the baking sheet for 5 minutes before transferring them to a wire rack to cool completely.
Explore more:
Breakfast Recipes
Peanut Butter Cookies with Hershey’s Kisses: Hacks and How-To’s
The Fork Marks: More Than Just Decoration
Ever wondered why we press those iconic crisscross fork patterns into peanut butter cookie dough? It’s not just to flex your utensil skills. See, peanut butter dough is dense—like a brick waiting to happen if you’re not careful. By flattening the balls, you give the cookie more surface area to bake evenly. That means edges crisp just right while the center holds onto that chewy charm. Plus, the fork marks act like mini vent holes, preventing a cookie crater from forming in the middle. I’ve had my share of sad, puffed-up cookies where the center stayed raw—don’t be that baker. My advice? Use a fork dipped in sugar or flour to keep it from sticking, then press down firmly but don’t smash. It’s the sweet spot between too thick and pancake-thin.
Swapping Ingredients Without Losing the Magic
Look, not everyone has a pantry stocked like a pro bakery, and that’s fine. Say you want to sub the creamy peanut butter for chunky—go for it, but expect a slightly more textured bite and some rogue peanut pieces. The sugar? You can swap granulated for brown sugar for a deeper, molasses-y twist. Just keep in mind that brown sugar tends to make cookies a tad softer and more moist, so reduce baking time by a minute or two. If you’re feeling nutty and want to swap peanut butter for almond butter, remember almond butter has more oil and less starch, so your dough might spread more. Here’s a pro tip: toss the dough balls in some extra sugar before the fork press to keep that sugar-crust crunch intact. Oh, and that egg? Don’t skimp. It’s the glue holding this whole peanut butter party together.
When Cookies Flop: Troubleshooting Common Fails
Baked your cookies and ended up with a flat, greasy mess? Chill the dough first. Peanut butter is naturally oily, and when mixed with sugar and egg, it can turn your dough into a slip-n-slide in the oven. A 30-minute chill in the fridge firms the dough, so it holds its shape instead of spreading into a sad pancake. Overbaking is another sin. Those golden edges might look tempting, but pull them out when the centers still look a bit soft—carryover heat will finish the job. And here’s a curveball—if your Hershey’s Kisses sink into the cookie or melt messily, press them in right after baking, not before. This keeps their iconic shape intact and makes your cookie plate look like a million bucks. Lastly, if your cookies are crumbly or dry, double-check your baking soda freshness; it’s tiny but mighty in helping your cookie rise and stay tender.
Peanut Butter Cookies with Hershey’s Kisses: FAQs
A1: Yes, but chunky peanut butter will change the texture, giving your cookies a bit more crunch. It’s a trade-off between smoothness and that nutty bite.
A2: No! You should unwrap the Kisses before pressing them onto the cookies. Wrappers don’t do well in the oven and could cause a mess or even a fire hazard.
A3: Look for edges that are set and slightly browned, while the centers stay soft. They’ll firm up as they cool. Don’t overbake—these are meant to stay chewy. It’s a fine line, but well worth it.
A4: Absolutely! The great news is this recipe contains no flour, so it’s already gluten-free. Just double-check your baking soda and peanut butter to ensure no cross-contamination.
A5: Store them airtight at room temp for up to 5 days. For the hoarders out there, freeze in a single layer first, then pop them into a freezer-safe container—they’ll keep up to 3 months. Thaw before munching.