
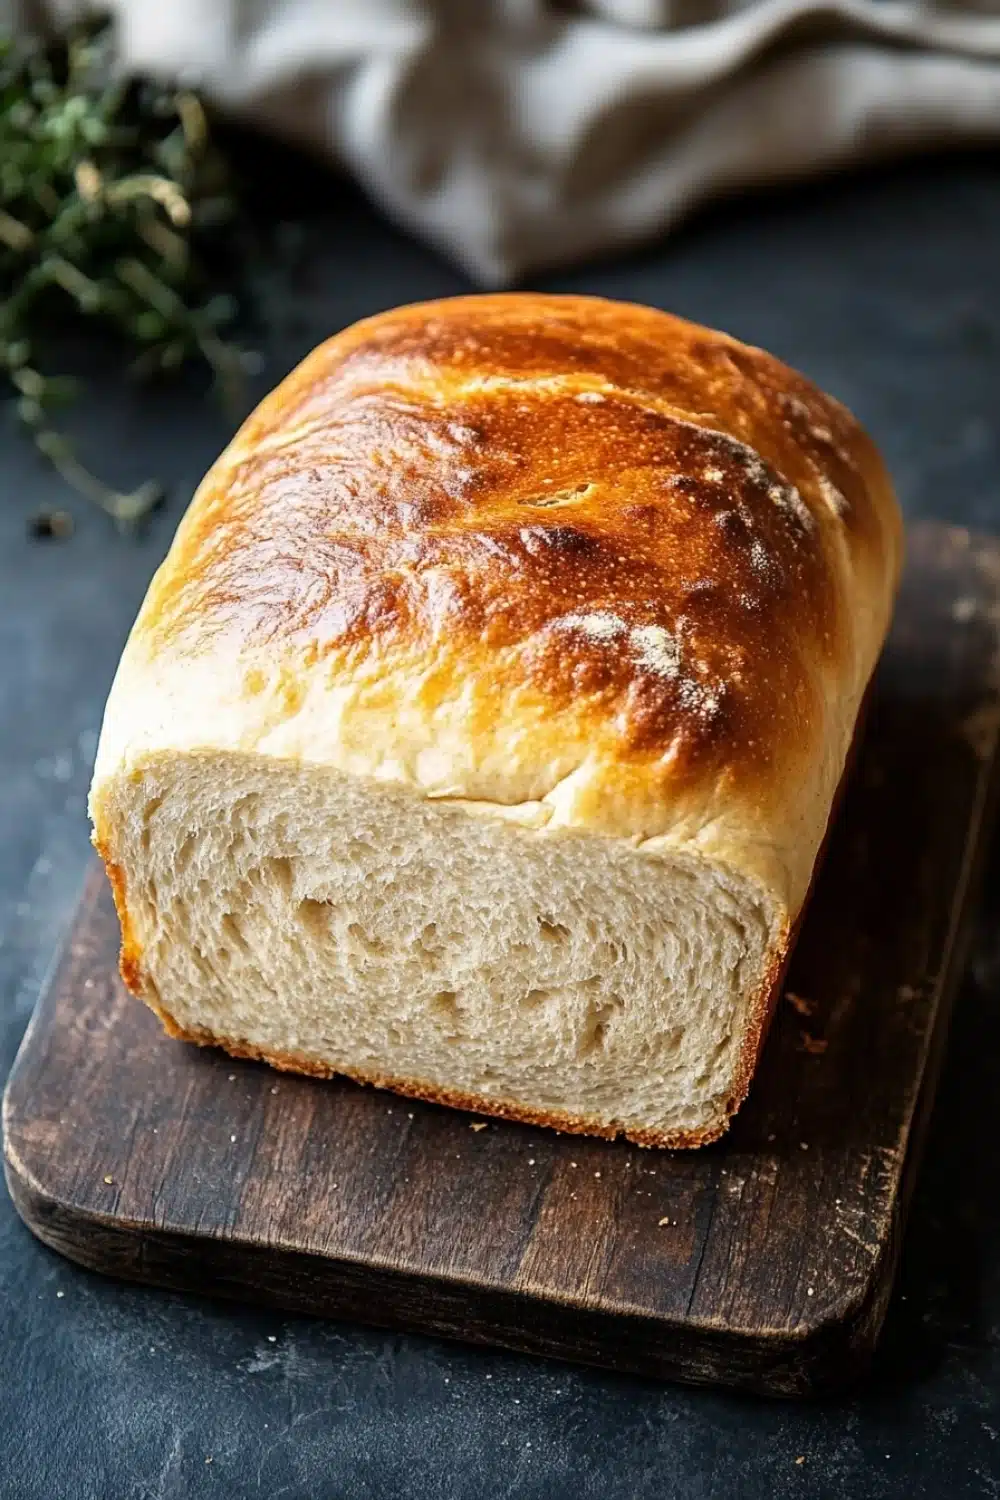
Fresh bread smells like magic.
There’s something about making sandwich bread from scratch that pulls you into a slow, rhythmic dance with your dough—kneading, folding, and coaxing it into shape. It’s not just baking; it’s a hands-on ritual that fills the kitchen with warmth and anticipation. That first yeasty puff, the way the dough springs back after a gentle poke—no store-bought loaf can replicate this feeling.
Now, I’m not gonna sugarcoat it: good homemade sandwich bread takes patience. It’s a labor of love that rewards you with slices so soft they nearly melt on your tongue. Trust me, once you’ve nailed that golden crust and pillowy crumb, you’ll never settle for pre-sliced again. It’s bread that feels alive, as if it’s still breathing under your sandwich fixings.
Ready to roll up your sleeves and dive in? Let’s get that yeast bubbly and dough sticky. You’re about to join an old-school breadmaking club, no fancy gadgets required—just simple ingredients and some elbow grease.
For a detailed guide on making the best homemade sandwich bread, check out How to Make Soft, Fluffy Homemade Sandwich Bread at Home for all the tips you need.
Real-Life Wins with Homemade Sandwich Bread
- Skip the store runs—fresh bread ready in under 2 hours means no more last-minute panic sandwich fixes.
- Soft, fluffy slices that hold up to any filling, from classic PB&J to hefty stacked deli meats without getting soggy.
- Control what goes in—ditch preservatives and mystery ingredients for a pure, simple loaf that’s easy on the gut.
- Batch bake and freeze slices for grab-and-go breakfasts or quick lunches, saving time on busy weekdays.
- Impress guests or family with that homemade touch—nothing says “I got you” like bread made with your own hands.
Homemade Sandwich Bread

This homemade sandwich bread is soft, fluffy, and perfect for all your favorite sandwiches. Made with simple ingredients and easy to follow steps, this bread will quickly become a staple in your kitchen.
- Prep Time: 15 minutes
- Cook Time: 30 minutes
- Total Time: 1 hour 45 minutes
- Yield: 12 slices
Ingredients
3 1/2 cups (420 grams) all-purpose flour, plus extra for kneading
2 1/4 teaspoons (7 grams) active dry yeast
1 1/4 cups (300 ml) warm water (110°F/43°C)
2 tablespoons (25 grams) granulated sugar
1 1/2 teaspoons (9 grams) salt
2 tablespoons (30 ml) vegetable oil
Instructions
In a small bowl, combine the warm water and sugar. Stir until the sugar dissolves.
Sprinkle the active dry yeast over the water and sugar mixture. Let it sit for 5 to 10 minutes until the yeast becomes foamy.
In a large mixing bowl, combine 3 cups of the flour and salt.
Add the foamy yeast mixture and vegetable oil to the flour mixture.
Stir with a wooden spoon or dough hook until the dough begins to come together.
Gradually add the remaining 1/2 cup flour, a little at a time, until the dough is no longer sticky and can be handled.
Turn the dough onto a lightly floured surface and knead for about 8 to 10 minutes until smooth and elastic.
Place the dough in a lightly oiled bowl, turning once to coat the surface. Cover with a clean kitchen towel or plastic wrap.
Let the dough rise in a warm, draft-free area for about 1 hour, or until it has doubled in size.
Punch down the dough to release the air and turn it onto a lightly floured surface.
Shape the dough into a loaf by flattening it into a rectangle, then rolling it tightly from one short end to the other.
Pinch the seams and ends to seal and place the loaf seam-side down into a greased 9×5 inch loaf pan.
Cover the loaf with a towel and let it rise for another 30 to 40 minutes until it has risen about 1 inch above the rim of the pan.
Preheat the oven to 375°F (190°C).
Bake the bread for 25 to 30 minutes, or until the top is golden brown and the loaf sounds hollow when tapped.
Remove the bread from the oven and let it cool in the pan for 10 minutes.
Transfer the bread to a wire rack to cool completely before slicing.
Explore more:
Breakfast Recipes
Nailing Your Homemade Sandwich Bread
The Yeast Whisper: Why That Foamy Proof Matters
When I first started working with yeast, I couldn’t believe how just a few bubbles could set the whole stage. That foamy head you see after sprinkling yeast on warm water mixed with sugar? It’s not just a cute trick—it’s your yeast saying, “I’m alive and kicking!” Skip this step or rush it, and you’ll end up with a loaf as flat as a pancake. The sugar jumpstarts the yeast, feeding it so it wakes up from its dormant slumber like a bear in spring. Without this bubbly proof, you’re basically throwing dormant yeast into the mix, hoping for a miracle.
Ingredient Swaps — When You’re Out of the Usual Suspects
Let’s talk flour. All-purpose is the go-to here, but what if you’re elbow-deep in a baking jam and only have bread flour or whole wheat? Bread flour? Great! It’s got more protein, so your loaf’s gonna get a bit chewier and more robust, perfect for sandwich stacks that need to hold up. Whole wheat? Adds a nutty kick but beware, it’s thirsty—your dough might need a splash more water to keep it from turning into a brick. Also, vegetable oil is the OG fat in this loaf, but if you’ve got olive oil, don’t hesitate. The flavor shift is subtle but noticeable, with a little fruity twang that’s actually pretty slick for grilled cheese. I once swapped in coconut oil for a tropical twist—talk about flipping the script on classic sandwich bread.
Fixing Dough Disasters — When Your Bread Acts Up
Sticky, stubborn, or slouchy dough? Been there, done that. Here’s the skinny: if your dough is sticking like crazy and won’t come together, resist the urge to add a ton of flour all at once. Instead, sprinkle tiny pinches, kneading between each addition until your dough feels right—soft, springy, not gluey. Over-flouring is a cardinal sin; you’ll end up with a dense loaf. If your dough refuses to rise, it might be a yeast issue—either dead from water that’s too hot or not proofed long enough. Remember, patience is king: let it sit in a warm spot, maybe even near a turned-off oven or a sunny windowsill. And if the crust comes out pale and sad? Crank up the oven temp or add a little water to a pan on the bottom rack to create steam—bread loves a sauna-like environment for that perfect crust color and texture.
Homemade Sandwich Bread FAQ
Yes, warm water activates the yeast—too hot and it kills the yeast, too cold and it won’t wake up. Aim for about 110°F (43°C) for that perfect foam.
You can, but heads-up: whole wheat flour makes the bread denser and less fluffy due to the bran cutting through gluten strands. If you go this route, try mixing half whole wheat with half all-purpose flour to keep that soft crumb.
Simple trick: place your dough in a clear bowl and mark the starting height with a rubber band or tape. When it puffs up to twice that mark, it’s time to punch it down and move on. Patience here makes the difference between a brick and cloud-like bread.
Technically yes, by placing dough in a warmer spot (like inside an oven with just the light on), but rushing yeast fermentation usually sacrifices flavor and texture. I say—let it chill and do its thing. Good bread takes time.
Nope. Give it some chill time. Letting the bread cool completely on a wire rack helps the crumb set. Slice too soon, and you’re asking for a gummy mess.