
Crunch time in the kitchen.
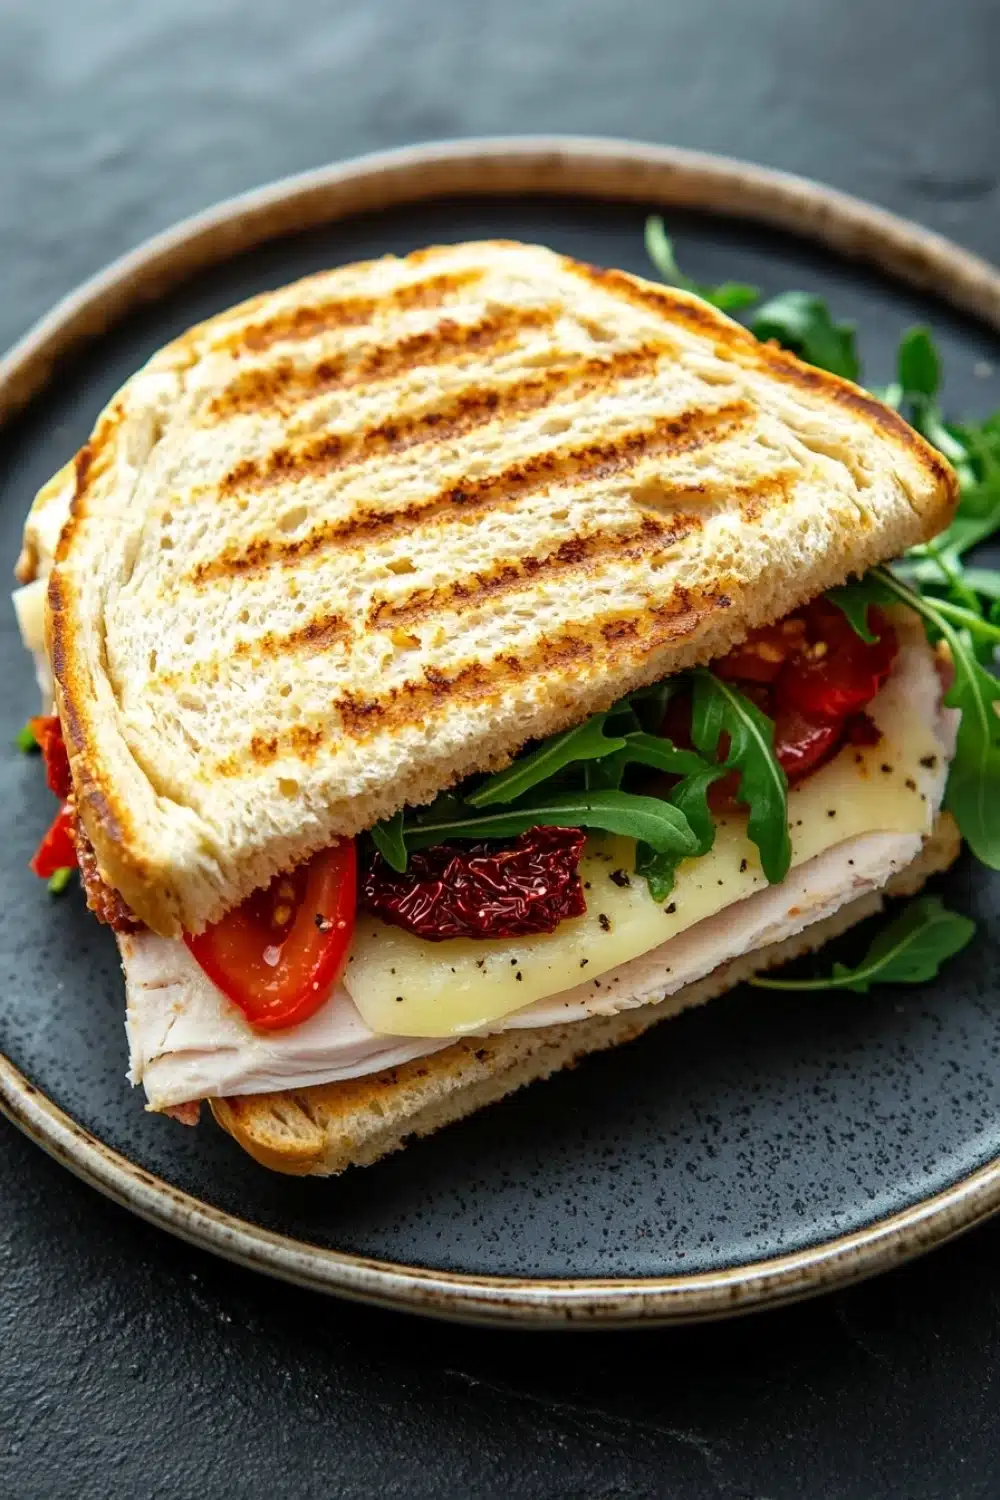
There’s something about the sizzle of a panini press that sets the mood right—like the crack of a vinyl record spinning an old Italian tune. I remember the first time I tried an Italian sandwich panini; it was a no-frills lunch that ended up stealing the show at a casual get-together. The layers of turkey, provolone, and sun-dried tomato spread aren’t just ingredients—they’re players in a mouthwatering caper. Each press seals the deal, crisping the ciabatta outside while coaxing molten cheese into every nook.
What’s a sandwich without a little attitude? This panini packs a punch with roasted red peppers and fresh arugula, delivering peppery zip and sweet softness that dance on your palate. It’s that perfect blend of crunchy and melty, the kind that makes you pause mid-bite, savoring the moment instead of rushing through it.
Whether you’re a sandwich neophyte or a seasoned griller, this recipe’s a no-brainer for a quick yet satisfying lunch that hits all the right notes—simple, bold, and downright addictive.
For more delicious ideas like the italian sandwich panini, check out our our Lunch recipe collection for tasty and easy meals.
Why You’ll Actually Want to Make This Italian Sandwich Panini
- Lunch that doesn’t suck—ready in under 20 minutes, even on your busiest days.
- The crispy, golden crust? That’s the panini press working its magic, sealing in juicy turkey and melty provolone like a pro.
- Sun-dried tomato spread gives you that tangy punch, no extra sauces needed—keeps it bold and clean.
- Fresh arugula and roasted red peppers add a peppery crunch and smoky vibe, so your sandwich won’t ever be boring.
- Leftovers? Wrap ’em tight and they pop back crispy after a quick reheat—no soggy sandwich drama here.
Italian Sandwich Panini
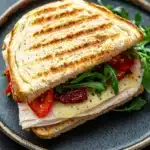
A delicious Italian sandwich panini featuring layers of turkey, provolone cheese, fresh vegetables, and a flavorful sun-dried tomato spread, pressed to perfection for a crispy, melty delight.
- Prep Time: 10 minutes
- Cook Time: 8 minutes
- Total Time: 18 minutes
- Yield: 2 sandwiches
Ingredients
4 slices of ciabatta bread
4 tablespoons sun-dried tomato spread
6 ounces sliced turkey breast
4 slices provolone cheese
4 slices roasted red peppers
1 medium tomato, sliced
1/2 cup fresh arugula leaves
2 teaspoons olive oil
Instructions
Preheat a panini press or grill pan over medium heat.
Spread 1 tablespoon of sun-dried tomato spread evenly on each slice of ciabatta bread.
On two slices of the bread, layer the turkey breast evenly.
Place two slices of provolone cheese on top of the turkey on each sandwich.
Add two slices of roasted red peppers on top of the cheese.
Place tomato slices evenly over the roasted red peppers.
Top with fresh arugula leaves.
Cover each sandwich with the remaining slices of bread, sun-dried tomato spread side down.
Brush the outside of each sandwich with 1 teaspoon of olive oil.
Place the sandwiches in the preheated panini press or grill pan.
Cook for 6 to 8 minutes, pressing firmly, until the bread is crispy and golden brown and the cheese has melted.
Remove the paninis from the press and let them rest for 1 minute before slicing in half and serving.
Explore more:
Lunch Recipes
Mastering the Italian Sandwich Panini
The Not-So-Obvious Bread Swap
Ciabatta is king for this panini, no doubt. But what if you’re fresh out or just looking to shake things up? Let me tell you—baguette or sourdough loaf slices step in as worthy contenders. They bring their own magic: baguette’s crunchy crust creates a satisfying snap with every bite, while sourdough offers that subtle tang that cuts through the richness of provolone and turkey. Just remember—thicker slices need a tad more time on the press to get that coveted melty core. And if you crave a gluten-free game, a sturdy gluten-free bread (think: dense and not crumbly) can hold up under the press without turning to mush. It’s all about that balance—crisp outside, molten cheese inside.
The Pressing Power Play — Why Firm Pressure Matters
Here’s the lowdown: slapping your sandwich into a panini press and calling it a day won’t cut it. You need that firm, consistent pressure to coax out a golden crust and melt the cheese just right. Why? Because pressing does more than brown the bread—it compacts the layers, fusing flavors and creating a textural dance between crispy and gooey. I’ve seen folks get lazy, using a skillet with a flimsy weight, and bam—the bread’s soggy, cheese unevenly melted, and veggies limp. Not on my watch! The pressure crushes the air pockets in the bread, so the crust crisps up instead of drying out. Plus, it forces the cheese to seep into nooks and crannies, intensifying every mouthful. Pro tip: don’t rush it. Six to eight minutes is your sweet spot—patience pays off in crispy-cheese bliss.
Fixing the Classic Panini Pitfalls
- Soggy Bottom Syndrome: This is the bane of a panini lover. Often caused by too much tomato moisture or insufficient heat. Solution? Pat your tomato slices dry with paper towels before assembly. Also, preheat your press fully—hot enough to snap the bread instantly.
- Cheese Won’t Melt: Too thick or cold cheese slices are guilty here. Use room temperature provolone and slice it evenly. If needed, layer slices for better melt coverage.
- Sandwich Falls Apart: Overstuffing is a trap. Layer moderately; let the press do the work of melding flavors instead of your frantic squeezing.
Trust me, these tweaks saved many a panini from tragedy at my kitchen counter. The aim? Crispy edges, melty center, veggies that still snap. Nail these, and you’re halfway to panini legend.
Italian Sandwich Panini FAQ
A: Absolutely! Use a grill pan or a regular skillet. Press the sandwich down with a heavy spatula or another pan, and flip halfway through. It’s the old-school hack when you’re off the grid from fancy gadgets.
A: Ciabatta is king here thanks to its airy crumb and crisp crust. It holds up well under heat, so you get that perfect crunch without the sandwich turning into a soggy mess.
A: Totally. Ham, roast beef, or even a good salami work like a charm. Just don’t overdo it—balance is key when stacking your layers.
A: Yes. Brushing olive oil on the outside before pressing helps get that golden, crispy crust and keeps the bread from drying out. It’s a small step that makes a world of difference.
A: Yes and no. You can assemble them in advance and keep them wrapped tight in the fridge, but wait to grill until right before eating. Otherwise, you risk a sad, soggy sandwich that’s lost its snap.