
Nothing beats that first bite.
In our kitchen, the quest for the perfect chewy cookie base has been a wild ride—think of it like chasing that elusive sweet spot between soft and chewy, with edges just firm enough to give you a satisfying snap. Last weekend, I dove headfirst into this recipe, melting butter just to the right temperature, then whisking sugars until the mixture looked glossy and inviting. It’s all about timing and texture—too much mixing and you’re in tough cookie territory.
My favorite part? Adding the dry ingredients gradually, folding them in with a wooden spoon—no overzealous blender moves here. It’s a classic baker’s dance that keeps the dough tender, ensuring each cookie maintains that signature chewiness without turning into a brick.
Trust me, this base is versatile as hell—perfect for throwing in your favorite add-ins or keeping it pure and honest. Ready to get your hands a little messy? Let’s bake some memories.
For a chewy cookie base that’s just as satisfying as your favorite pizza crust, check out our guide on How to Nail Gluten-Free Pizza Crust with Caputo Flour Every Time.
Why This Chewy Cookie Base Works Wonders in Real Life
- Gives you that perfect soft, tender bite every single time — no dry crumb in sight.
- Ready in just 25 minutes, it’s a killer go-to for last-minute cookie cravings — because who has hours to wait?
- Super adaptable: swap in chocolate chips, nuts, or dried fruit and you’re golden — the base never steals the show, just supports it.
- Easy to portion with a cookie scoop, so your batch looks uniform and pro-level, even if you’re a weekend warrior in the kitchen.
- Cookies stay fresh for days in an airtight container, but hey, freeze some and you’ve got a stash for emergency sweet fixes down the road.
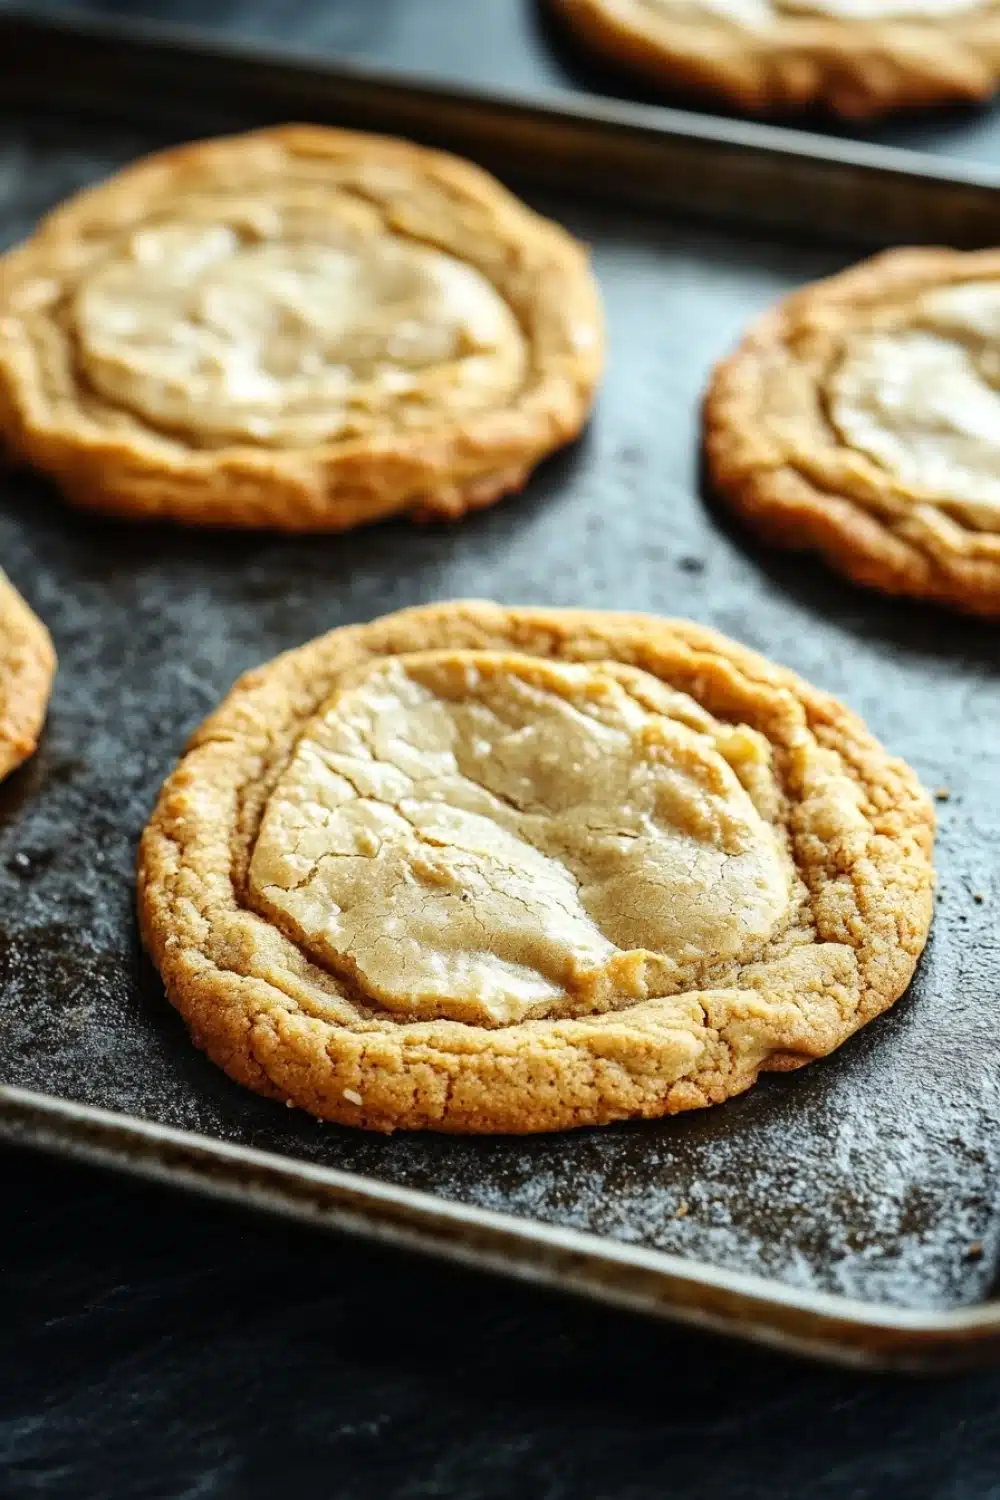
Chewy Cookie Base

A versatile chewy cookie base recipe perfect for creating a variety of delicious cookies with a soft and tender texture.
- Prep Time: 15 minutes
- Cook Time: 10 minutes
- Total Time: 25 minutes
- Yield: 24 cookies
Ingredients
1 cup (226 grams) unsalted butter, melted and slightly cooled
1 cup (200 grams) packed light brown sugar
1/2 cup (100 grams) granulated sugar
2 large eggs
2 teaspoons pure vanilla extract
2 1/4 cups (280 grams) all-purpose flour
1 teaspoon baking soda
1/2 teaspoon salt
Instructions
Preheat the oven to 350°F (175°C). Line two baking sheets with parchment paper.
In a large mixing bowl, combine the melted butter, light brown sugar, and granulated sugar. Whisk together until smooth and well combined.
Add the eggs one at a time, whisking well after each addition to fully incorporate.
Stir in the vanilla extract.
In a separate bowl, whisk together the all-purpose flour, baking soda, and salt.
Gradually add the dry ingredients to the wet ingredients, stirring with a wooden spoon or spatula until just combined. Do not overmix.
Using a cookie scoop or tablespoon, drop rounded spoonfuls of dough onto the prepared baking sheets, spacing them about 2 inches apart.
Bake in the preheated oven for 9 to 11 minutes, or until the edges are set but the centers still look slightly soft.
Remove from the oven and let the cookies cool on the baking sheets for 5 minutes before transferring them to a wire rack to cool completely.
Explore more:
Breakfast Recipes
Mastering the Chewy Cookie Base: Tips, Tricks & Fixes
The Butter Switch-Up That Changes Everything
Butter is king here—but not just any butter. Melted and slightly cooled butter is the golden ticket to that chewy texture. Why? Because melted butter integrates fully with the sugars, creating a dense, fudgy base rather than a cakey crumb. If you swap it out for softened butter, you’ll get a fluffier, cakier cookie—not what you want if chewy is the goal.
Got coconut oil or margarine on hand? Sure, you can try those, but expect flavor shifts and textural curveballs. Coconut oil will add subtle tropical notes and might firm up in the fridge, leading to a different mouthfeel. Margarine? It’s a wildcard—often waterier and less flavorful—which can mess with your cookie’s chewiness and taste.
Pro tip: Don’t rush the butter’s cooldown. Too hot, and your eggs scramble; too cold, and the sugar won’t meld properly. I always melt mine in the microwave in 30-second bursts and let it rest on the counter for a good 5 minutes before mixing—this little patience saves you from an off base dough.
The Why Behind Not Overmixing Dough — Seriously, Don’t Overthink It
Here’s where many home bakers hit a wall. You want a chewy cookie, but the dough seems tough or flat. The culprit? Overmixing. It’s tempting to stir until every last speck of flour is gone, but that’s a trap.
Flour contains gluten-forming proteins. Mix too much, and you develop too much gluten, leading to a tougher, bread-like biscuit rather than a tender cookie. The trick is to treat the dough like a delicate relationship—stir gently, only until dry ingredients vanish, then stop. One fold too many, and you’ve gone from chewy dream to dense brick.
I keep a wooden spoon on standby—not a mixer or electric beater. The slower, gentler action helps keep things in check. Plus, wooden spoons have a bit of rustic charm, right?
Rescue Mission: When Your Chewy Cookies Turn to Concrete
So you baked and now you’re staring at cookies harder than a sidewalk in January. What happened? First—don’t toss them. There’s hope yet.
Hard cookie syndrome usually means overbaking. Those last couple minutes in the oven might feel tempting to finish the job—but resist! Your cookie continues to cook on the hot tray even after you pull it out. If you want soft centers, pull them when edges are set but the middle still looks slightly underdone. This is not guesswork—it’s cookie whispering.
Overbaked? Microwave your cookie for 5–10 seconds wrapped in a damp paper towel. It’s like hitting the reset button, reintroducing moisture and softening the chew. Another hack? Store hardened cookies with a slice of bread or apple in an airtight container overnight. The cookies will slowly absorb moisture—just don’t let ’em get soggy.
One last note: dough temp can play a role. Too cold = less spread, thicker cookies; too hot = flat cookies. I usually bake straight after mixing, but some pros chill for 30 minutes to tame runaway dough. Experiment and find your groove.
Chewy Cookie Base FAQs
A: Yes, but skip adding extra salt in the recipe to avoid oversalting your dough.
A: Key move—don’t overbake. Pull them out when edges are set but centers still look a tad soft. Also, melting butter instead of creaming it keeps the texture dense and chewy.
A: Melting butter changes the chemistry—fat coats flour differently, resulting in that signature tender, chewy crumb. It’s a slick trick I always use when aiming for that soft bite.
A: No. Brown sugar adds moisture and depth—white sugar alone will give you a crunchier, less chewy cookie. It’s the molasses in brown sugar that’s the real MVP here.
A: Absolutely! Shape the dough into balls, freeze them on a tray, then toss into a bag. When ready, bake straight from frozen—just add a minute or two to baking time.